Introdução
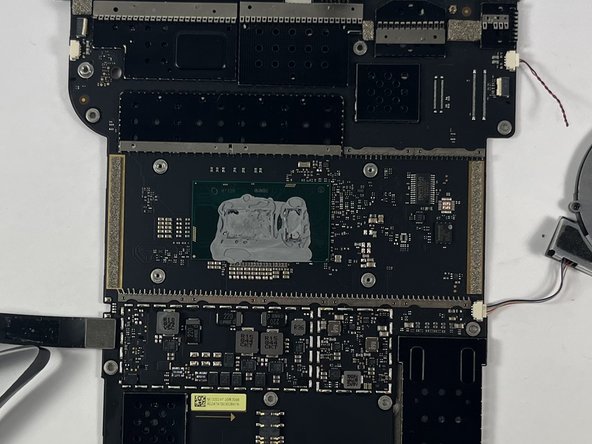
The Microsoft Surface Book 2 15'' is having a large amount of crashes and or shutting down. When you check the temperatures the are excessively high. The main hardware component that is responsible for this is the heat sink.
This is an easy part to replace only involving a few screws however it is recommended that you take a look Microsoft Surface Book 2 15 Troubleshooting at this page and try the solutions listed. A lot of the solutions are simple to follow and are all things that can be done through the software on the Microsoft Surface Book 1 15''. Meaning you will not have to disassemble the device which can help avoid any potential damage being done to the device.
-
-
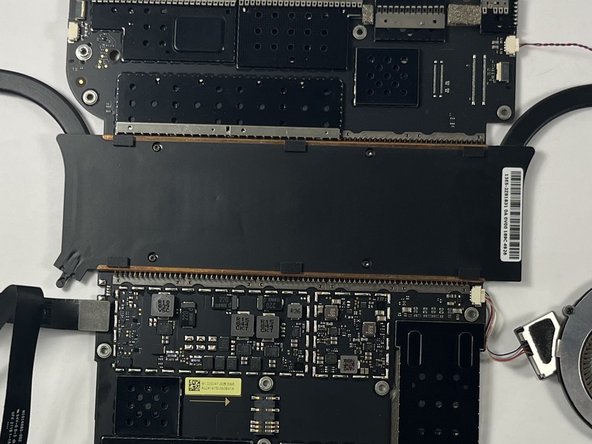
Open the laptop, then orient it so the touchpad is on your left.
-
Starting at the hinge, count six holes up on the tablet portion of the laptop.
-
-


To reassemble your device, follow these instructions in reverse order.
To reassemble your device, follow these instructions in reverse order.

Equipe

UMass Dartmouth, Team 3-3, Petersen Spring 2023 Membro de UMass Dartmouth, Team 3-3, Petersen Spring 2023
UMASSD-PETERSEN-S23S3G3
Membros da 4
Autoria de 23 guias