Introdução
The design of the W123 air cleaner bracket on the turbo OM617 engines leaves a lot to be desired. It's too thin of a metal to hold up to the heavy weight and harsh vibration seen by the air cleaner sticking out over the turbo.
The primary fault that comes up for these is that the bracket breaks at the back end, as you'll see in the pictures below.
O que você precisa
-
-
To access the air cleaner bracket the housing must be removed. In order to remove the housing the cover must come off. To remove the cover, start by pulling off the breather hose. It will just pull off.
-
-
-
-
To finish removing the housing, loosen the clamp around the lower end of the tube that goes to the turbo.
-
Use a 10mm socket over the nut on the clamp to loosen it.
-
You will now be able to pull up the air cleaner housing, and then wiggle the hose off the turbo where you loosened the clamp. Pull the housing off all the way and set it aside.
-
-
-
Underneath the air cleaner housing you'll find the bracket. It bolts to the exhaust manifold.
-
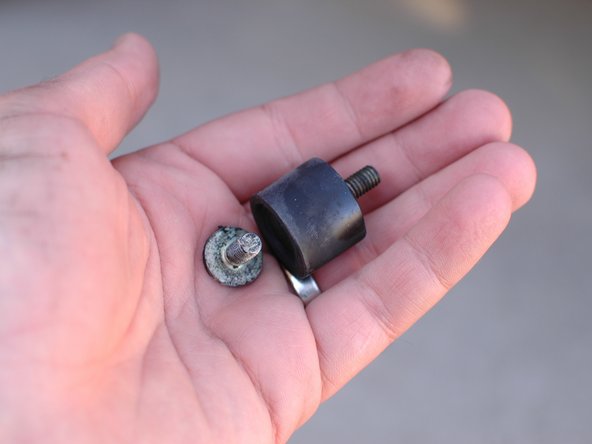
Not pictured are the three rubber buffers that screw in to the bracket, which the 10mm nuts in the air cleaner housing were attached to. They help absorbs some of the vibration to the housing.
-
If the rubber buffers don't unscrew by hand use a pair of pliers to grip them and unscrew them from the bracket before continuing.
-
Then use a 13mm socket and socket wrench to remove the two 13mm bolts on top of the bracket, and then switch to a 10mm socket to remove the bolt that holds the oil feed line for the turbo to the bracket.
-
-
-
Now for the trickiest part of this job. There is one more 13 mm bolt to remove and it is on the bottom of the bracket, hidden from view. It's up inside the bracket in the area highlighted.
-
Reach down and feel for the bolt head first with your hand to get an idea of its location, then use a long extension with a wobble on the end and a 13 mm socket to loosen and remove this bolt. Note that there is a washer on the bolt - try not to drop it as you remove it.
-
-
-
While on the subject, here is one of the other buffers (in this case, the front most). It was a cheap URO brand buffer. The metal part separated from the rubber. I believe it was this that put extra stress on the rear portion of the bracket leading to the fracture. Keeping your rubber buffers in good shape should prolong the life of the bracket.
-
This is a place to probably consider using on Genuine Mercedes buffers, which should be higher quality rubber pieces.
-
-
-
Slip the replacement bracket back under the oil feed tube. It can be a bit of a puzzle getting it in just the right way, but you'll get it.
-
Then start the upper three bolts but leave some room for the bracket to move so you can start the lower bolt.
-
Start the lower bolt by hand. You'll need to do it by feel - just take your time. Make sure to get it in part way by hand before switching to your wrench to avoid cross threading it.
-
Finishing up by tightening down all the bolts.
-
-
-
Then re-install the rubber buffers with heat shields. If your heat shields are missing (and they often are) consider replacing them in the near future. They should help prolong the life of the rubber buffers by keeping both heat and oil away from them.
-
You can now re-install the air cleaner housing the opposite way of removal, put the air cleaner back in, put the cover back on, and re-install the breather hose.
-


When you're done go for a test drive and then check to see that everything is still tight.
When you're done go for a test drive and then check to see that everything is still tight.
Cancelar: não concluí este guia.
5 outras pessoas executaram este guia.

Equipe

5 comentários
I understand that there is also an ad on fool proof bracket. where can that be found?
Where does one find an ad-on bracket for a 123 model Mercedes 300 turbo diesel air filter housing?
Where can I find the ad-on air filter bracket for a Mercedes 300 turbo diesel ?
9.23.2019
This is an O.K. DIY how-too but I was hoping for some way to improve the bracket, I even tried buying the M-B one ( ! $ !) and it broke just as quickly as the used and aftermarket ones do .
I cannot quite get the bracket loose unless I undo the two 13MM ATF bolts attaching the turbo oil supply pipe ~ BE CAREFUL re inserting these as they’re easy to cross thread .
I find it easiest to install that underneath 8MM bolt by putting it in a shallow 3/8” drive 13MM soccket with a kunckle and a 6” extenstion, I assemble this to the bracket and lower it into place and begin the under bolt first ~ as soon as I feel the threads catch I stop and insert the other two bolts .
-Nate