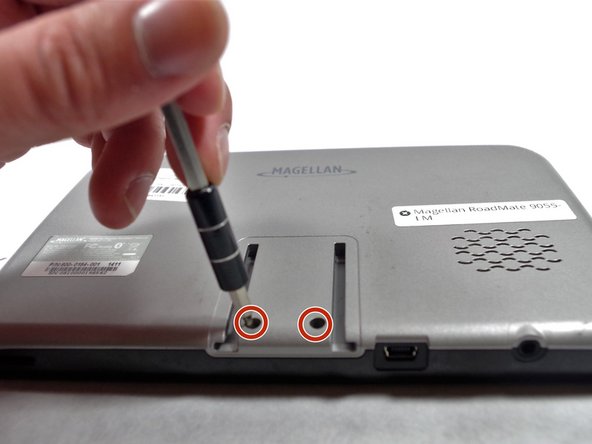
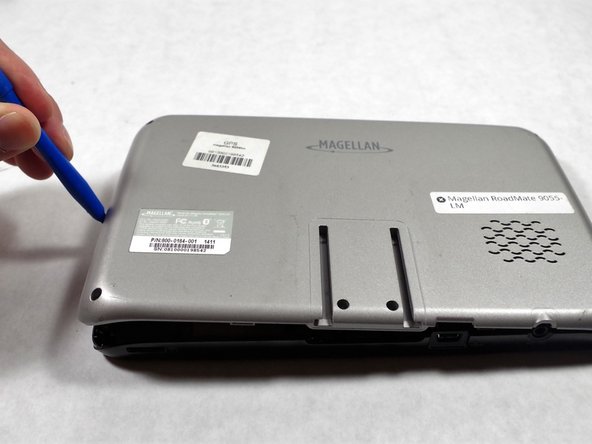
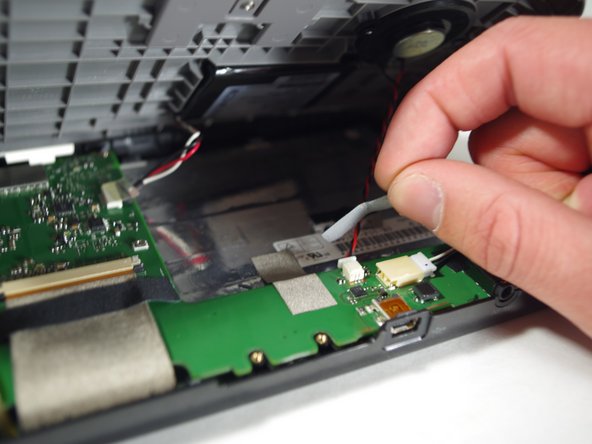
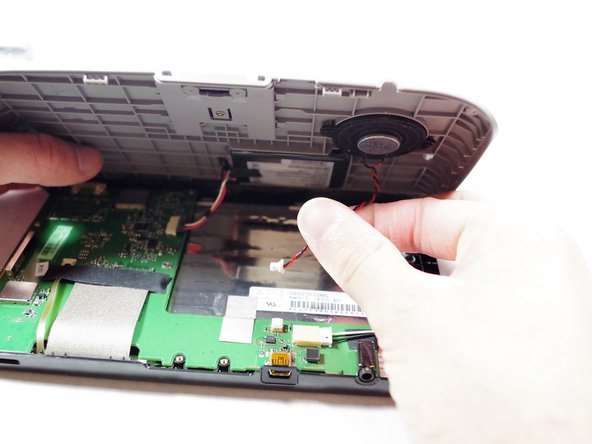
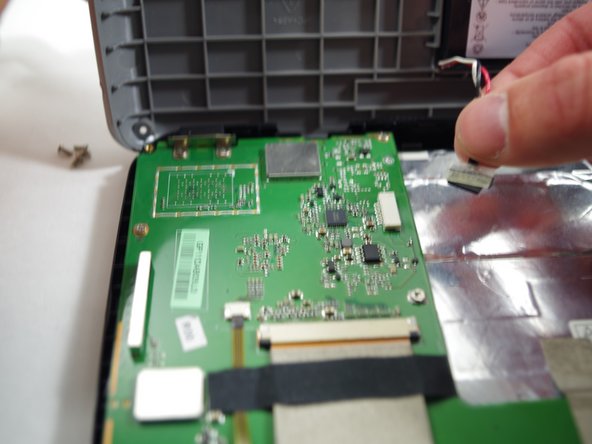
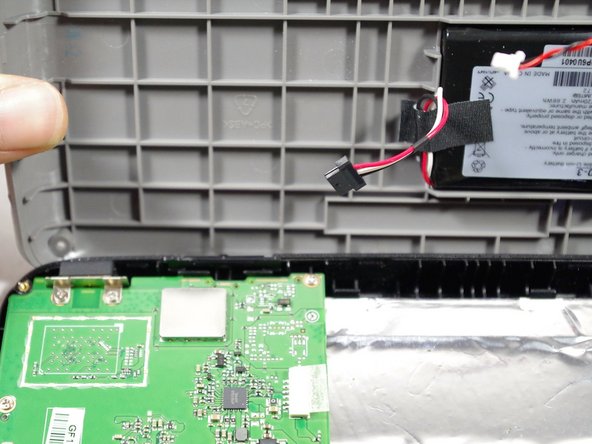
Ir para o conteúdo principal

Magellan Roadmate 9055-LM  Battery Replacement

O que você precisa

  1. Magellan Roadmate 9055-LM  Battery Replacement, Magellan Roadmate 9055-LM Back Panel Disassembly: passo 1, imagem 1 %32
    • Flip your device with back panel facing up.

  2. Magellan Roadmate 9055-LM  Battery Replacement: passo 2, imagem 1 %32 Magellan Roadmate 9055-LM  Battery Replacement: passo 2, imagem 2 %32 Magellan Roadmate 9055-LM  Battery Replacement: passo 2, imagem 3 %32
    • Unscrew four Phillips #0 screws from the back panel.

  3. Magellan Roadmate 9055-LM  Battery Replacement: passo 3, imagem 1 %32 Magellan Roadmate 9055-LM  Battery Replacement: passo 3, imagem 2 %32
    • Unscrew two Phillips #0 screws from the back panel.

  4. Magellan Roadmate 9055-LM  Battery Replacement: passo 4, imagem 1 %32 Magellan Roadmate 9055-LM  Battery Replacement: passo 4, imagem 2 %32
    • Use a plastic opening tool to pop the right side of the panel.

  5. Magellan Roadmate 9055-LM  Battery Replacement: passo 5, imagem 1 %32
    • Lifting the back panel too quickly or forcefully may damage the speaker cable and battery cable, which are still attached underneath.

    • Gently lift up the back panel.

  6. Magellan Roadmate 9055-LM  Battery Replacement: passo 6, imagem 1 %32 Magellan Roadmate 9055-LM  Battery Replacement: passo 6, imagem 2 %32 Magellan Roadmate 9055-LM  Battery Replacement: passo 6, imagem 3 %32
    • Remove the tape.

    • Unplug the cable for the speaker.

  7. Magellan Roadmate 9055-LM  Battery Replacement: passo 7, imagem 1 %32 Magellan Roadmate 9055-LM  Battery Replacement: passo 7, imagem 2 %32 Magellan Roadmate 9055-LM  Battery Replacement: passo 7, imagem 3 %32
    • Remove the cable of the battery.

    • Tape removal is not necessary.

  8. Magellan Roadmate 9055-LM  Battery Replacement: passo 8, imagem 1 %32
    • Place the back panel gently on the table.

  9. Magellan Roadmate 9055-LM  Battery Replacement, Battery: passo 9, imagem 1 %32
    • Remove the battery by using the IFIXIT plastic tool.

    • Battery is held by glue to the panel.

    • Remember to glue the new battery with the panel to keep it secure..

Conclusão

To reassemble your device, follow these instructions in reverse order.

Umar siddique

Membro desde: 10/25/16

201 Reputação

Autoria de 2 guias

Equipe

UMass Dartmouth, Team 1-5, Catania Fall 2016 Membro de UMass Dartmouth, Team 1-5, Catania Fall 2016

UMASSD-CATANIA-F16S1G5

Membros da 3

Autoria de 7 guias

0 comentários

Adicione um comentário

Exibir estatísticas:

Últimas 24 horas: 0

Últimos 7 dias: 1

Últimos 30 dias: 4

Duração total: 304