Esta versão pode conter edições incorretas. Mude para o último instantâneo verificado.
O que você precisa
-
Este passo não foi traduzido. Ajude a traduzi-lo
-
Remove the four rubber caps from the back by using the Phillips #00 screwdriver.
-
-
Este passo não foi traduzido. Ajude a traduzi-lo
-
Remove the four screws holding the cover in place by using the Phillips #00 screwdriver.
-
-
-
Este passo não foi traduzido. Ajude a traduzi-lo
-
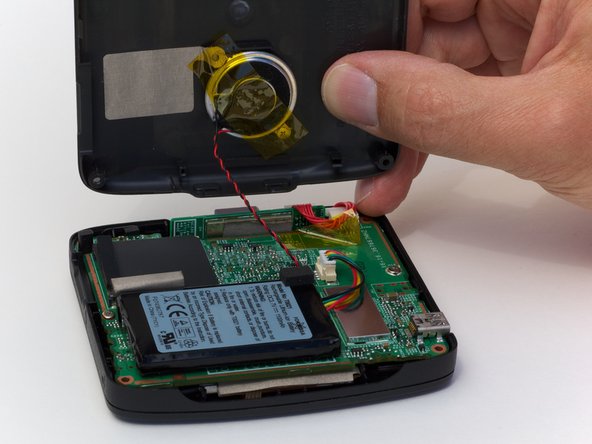
Remove the back cover from the device by separating the back cover along its seam.
-
-
Este passo não foi traduzido. Ajude a traduzi-lo
-
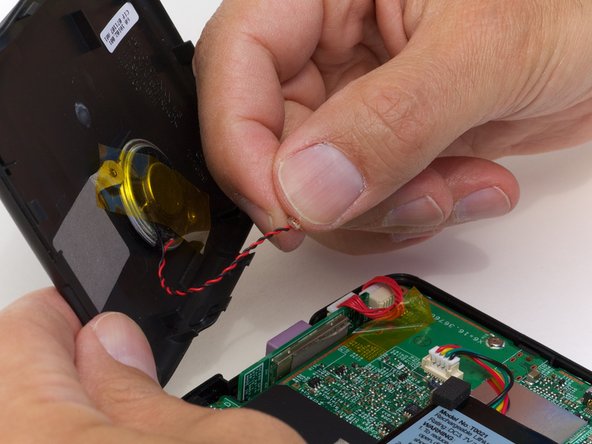
Pull the speaker cord, horizontally, by its base, away from the motherboard.
-


Cancelar: não concluí este guia.
2 outras pessoas executaram este guia.
