Ir para o conteúdo principal

Mad Catz Street Fighter IV FightPad Directional Pad Replacement

O que você precisa

  1. Mad Catz Street Fighter IV FightPad Directional Pad Replacement, Rear and Side Case: passo 1, imagem 1 %32
    • Use tweezers to completely remove the sticker from the rear of controller.

  2. Mad Catz Street Fighter IV FightPad Directional Pad Replacement: passo 2, imagem 1 %32
    • Find the seven 8.3 mm Phillips screws on the rear of the controller and remove them.

  3. Mad Catz Street Fighter IV FightPad Directional Pad Replacement: passo 3, imagem 1 %32 Mad Catz Street Fighter IV FightPad Directional Pad Replacement: passo 3, imagem 2 %32
    • Use a plastic opening tool to separate the rear and front casing by inserting it in-between the two cases.

    • Use the plastic opening tool to pry the two cases apart.

  4. Mad Catz Street Fighter IV FightPad Directional Pad Replacement: passo 4, imagem 1 %32 Mad Catz Street Fighter IV FightPad Directional Pad Replacement: passo 4, imagem 2 %32
    • Remove the two rubber side grips.

  5. Mad Catz Street Fighter IV FightPad Directional Pad Replacement, RS-DP-LS Switch: passo 5, imagem 1 %32 Mad Catz Street Fighter IV FightPad Directional Pad Replacement, RS-DP-LS Switch: passo 5, imagem 2 %32
    • Locate RS-DP-LS switch.

    • Pull upwards on the switch to remove it.

  6. Mad Catz Street Fighter IV FightPad Directional Pad Replacement, Circuit Board: passo 6, imagem 1 %32
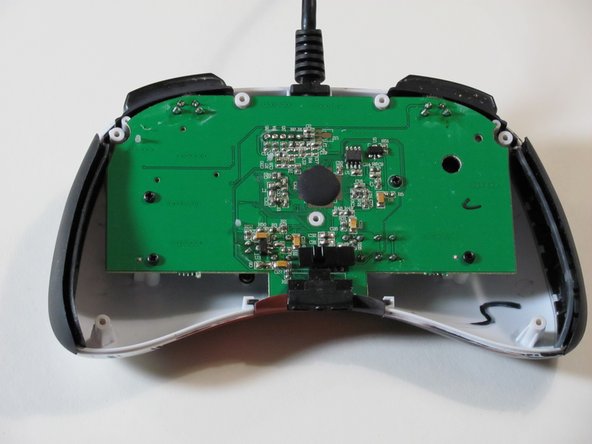
    • Locate the four 8.3 mm Phillips screws on the circuit board and remove them.

  7. Mad Catz Street Fighter IV FightPad Directional Pad Replacement: passo 7, imagem 1 %32 Mad Catz Street Fighter IV FightPad Directional Pad Replacement: passo 7, imagem 2 %32 Mad Catz Street Fighter IV FightPad Directional Pad Replacement: passo 7, imagem 3 %32
    • Hold the controller cable at the area just before it meets the controller and slowly lift upwards to slide it out of its plastic slot and remove the circuit board.

    • Be careful with the wires connected to the circuit board itself as they are thin and delicate.

    • When reassembling the controller, make sure that the bottom plastic piece is fully inserted into its slot before replacing the circuit board.

  8. Mad Catz Street Fighter IV FightPad Directional Pad Replacement, Directional Pad: passo 8, imagem 1 %32
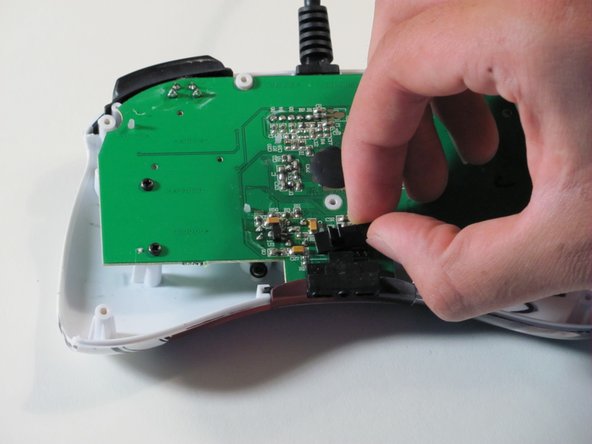
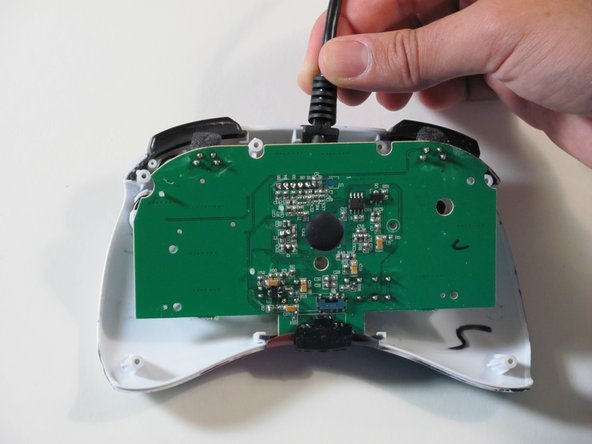
    • Use tweezers to remove the rubber part of the directional pad.

  9. Mad Catz Street Fighter IV FightPad Directional Pad Replacement: passo 9, imagem 1 %32 Mad Catz Street Fighter IV FightPad Directional Pad Replacement: passo 9, imagem 2 %32
    • Insert a new directional pad over the original directional pad's location.

Conclusão

To reassemble your device, follow these instructions in reverse order.

2 outras pessoas executaram este guia.

Jefferson

Membro desde: 09/26/12

78 Reputação

Autoria de 1 guia

Equipe

Cal Poly, Team 1-7, Propen Fall 2012 Membro de Cal Poly, Team 1-7, Propen Fall 2012

CPSU-PROPEN-F12S1G7

Membros da 4

Autoria de 14 guias

2 comentários

mi spiegate l'utilita di questa guida?vendere forse le pinzette e tutte le altre stronzatine che servono per riparare il fightpad?quando invece il pezzo più importante cioè il gommino non lo vendete....fate pena

auredo1988 - Responder

Hi I don't speak Italian but I think you are asking "what is the purpose of this guide?". We made these as a project for university because I wanted to resolder a wire in this controller that came undone. For good measure we made a guide for each individual part although the real purpose of these guides was for the full disassembly and re soldering.

Eric Devlin - Responder

Adicione um comentário

Exibir estatísticas:

Últimas 24 horas: 1

Últimos 7 dias: 2

Últimos 30 dias: 14

Duração total: 4,429