Esta versão pode conter edições incorretas. Mude para o último instantâneo verificado.
O que você precisa
-
-
Remova os seguintes dez parafusos que fixam a estrutura traseira à estrutura superior:
-
Dois parafusos P5 Pentalobe de 2,3 mm
-
Oito parafusos P5 Pentalobe de 3,0 mm
-
-
-
Este passo não foi traduzido. Ajude a traduzi-lo
-
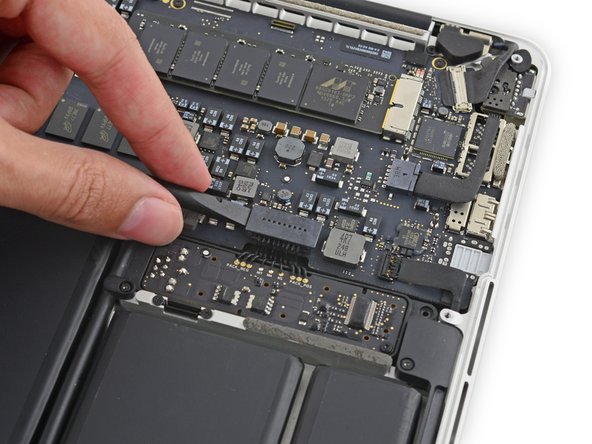
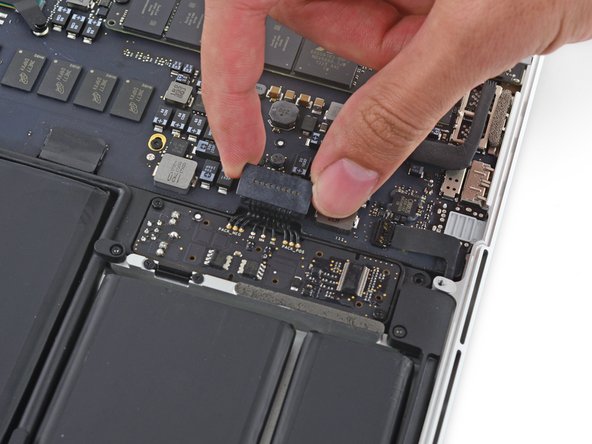
Remove the single 2.9 mm T5 Torx screw securing the SSD to the logic board.
-
-
Este passo não foi traduzido. Ajude a traduzi-lo
-
Lift the free end of the SSD up slightly and pull the SSD straight out of its socket on the logic board.
-
Cancelar: não concluí este guia.
151 outras pessoas executaram este guia.
24 comentários
So… can I just buy the new PCIe SSDs and use it in the 2013 rMBP? I'm very confused about these PCIe SSDs.
My retina 15" got the logic board damage and fix it is just stupid. Now in the mean time the new ones come up next quarter, I'm using my macbook pro 2011. Now, because the 2011 is no Retina, SSD and all the other good stuff in it (crying in silence) I did some research to make the 2011 better and I found out I can upgrade to 16 ram and a SSD. Now I check and is not that expensive at least for a SSD 128. BUT this morning it hit me, and I want to ask and make research about this idea. Guys I was wondering, can I take the SSD from my Retina that is actually SSD 256 and put it in my 2011? And save in the SSD? I mean, if possible of curse, if not I would go to buy it how I plan in the first place. Anyway guys any suggestions, ideas or advice are all welcome. I want to know whats best to improve the 2011 meanwhile the new ones get the upgrade. Thanks in advance! :)
Can I use an Intel SSD 540s SSD M.2? Intel says it doesn't support NVMe. Does it need to or would that just add extra performance?
You can put an NVMe drive (with an adapter) in a late 2013 MBP, but you must have updated the OS to the latest version because the original, native OS does not support NVMe. Use Clonezilla to make a bare metal backup and use Clonezilla to restore it once NVMe is installed. Clonezilla wont work going down in size ie from a 1TB to 500GB drive.
Can you also please put a link how to reinstall mac os after installing a new hardrive? thanks


