Introdução
Use this guide to replace a cracked or broken display.
O que você precisa
-
Ferramenta utilizada neste passo:P5 Pentalobe Screwdriver Retina MacBook Pro and Air$5.99
-
Remove the following ten screws:
-
Two 8 mm 5-point Pentalobe screws
-
Eight 2.5 mm 5-point Pentalobe screws
-
-
-
Use the flat end of a spudger to pry both short sides of the battery connector upward to disconnect it from its socket on the logic board.
-
Bend the battery cable slightly away from the logic board so the connector will not accidentally contact its socket.
-
-
-
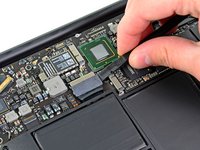
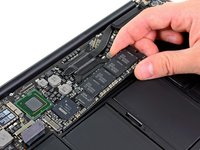
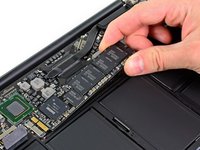
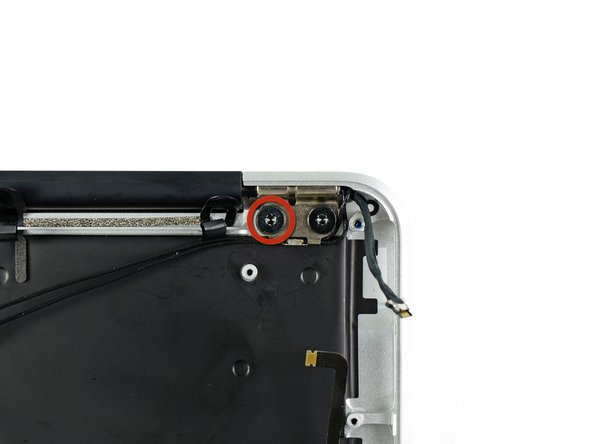
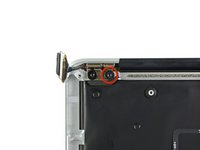
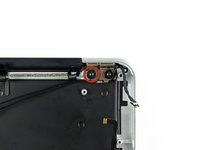
Remove the single 2.9 mm T5 Torx screw securing the SSD to the logic board.
-
-
-
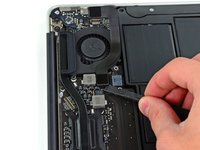
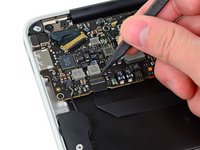
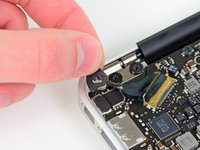
Use the flat end of a spudger to pry the I/O board cable up from its socket on the I/O board.
-
-
-
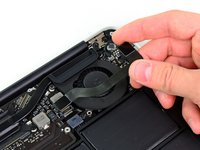
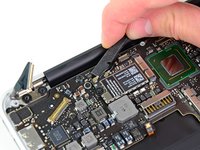
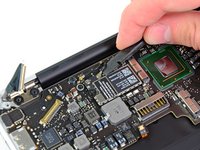
Use the tip of a spudger to carefully flip up the retaining flap on the fan cable ZIF socket.
-
-
-
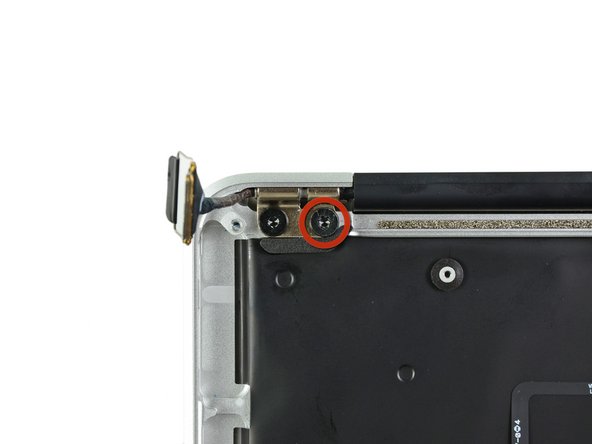
Remove the following five screws securing the battery to the upper case:
-
Two 5.2 mm T5 Torx screws
-
One 6 mm T5 Torx screw
-
Two 2.6 mm T5 Torx screws
-
-
-
-
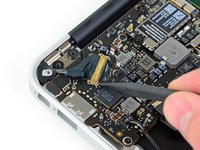
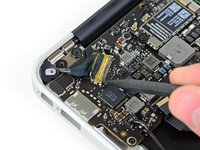
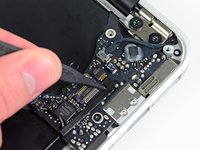
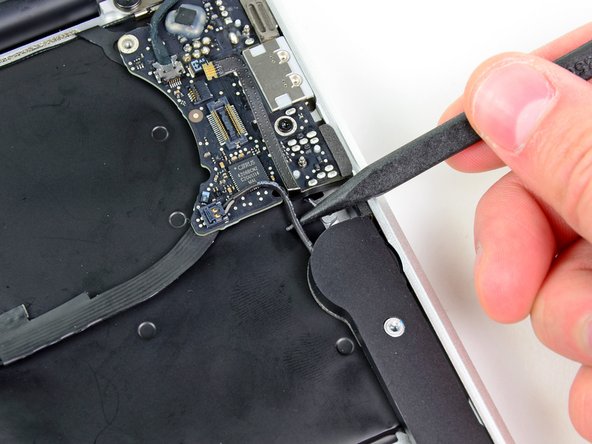
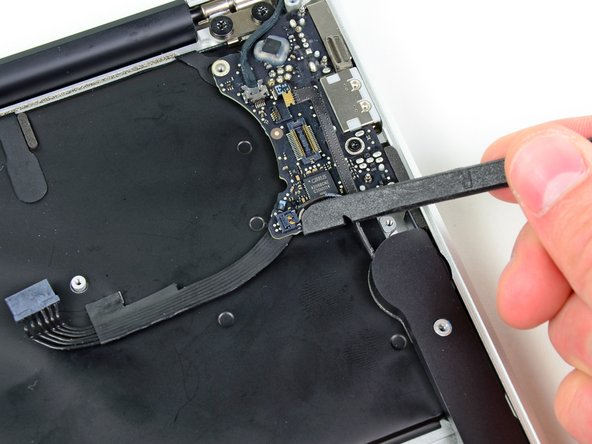
Use the flat end of a spudger to free the adhesive loop securing the I/O board power cable to the upper case.
-
Disconnect the I/O board by pulling the power cable away from its socket on the logic board.
-
-
-
Remove the small rubber gasket from the corner of the upper case nearest the I/O board.
-
-
-
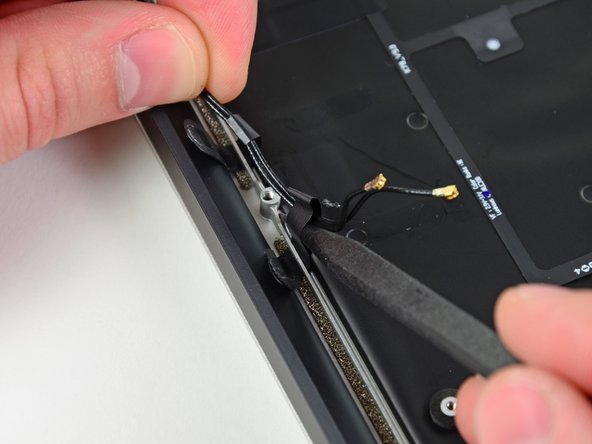
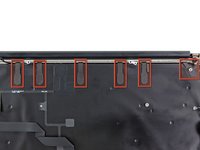
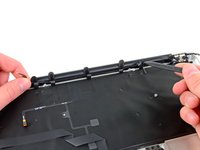
Peel up the six cable loops securing the antenna cables to the upper case.
-
Gently pull the cable loops slightly out of the channel cut into the upper case one at a time.
-
Use your spudger to open up the plastic loops as you de-route the antenna cables through them.
-
Repeat this for all of the retaining loops.
-


To reassemble your device, follow these instructions in reverse order.
Cancelar: não concluí este guia.
73 outras pessoas executaram este guia.

5Comentários do guia
Thanks a lot for this guide! My daughter wrecked the display on my Macbook Air. I have never done any repairs on a notebook before, but I ordered the new display assembly and the toolkit and went ahead anyways.
When I saw my Macbook Air in pieces before me, I had my doubts that it would ever work again, but placing the last screw and then pressing the power button, it just worked!
Thanks again!
Because my MacBook Air late 2011 ‘s hinge was broken, I would like to replace a new one DIY! Thank for show me hoe to disassemble it.
Very helpful - thank you very much. I watched your Youtube video (for a slightly different model) to get an idea of the process, then followed this guide step-by-step for my exact model. Very clear and easy to follow, with great directions and pictures.
Used this excellent and comprehensive guide for early 11” Air along side the video guide for the later 13” Macbook Air to swap out the display on a 2015 11” Macbook Air - All very similar and made a daunting job straight forward - Thanks!
Switched two monitors and made a great job thanks to this amzing guide. Very easy.