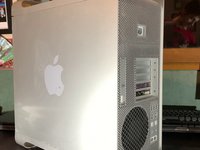
Ir para o conteúdo principal

Mac Pro 2009-2012 Case Replacement

O que você precisa

  1. Mac Pro 2009-2012 Case Replacement, Open the Case: passo 1, imagem 1 %32 Mac Pro 2009-2012 Case Replacement, Open the Case: passo 1, imagem 2 %32 Mac Pro 2009-2012 Case Replacement, Open the Case: passo 1, imagem 3 %32
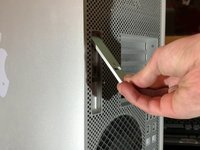
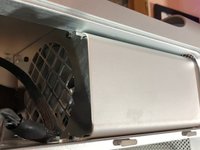
    • To open the Mac Pro, you'll have to lift the clip on the back of the case

    • Leave the clip open during the entire disassembly!

  2. Mac Pro 2009-2012 Case Replacement, Remove the side panel: passo 2, imagem 1 %32 Mac Pro 2009-2012 Case Replacement, Remove the side panel: passo 2, imagem 2 %32
    • Lift the flap to put it in the unlocked position. The panel should separate from the case without force.

  3. Mac Pro 2009-2012 Case Replacement, Remove the hard drives: passo 3, imagem 1 %32 Mac Pro 2009-2012 Case Replacement, Remove the hard drives: passo 3, imagem 2 %32
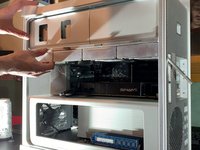
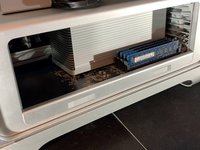
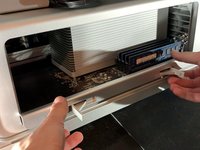
    • Then to remove the hard drives, pull them towards you with a bit of force.

  4. Mac Pro 2009-2012 Case Replacement, Remove the DVD drives: passo 4, imagem 1 %32 Mac Pro 2009-2012 Case Replacement, Remove the DVD drives: passo 4, imagem 2 %32 Mac Pro 2009-2012 Case Replacement, Remove the DVD drives: passo 4, imagem 3 %32
    • Simply pull the DVD drive bracket towards you, just like with the hard drives. Force it gently.

    • Unplug de power cable and the SATA cable of each DVD drive

  5. Mac Pro 2009-2012 Case Replacement, Remove the CPU board: passo 5, imagem 1 %32 Mac Pro 2009-2012 Case Replacement, Remove the CPU board: passo 5, imagem 2 %32 Mac Pro 2009-2012 Case Replacement, Remove the CPU board: passo 5, imagem 3 %32
    • Press both latches to unlocket the bracket.

    • Then, pull it towards you.

    • You shouldn't need to apply much force.

  6. Mac Pro 2009-2012 Case Replacement, Disconnect the GPU: passo 6, imagem 1 %32 Mac Pro 2009-2012 Case Replacement, Disconnect the GPU: passo 6, imagem 2 %32
    • Remove the 6 or 8 pin connector from your graphics card.

    • This step is optional, it will depend on the graphics card of your Mac Pro

  7. Mac Pro 2009-2012 Case Replacement, Remove the GPU ( Optional ): passo 7, imagem 1 %32 Mac Pro 2009-2012 Case Replacement, Remove the GPU ( Optional ): passo 7, imagem 2 %32 Mac Pro 2009-2012 Case Replacement, Remove the GPU ( Optional ): passo 7, imagem 3 %32
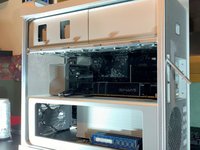
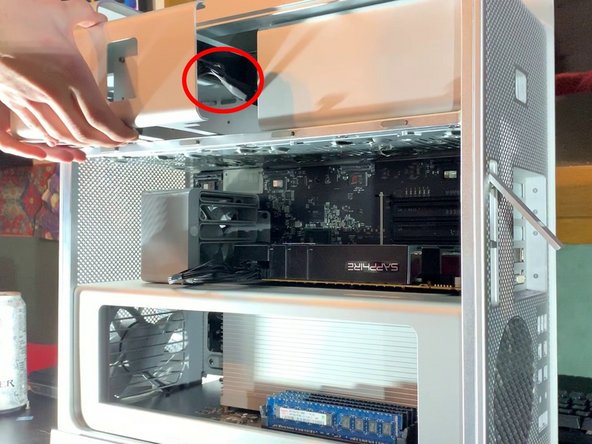
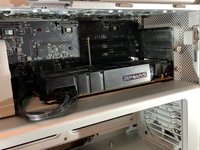
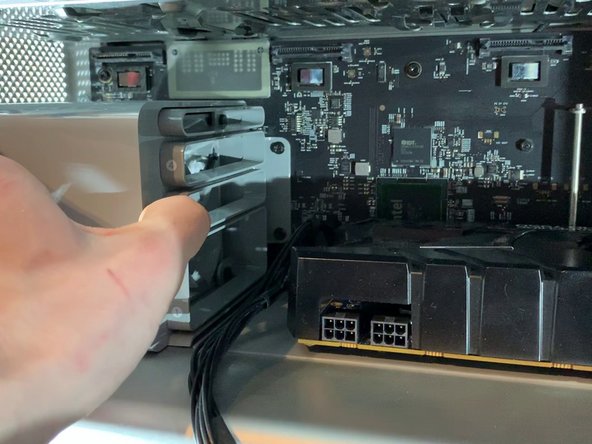
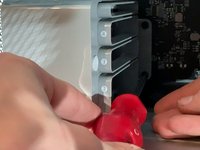
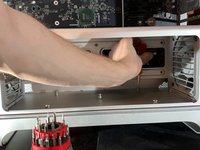
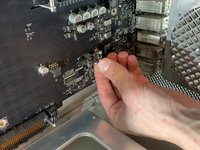
    • On the fan bracket, there is something like a button. Press it to move the support to the left (see picture)

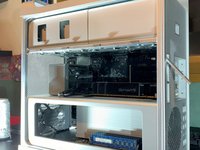
    • Then pull the graphics card towards you to take it out of the case

    • This step is optional depending on the GPU of your Mac Pro

  8. Mac Pro 2009-2012 Case Replacement, Disconnect GPU support ( optional): passo 8, imagem 1 %32 Mac Pro 2009-2012 Case Replacement, Disconnect GPU support ( optional): passo 8, imagem 2 %32
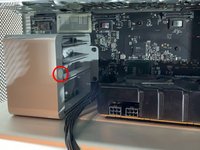
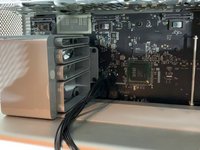
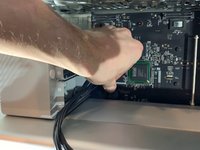
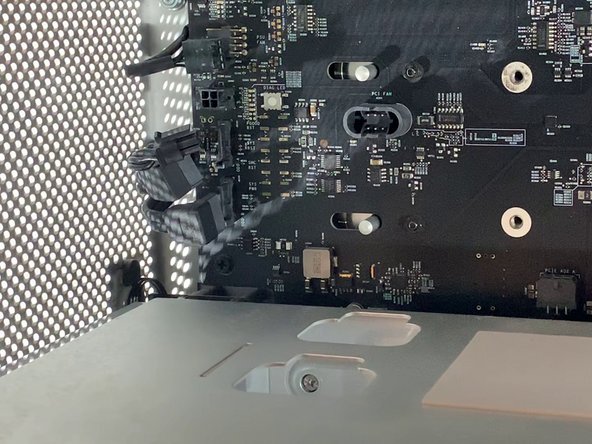
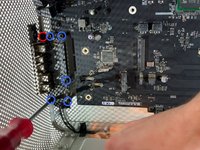
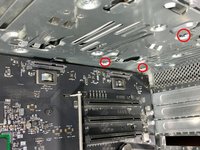
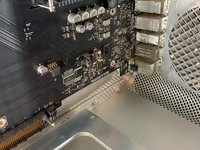
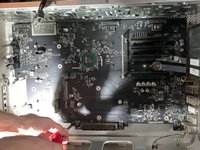
    • Disconnect the PCI-e cables from the motherboard

    • This step is optional depending on the GPU of your Mac Pro

  9. Mac Pro 2009-2012 Case Replacement, Take out the PCI-e fan: passo 9, imagem 1 %32 Mac Pro 2009-2012 Case Replacement, Take out the PCI-e fan: passo 9, imagem 2 %32 Mac Pro 2009-2012 Case Replacement, Take out the PCI-e fan: passo 9, imagem 3 %32
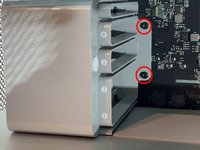
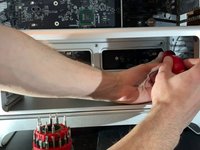
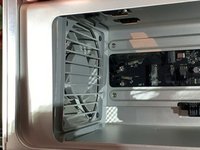
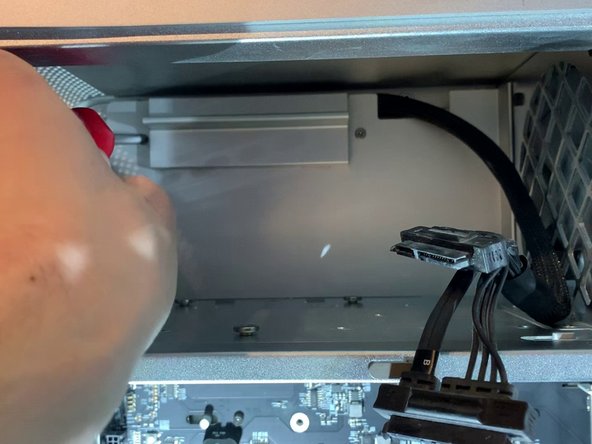
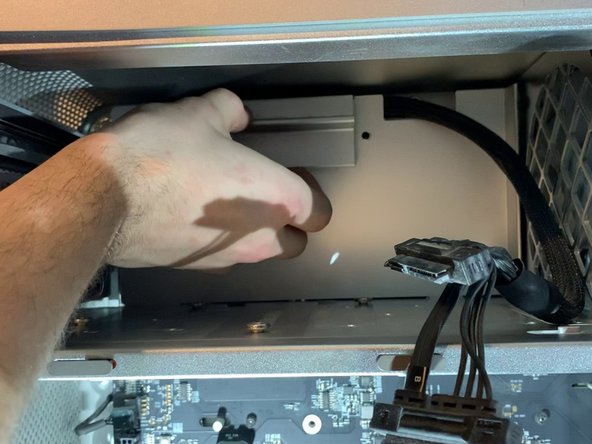
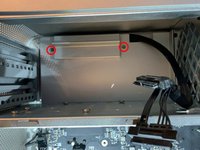
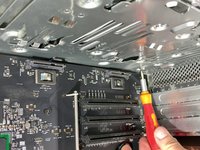
    • With a screwdriver, unscrew the two screws that hold the fan bracket to the board

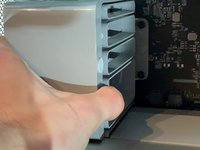
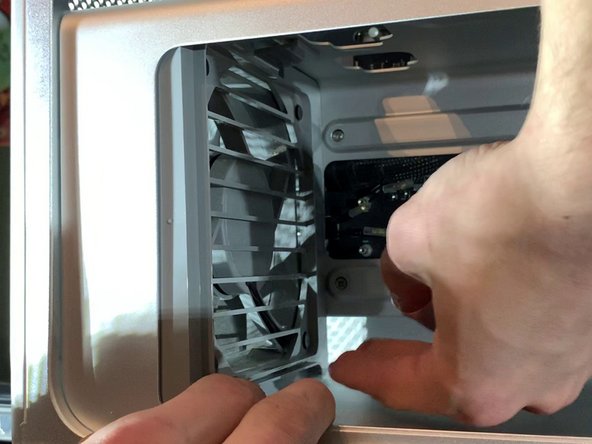
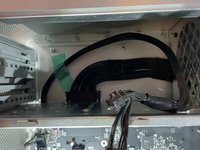
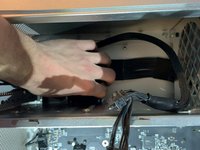
    • Pull the fan towards you (to move it away from the case)

  10. Mac Pro 2009-2012 Case Replacement, Disconnect the SATA Cables: passo 10, imagem 1 %32 Mac Pro 2009-2012 Case Replacement, Disconnect the SATA Cables: passo 10, imagem 2 %32
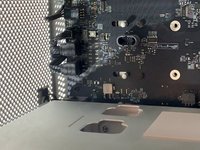
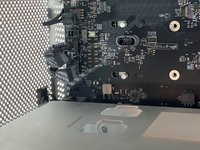
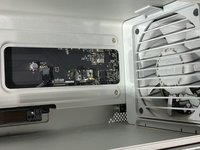
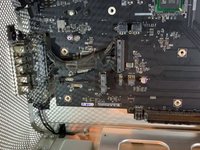
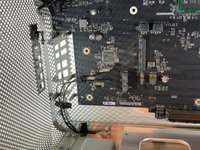
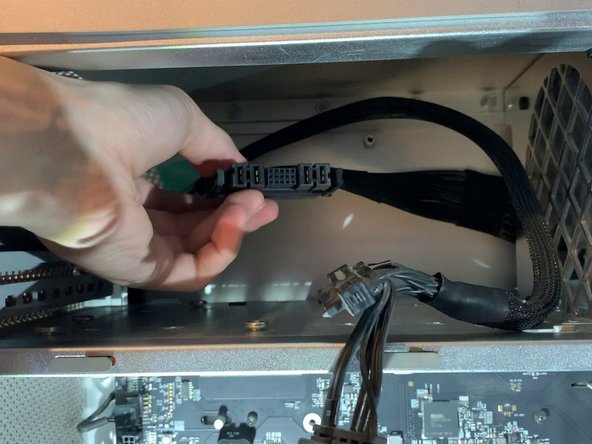
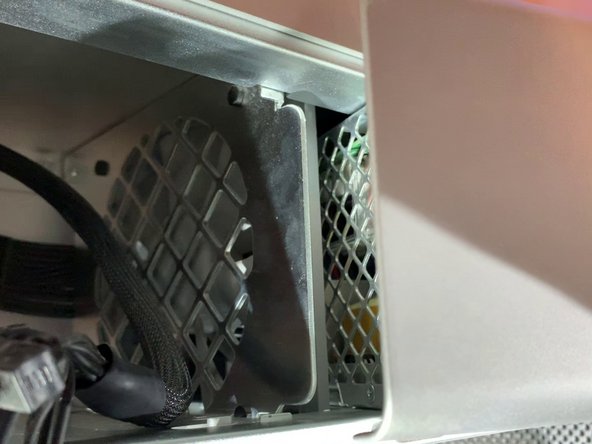
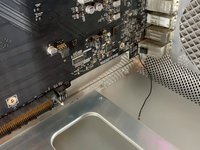
    • Behind the fan bracket, there are 2 SATA cables, a 4 pin mini power supply and a 4 pin fan

  11. Mac Pro 2009-2012 Case Replacement, Unscrew CPU support: passo 11, imagem 1 %32 Mac Pro 2009-2012 Case Replacement, Unscrew CPU support: passo 11, imagem 2 %32 Mac Pro 2009-2012 Case Replacement, Unscrew CPU support: passo 11, imagem 3 %32
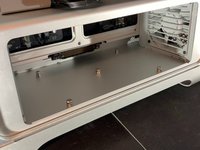
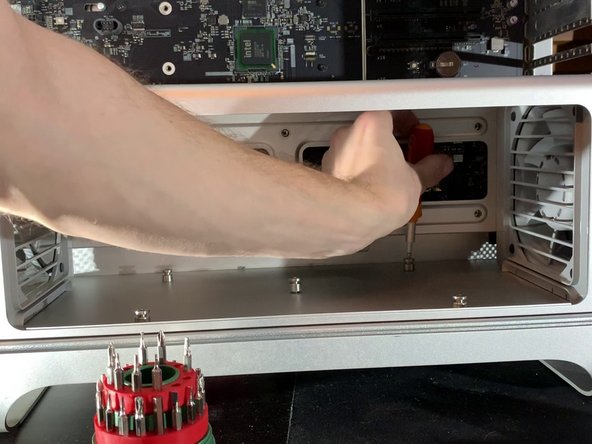
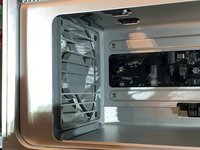
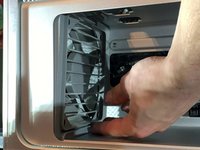
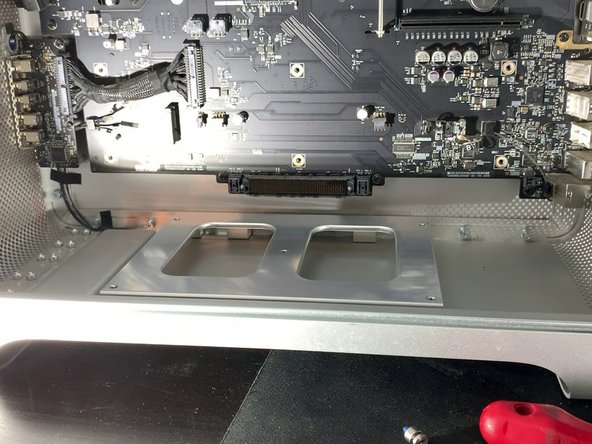
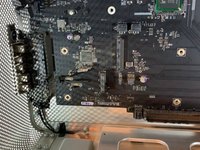
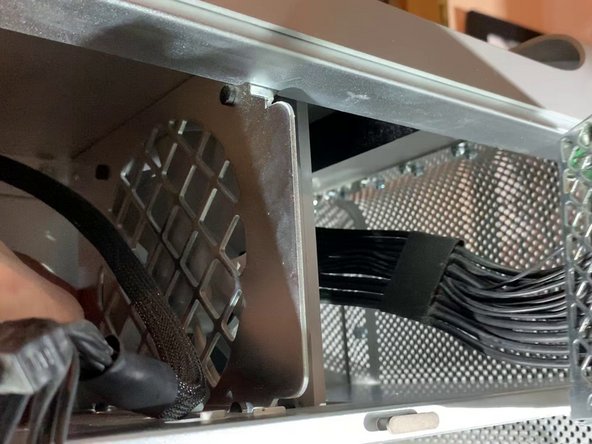
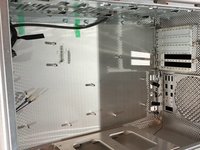
    • With a H2.5 screwdriver, unscrew the screws on the bottom of the bracket (photo 2)

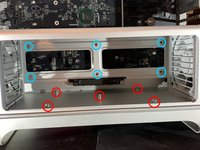
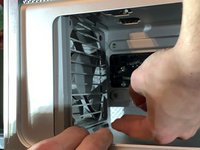
    • With a Phillips screwdriver, unscrew the screws on the bottom of the case (photo 3)

  12. Mac Pro 2009-2012 Case Replacement, Remove the CPU Fan: passo 12, imagem 1 %32 Mac Pro 2009-2012 Case Replacement, Remove the CPU Fan: passo 12, imagem 2 %32 Mac Pro 2009-2012 Case Replacement, Remove the CPU Fan: passo 12, imagem 3 %32
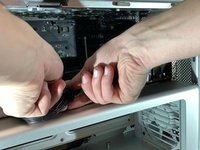
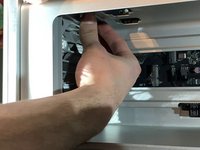
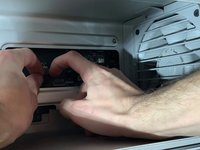
    • Remove the clip at the top of the fan

    • Pull on the top of the fan a bit.

  13. Mac Pro 2009-2012 Case Replacement, Remove the CPU Fan: passo 13, imagem 1 %32 Mac Pro 2009-2012 Case Replacement, Remove the CPU Fan: passo 13, imagem 2 %32
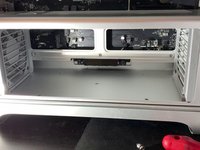
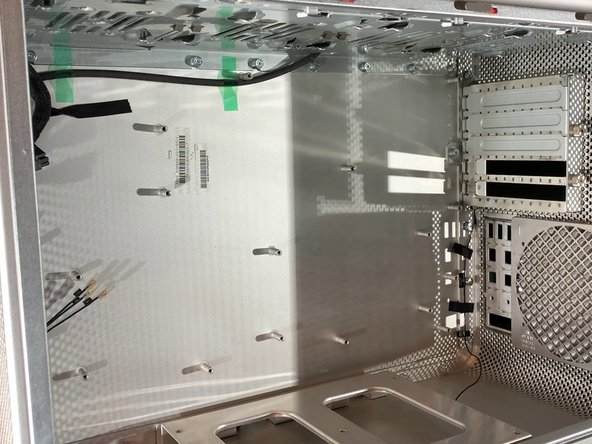
    • As with the top, remove the clip at the bottom and pull out the fan.

  14. Mac Pro 2009-2012 Case Replacement, Disconnect Fan and Speakers: passo 14, imagem 1 %32 Mac Pro 2009-2012 Case Replacement, Disconnect Fan and Speakers: passo 14, imagem 2 %32 Mac Pro 2009-2012 Case Replacement, Disconnect Fan and Speakers: passo 14, imagem 3 %32
    • Disconnect the 2 x 4 pin fan cables and the 1 x 2 pin speaker cable

    • Do not forget this step, or else you risk damaging the connectors on the motherboard and making your fans and speaker useless!

  15. Mac Pro 2009-2012 Case Replacement, Remove the CPU Support: passo 15, imagem 1 %32 Mac Pro 2009-2012 Case Replacement, Remove the CPU Support: passo 15, imagem 2 %32 Mac Pro 2009-2012 Case Replacement, Remove the CPU Support: passo 15, imagem 3 %32
    • Pull the CPU support towards you

    • Do not use force during this step. If it does not come out easily, ensure the fans are not blocking the exit.

  16. Mac Pro 2009-2012 Case Replacement, Remove the expansion card connector: passo 16, imagem 1 %32 Mac Pro 2009-2012 Case Replacement, Remove the expansion card connector: passo 16, imagem 2 %32 Mac Pro 2009-2012 Case Replacement, Remove the expansion card connector: passo 16, imagem 3 %32
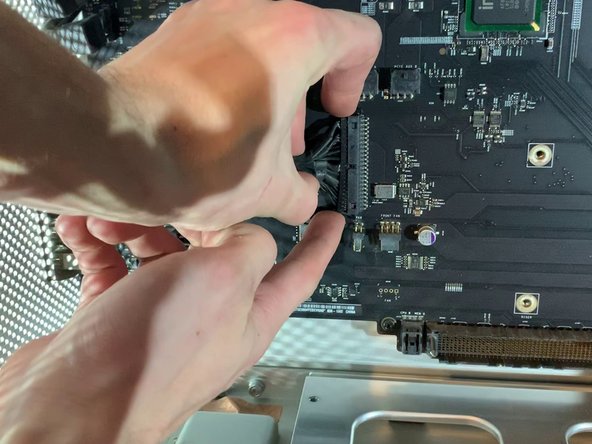
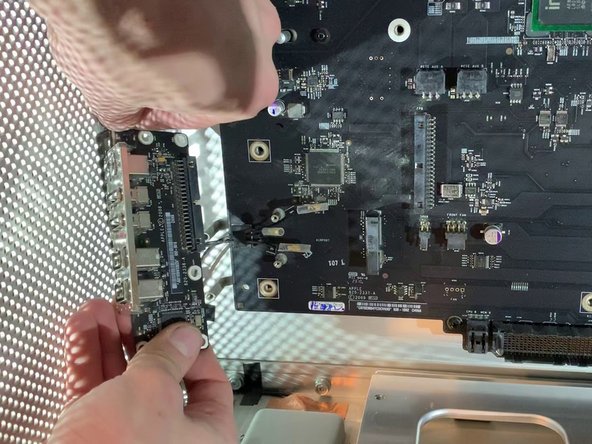
    • Remove the ribbon that connects the motherboard to the expansion card (USB, Jack, Power Off etc.)

    • Warning, remove the cable carefully so as not to bend the pins which are in the connector of the motherboard!

  17. Mac Pro 2009-2012 Case Replacement, Remove the expansion card: passo 17, imagem 1 %32 Mac Pro 2009-2012 Case Replacement, Remove the expansion card: passo 17, imagem 2 %32 Mac Pro 2009-2012 Case Replacement, Remove the expansion card: passo 17, imagem 3 %32
    • Unscrew the 5 screws that hold the card in place.

    • Be careful to unplug the power button of the card!

  18. Mac Pro 2009-2012 Case Replacement, Remove the cover: passo 18, imagem 1 %32 Mac Pro 2009-2012 Case Replacement, Remove the cover: passo 18, imagem 2 %32 Mac Pro 2009-2012 Case Replacement, Remove the cover: passo 18, imagem 3 %32
    • Unscrew the two screws and remove the cover

  19. Mac Pro 2009-2012 Case Replacement, Unplug the power supply: passo 19, imagem 1 %32 Mac Pro 2009-2012 Case Replacement, Unplug the power supply: passo 19, imagem 2 %32 Mac Pro 2009-2012 Case Replacement, Unplug the power supply: passo 19, imagem 3 %32
    • Push on both knobs to remove the power connector

    • Do not use force, if you are struggling ensure you are squeezing the clips adequately.

  20. Mac Pro 2009-2012 Case Replacement, Separate the power supply: passo 20, imagem 1 %32 Mac Pro 2009-2012 Case Replacement, Separate the power supply: passo 20, imagem 2 %32
    • Unscrew the 4 screws that hold in the power supply

  21. Mac Pro 2009-2012 Case Replacement, Remove the power supply: passo 21, imagem 1 %32 Mac Pro 2009-2012 Case Replacement, Remove the power supply: passo 21, imagem 2 %32 Mac Pro 2009-2012 Case Replacement, Remove the power supply: passo 21, imagem 3 %32
    • Pull the power supply towards you.

    • Be sure to pull the connector forward and watch the cables

  22. Mac Pro 2009-2012 Case Replacement, Detach the bluetooth antenna: passo 22, imagem 1 %32 Mac Pro 2009-2012 Case Replacement, Detach the bluetooth antenna: passo 22, imagem 2 %32 Mac Pro 2009-2012 Case Replacement, Detach the bluetooth antenna: passo 22, imagem 3 %32
    • Unclip the bluetooth antenna

  23. Mac Pro 2009-2012 Case Replacement, Remove the motherboard: passo 23, imagem 1 %32 Mac Pro 2009-2012 Case Replacement, Remove the motherboard: passo 23, imagem 2 %32 Mac Pro 2009-2012 Case Replacement, Remove the motherboard: passo 23, imagem 3 %32
    • Unscrew the 10 screws holding in the motherboard

  24. Mac Pro 2009-2012 Case Replacement, Change the case: passo 24, imagem 1 %32
    • Follow the steps in reverse for reassembly!

Conclusão

To reassemble your device, follow the instructions in reverse order.

23 outras pessoas executaram este guia.

Um agradecimento especial a esses tradutores:

fr en

100%

Estes tradutores estão nos ajudando a consertar o mundo! Quer contribuir?
Comece a traduzir ›

remitouch

Membro desde: 10/12/16

1.039 Reputação

Autoria de 1 guia

7Comentários do guia

Bonjour, j’ai un mac pro 5,1 de 2010 dont les clapets (ou les trappes, j’ignore le terme exact) de la baie des lecteurs de disques restent ouverts à chaque fois qu’ils sont actionnés. Je n’ai pas réussi à les démonter, et les 2 gouttes de 3 en 1 sur les glissières latérales n’ont rien changé au problème. Je n’ai trouvé aucun tutoriel, ni même aucune occurrence de ce problème sur le web. Pourriez-vous me donner quelques conseils ? Merci.

Gabriel Fracque - Responder

Amazing explanations and perfect picture track on each move made.

Thanks much - this was very helpful :)

Dennis.

Dennis OBrien - Responder

Hello sir , I have a problem with my Mac Pro 5,1 mid 2010 Xeon 6core Cpu 64 GB Ram RX580

I erase SSD Hard Drive and I want to reinstall mojave OS and it does not work still appear ‘Missing Operating System’

I try to use all commends on startup like (Option) (Commend+R) (Option+Commend+R)(Option+Commend+R+P) and more commends

but nothing work with it … please I want help . I need your help please , please …

Hussain Khan - Responder

You’d probably get an answer a lot quicker if you just posted that as a question.

[deleted] -

Thanks for posting this guide!

I used it to replace all the cooking fans in my macpro5,1. Worked great!!

Andrew Clark - Responder

Comentar

Visualizações:

Últimas 24 horas: 8

Últimos 7 dias: 50

Últimos 30 dias: 228

Ao todo: 29,310