Introdução
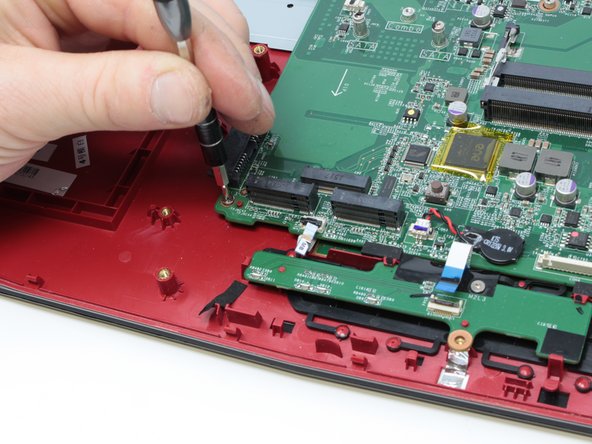
It is recommended when doing this guide to be very meticulous when disassembling the laptop to remove the motherboard. There are some connectors that may be fragile, so use caution when disconnecting some components.
O que você precisa
-
-
With the laptop closed and upside down, unscrew the nineteen 5.5mm Phillips #1 screws that keep the back cover in place.
-
-
-
Use a Phillips #1 screwdriver to remove the ten 5.5mm screws.
-
Remove the last two 5.5mm Phillips #1 screws, and remove the washers around them.
-
-
-
-
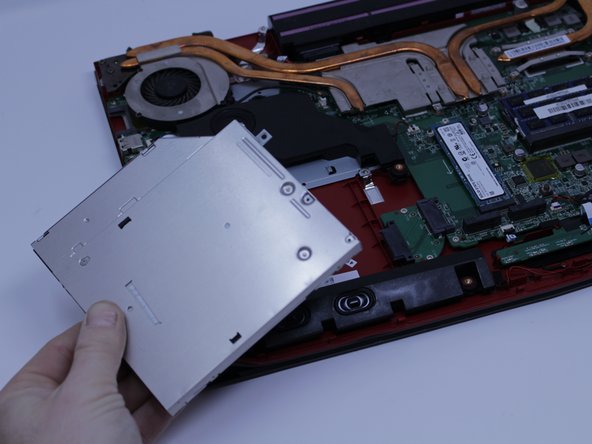
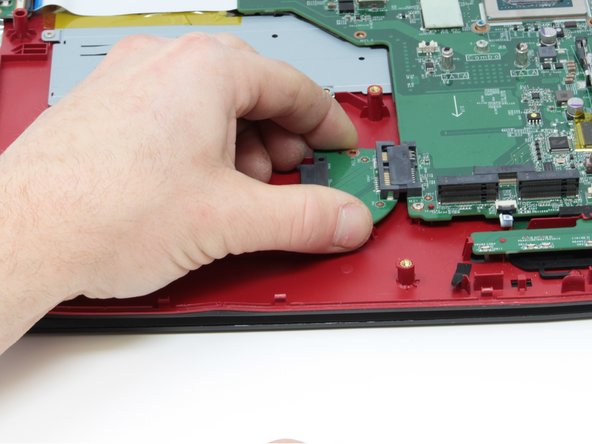
Carefully slide the Optical Drive off of the SATA connector.
-
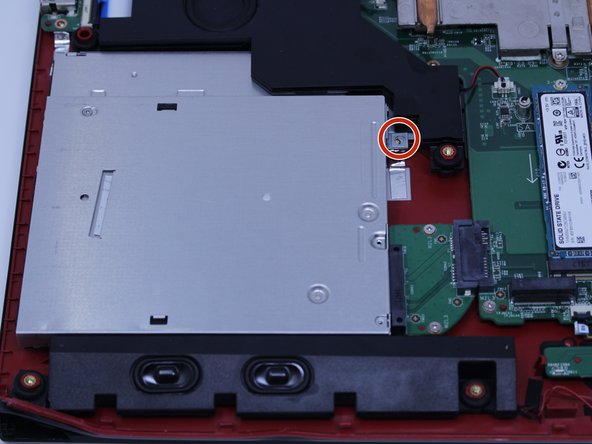
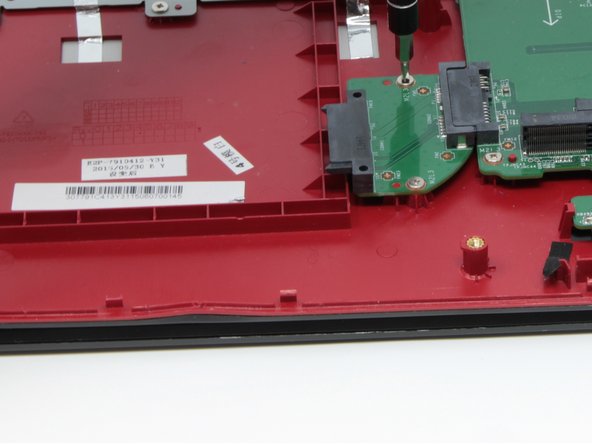
The red marker shows the location for where the retaining screw comes through the back panel to hold the Optical Drive.
-
-
-
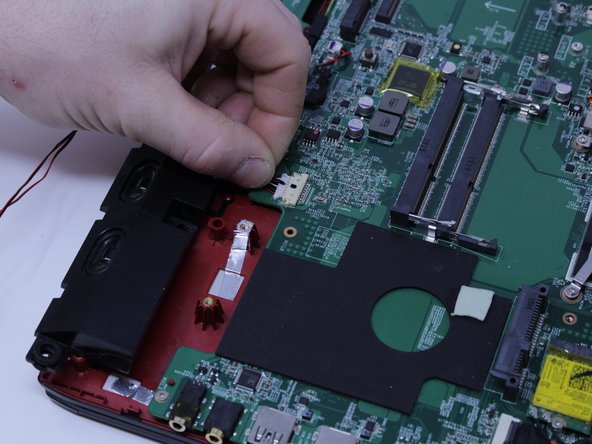
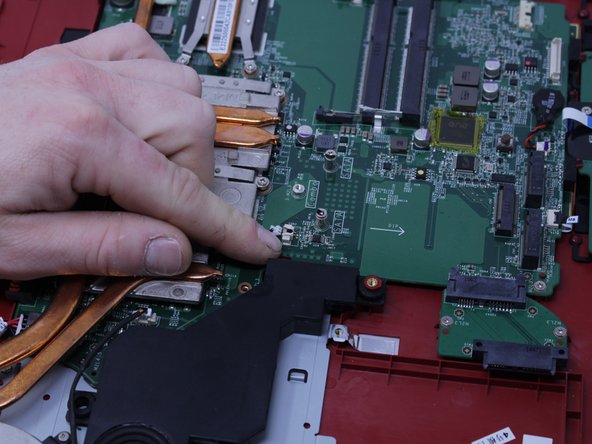
Pull upward to lift the front speakers and sub-woofer out of place.
-
Carefully slide out the connectors for both of the speaker systems.
-


To reassemble your device, follow these instructions in reverse order.
To reassemble your device, follow these instructions in reverse order.
Cancelar: não concluí este guia.
2 outras pessoas executaram este guia.
Equipe

Central Washington University, Team S1-G2, Pengilly Fall 2017 Membro de Central Washington University, Team S1-G2, Pengilly Fall 2017
CWU-PENGILLY-F17S1G2
Membros da 4
Autoria de 4 guias
2 comentários
Hi Riley,
Are you able to tell me what the number on the power IC is on this board? I have the same laptop and the power IC (located on the base of the board below ‘opposite side’ of the AC power connection cable to the board). The IC is fried and need the number to order the chip! It can’t be read off my chip due to damage.
Many thanks in advance, Luke :)