Ir para o conteúdo principal

Esta versão pode conter edições incorretas. Mude para o último instantâneo verificado.

O que você precisa

  1. Este passo não foi traduzido. Ajude a traduzi-lo

    : passo 1, imagem 1 %32
    • Start with the bottom of the laptop facing up.

  2. Este passo não foi traduzido. Ajude a traduzi-lo

    : passo 2, imagem 1 %32 : passo 2, imagem 2 %32
    • Remove the 15 screws from the bottom of the laptop with a PH1 screwdriver.

    • Remove the bottom plate

    • Keep track of all the screws and which slot they came from, as they slightly differ. We recommend this system: lay out on a piece of paper and pretending the paper is the device. Place the screws on the paper approximately where they would go

  3. Este passo não foi traduzido. Ajude a traduzi-lo

    : passo 3, imagem 1 %32 : passo 3, imagem 2 %32 : passo 3, imagem 3 %32
    • Remove the screw holding down the battery with a PH1 screwdriver.

    • Pull out the battery.

  4. Este passo não foi traduzido. Ajude a traduzi-lo

    : passo 4, imagem 1 %32 : passo 4, imagem 2 %32 : passo 4, imagem 3 %32
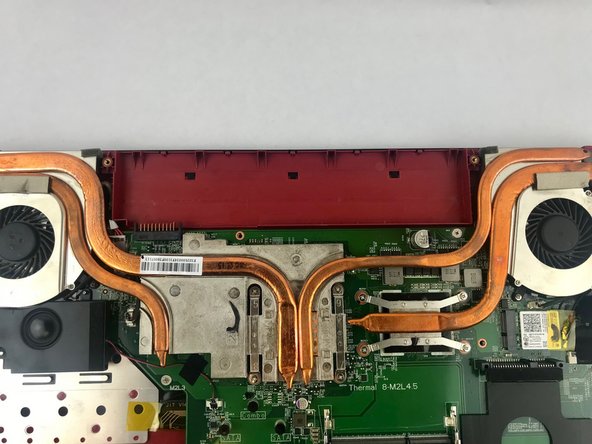
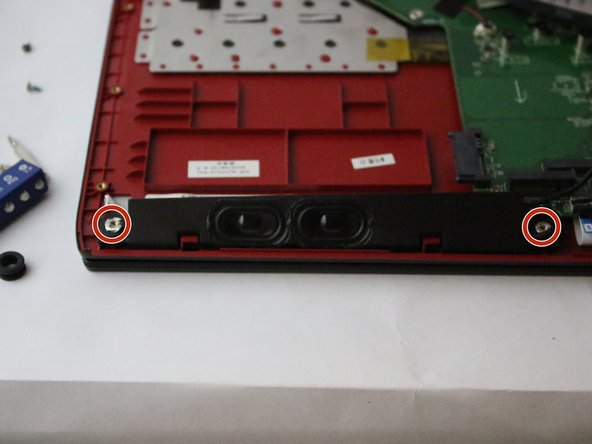
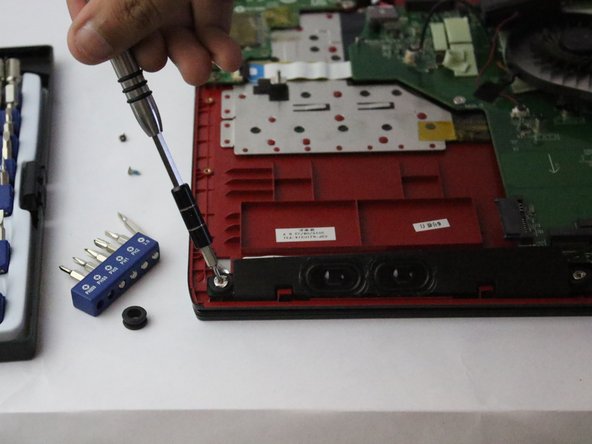
    • Remove the four screws, two on each speaker, with a PH1 screwdriver.

  5. Este passo não foi traduzido. Ajude a traduzi-lo

    : passo 5, imagem 1 %32 : passo 5, imagem 2 %32
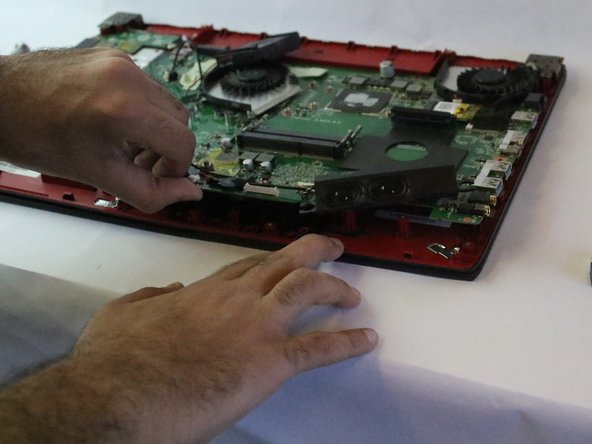
    • Gently pull back the speakers until they release from their socket.

    • Keep track of which speaker went where. The connectors for the speakers are unique; you cannot use a speaker that should go on the right side on the left side and vice versa.

Linha de Chegada

Majid Al Hashmi

Membro desde: 02/13/18

283 Reputação

Autoria de 2 guias

Equipe

USF Tampa, Team S15-G5, Boczar Spring 2018 Membro de USF Tampa, Team S15-G5, Boczar Spring 2018

USFT-BOCZAR-S18S15G5

Membros da 4

Autoria de 5 guias

0 comentários

Adicione um comentário

Exibir estatísticas:

Últimas 24 horas: 0

Últimos 7 dias: 6

Últimos 30 dias: 12

Duração total: 1,485