Introdução
If your MSI GE62 7RD laptop isn’t up to speed for web browsing and gaming, it might be worthwhile to add more RAM (Random Access Memory). Adding more RAM is an easy way to improve a computer’s performance, especially for certain tasks like multiple tab web browsing and gaming.
However, before you add more RAM to your laptop, it might be worthwhile to make sure the slow speeds are not due to a virus, fragmented hard drive, or excessive background programs.
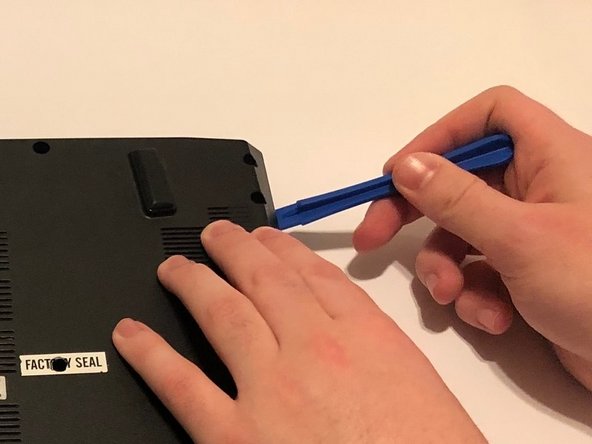
Before beginning, make sure to power off your laptop completely and disconnect it from any wall outlet.
O que você precisa


To reassemble your device, follow these instructions in reverse order.
To reassemble your device, follow these instructions in reverse order.
Cancelar: não concluí este guia.
Uma outra pessoa concluiu este guia.
Equipe

University of Memphis, Team S2-G12, Willis Fall 2020 Membro de University of Memphis, Team S2-G12, Willis Fall 2020
UM-WILLIS-F20S2G12
1 Membro
1 Guia de autoria