Ir para o conteúdo principal

MSI Force GC30 V2 D-Pad Replacement

O que você precisa

  1. MSI Force GC30 V2 D-Pad Replacement, Back Cover: passo 1, imagem 1 %32
    • Puncture the sticker where indicated using a screwdriver.

    • Remove the 9.1 mm-long Phillips #0 screw.

    • Remove the remaining six 9.2 mm-long Phillips #0 screws with a Philips #0 screwdriver.

  2. MSI Force GC30 V2 D-Pad Replacement: passo 2, imagem 1 %32 MSI Force GC30 V2 D-Pad Replacement: passo 2, imagem 2 %32 MSI Force GC30 V2 D-Pad Replacement: passo 2, imagem 3 %32
    • Insert an opening pick in the gap between the front and rear case.

    • Slide the pick around the perimeter of the controller while prying.

    • Once the rear case is released, gently pull it away from the front case.

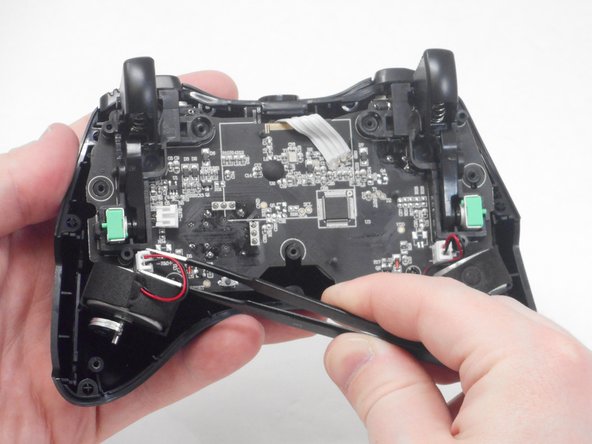
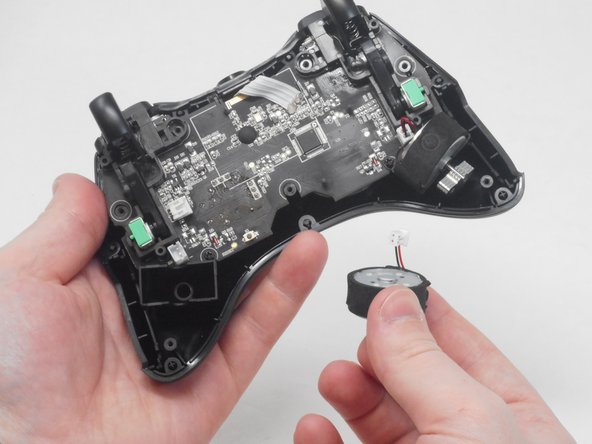
  3. MSI Force GC30 V2 D-Pad Replacement, Vibration Motor: passo 3, imagem 1 %32 MSI Force GC30 V2 D-Pad Replacement, Vibration Motor: passo 3, imagem 2 %32 MSI Force GC30 V2 D-Pad Replacement, Vibration Motor: passo 3, imagem 3 %32
    • Use blunt tweezers to disconnect both of the vibration motor connectors from the motherboard.

    • Grip the white connectors, not the wires.

    • Carefully remove both the right and left vibration motors from their housing.

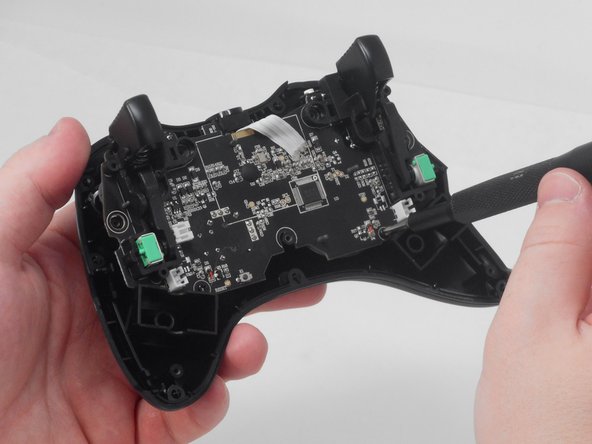
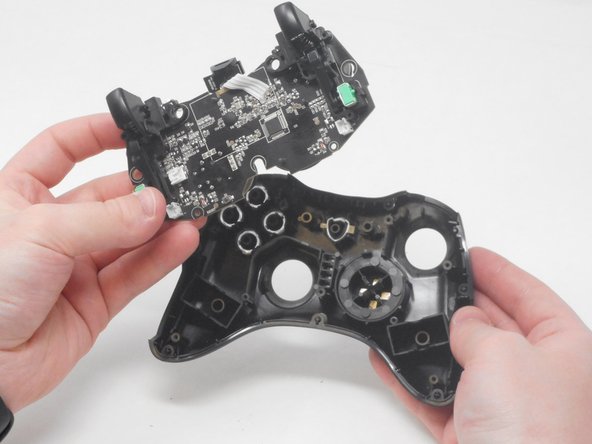
  4. MSI Force GC30 V2 D-Pad Replacement, D-Pad: passo 4, imagem 1 %32 MSI Force GC30 V2 D-Pad Replacement, D-Pad: passo 4, imagem 2 %32 MSI Force GC30 V2 D-Pad Replacement, D-Pad: passo 4, imagem 3 %32
    • Remove the 7.1 mm-long screw with a Phillips #0 screwdriver.

    • Remove the 7 mm-long screw with a Phillips #0 screwdriver.

    • Carefully lift the motherboard out of its housing.

  5. MSI Force GC30 V2 D-Pad Replacement: passo 5, imagem 1 %32 MSI Force GC30 V2 D-Pad Replacement: passo 5, imagem 2 %32 MSI Force GC30 V2 D-Pad Replacement: passo 5, imagem 3 %32
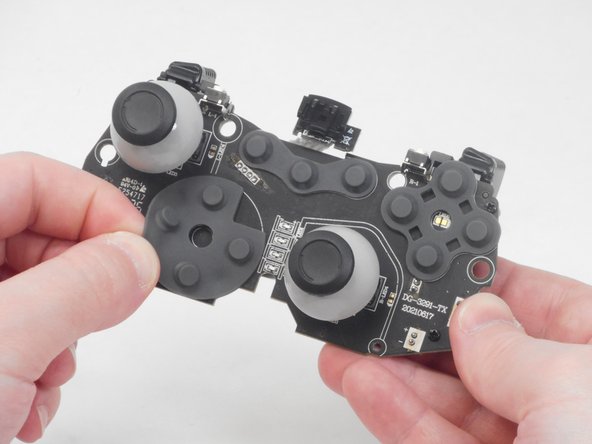
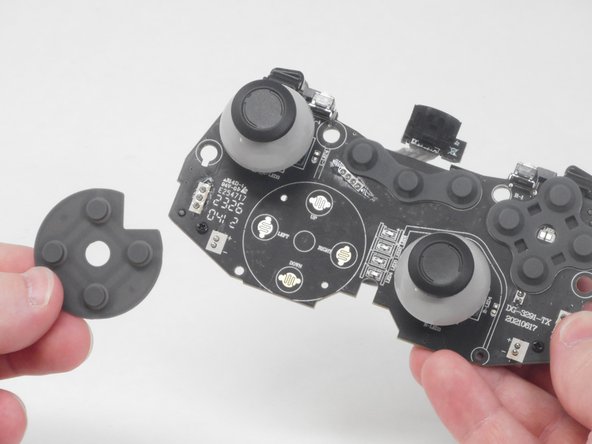
    • Remove the rubber button membrane from the motherboard.

  6. MSI Force GC30 V2 D-Pad Replacement: passo 6, imagem 1 %32 MSI Force GC30 V2 D-Pad Replacement: passo 6, imagem 2 %32 MSI Force GC30 V2 D-Pad Replacement: passo 6, imagem 3 %32
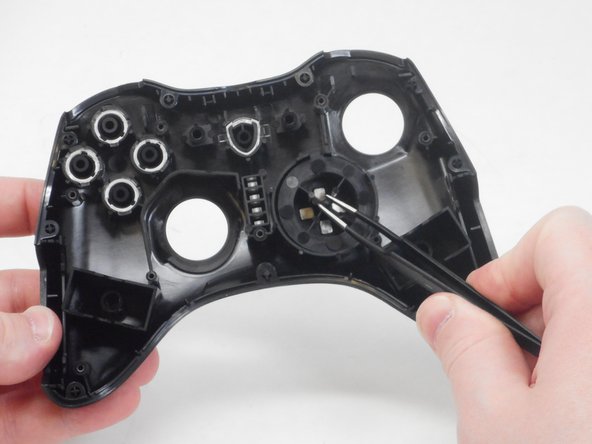
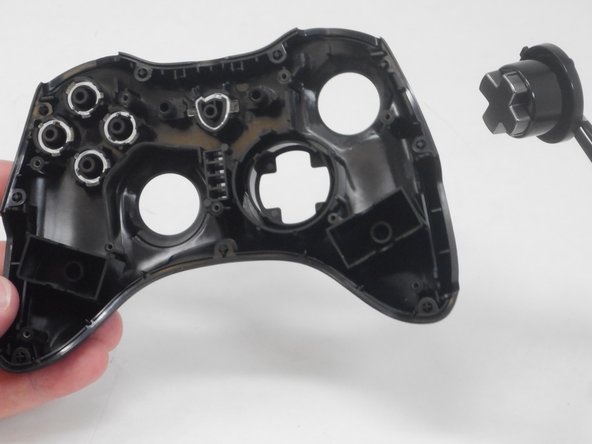
    • Remove the D-pad from the front case.

  7. MSI Force GC30 V2 D-Pad Replacement: passo 7, imagem 1 %32 MSI Force GC30 V2 D-Pad Replacement: passo 7, imagem 2 %32
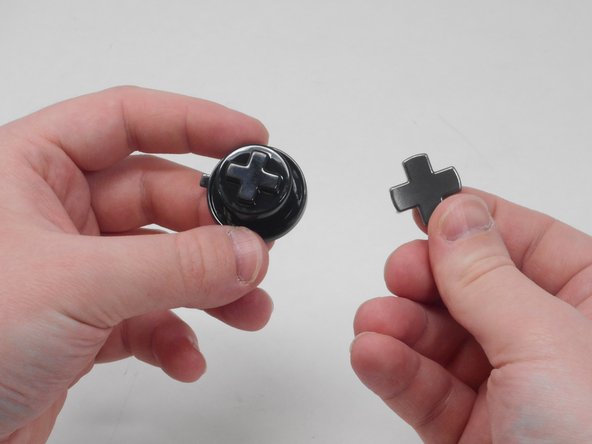
    • Optional: Remove the D-Pad end cap from D-Pad button.

    • The included alternate D-Pad end cap can be reattached after reassembling the device.

Conclusão

To reassemble your device, follow these instructions in reverse order.

Uma outra pessoa concluiu este guia.

0 comentários

Adicione um comentário

Exibir estatísticas:

Últimas 24 horas: 3

Últimos 7 dias: 16

Últimos 30 dias: 57

Duração total: 93