Introdução
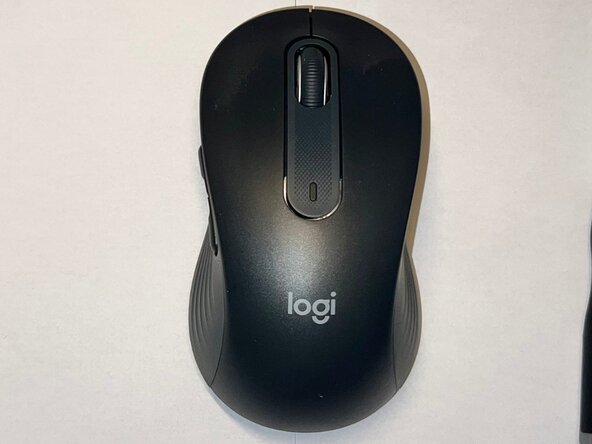
If your Logitech Signature M650 L wireless mouse has a scroll wheel that skips, scrolls inconsistently, or no longer registers movement, this guide will walk you through replacing the scroll wheel assembly.
The scroll wheel assembly is responsible for translating physical wheel movement into scrolling input. When this component wears out or becomes damaged, the mouse may scroll erratically, reverse direction unexpectedly, or stop scrolling altogether.
This guide demonstrates how to disassemble the mouse, remove the existing scroll wheel assembly, and install a replacement.
Before beginning this repair, power off the mouse and remove the battery to avoid accidental input or electrical damage.
O que você precisa
-
-
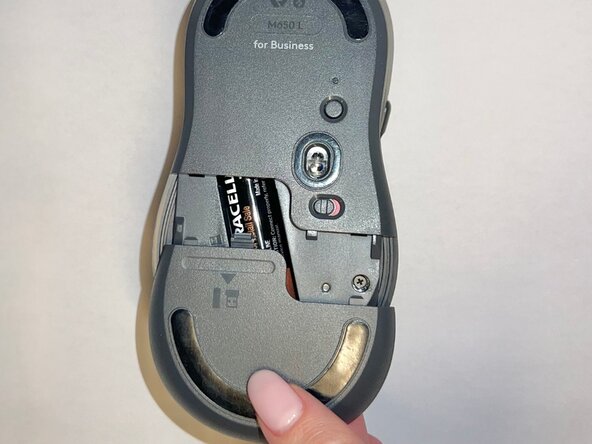
Slide the battery compartment cover downward and lift it away from the mouse.
 Pergunte ao FixBot
-
-
-
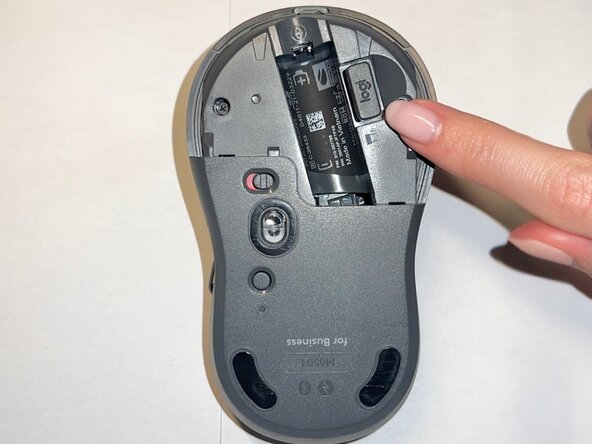
Remove the USB receiver from its storage slot inside the battery compartment.
-
-
-
Use a Phillips #000 screwdriver to remove the two screws securing the internal frame.
-
-
-
-
Use a Phillips #000 screwdriver to remove the two screws securing the scroll wheel assembly.
-
-
-
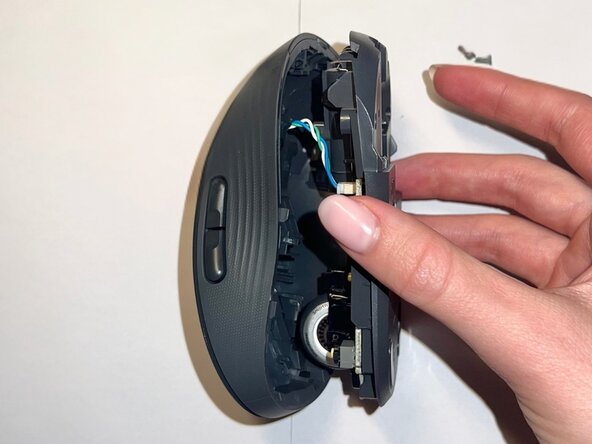
Lift the scroll wheel assembly out of the mouse and install the replacement assembly in the same position.
-
-
-
Replace the two Phillips #000 screws to secure the scroll wheel assembly.
-
-
-
Align the top shell with the base and press down along the edges until it snaps into place.
-
-
-
Use a Phillips #000 screwdriver to reinstall the two internal screws.
-
-
-
Insert the AA battery, reinstall the USB receiver, and slide the battery compartment cover back into place.
-







To reassemble your device, follow these instructions in reverse order. Take your e-waste to an R2 or e-Stewards certified recycler.
Cancelar: não concluí este guia.
Uma outra pessoa concluiu este guia.

Equipe

Central Washington University, Team 1-10, Pengilly Winter 2026 Membro de Central Washington University, Team 1-10, Pengilly Winter 2026
CWU-PENGILLY-W26S1G10
1 Membro
1 Guia de autoria
