Introdução
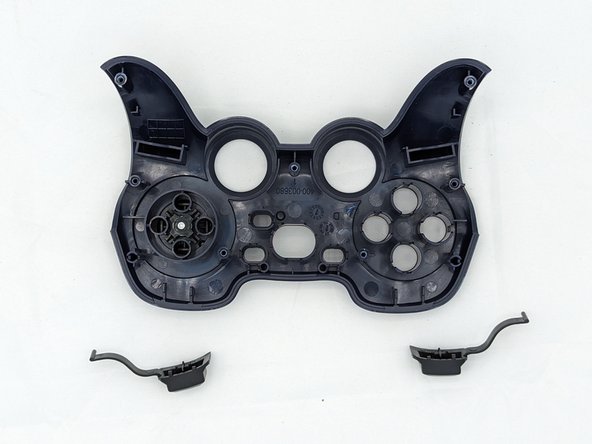
During this guide you will learn how to replace the bumpers on the Logitech Gamepad F310. The bumpers are the first set of buttons on the top part of the controller. They are small and rectangular.
The bumpers are special function for controller. So the bumpers are necessary tool for controller to play the functions for gaming purpose such as zooming, aiming, and etc.
No special tools or skills are required.
O que você precisa
-
-
Use a Phillips #1 screwdriver to remove all seven 3 mm screws that secure the rear case.
-
-


You're all finished! To reassemble your device, follow these instructions in reverse order.
You're all finished! To reassemble your device, follow these instructions in reverse order.

Equipe

University of North Texas, Team 2-6, Kilpatrick Spring 2024 Membro de University of North Texas, Team 2-6, Kilpatrick Spring 2024
UNT-KILPATRICK-S24S2G6
Membros da 4
Autoria de 6 guias