Introdução
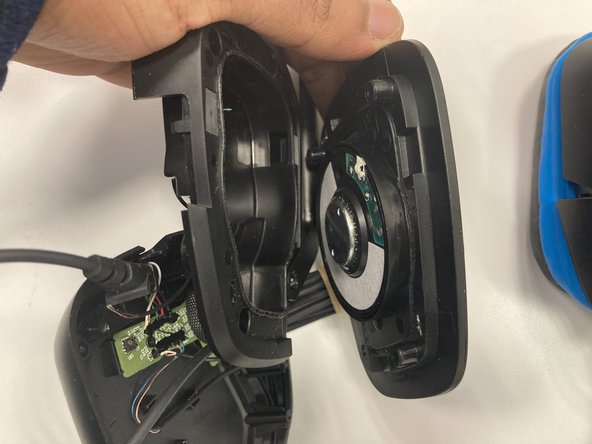
If the speaker in your Logitech G432 is blown out, damaged, or makes a static sound, the speaker is most likely faulty and requires replacement. Use this guide to access your speaker.
A functional speaker provides the sound for your headset. After long periods of loud usage, the speaker will eventually become more susceptible to damage. Turning up the volume to its loudest point can cause the speaker to blow out, which will require replacement. Before deciding to replace the speaker, check to make sure the volume is working properly to confirm that the issue is with the speaker, not the volume button. If the volume button appears to be working, it is likely time to replace the speaker.
Make sure to power the headset down before beginning this replacement.
O que você precisa
-
-
Remove the three 1.0 mm screws from the edge of the earpiece using a Phillips #0 screwdriver.
-
Use the pointed end of a spudger to remove the black sticker covering the fourth screw.
-
Remove the single 1.0 mm screw from beneath the sticker using a Phillips #0 screwdriver.
-
-


To reassemble your device, follow these instructions in reverse order.
To reassemble your device, follow these instructions in reverse order.

Equipe

Marist, Team 1-2, Chaterdon Spring 2023 Membro de Marist, Team 1-2, Chaterdon Spring 2023
MARS-CHATERDON-S23S1G2
Membros da 3
Autoria de 9 guias
Um comentário
Hey, I have issues trying to remove the speaker itself from the other piece, so I cant place the new one, any suggestions?