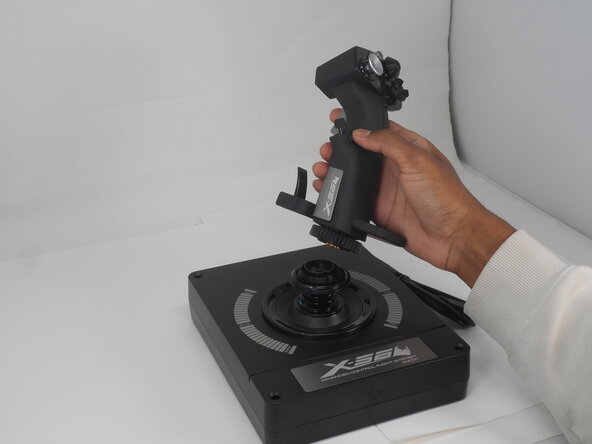
Ir para o conteúdo principal

Logitech G X56 HOTAS Joystick Trigger Spring Replacement

O que você precisa

  1. Logitech G X56 HOTAS Joystick Trigger Spring Replacement, Logitech G X56 HOTAS Joystick Opening Joystick Disassembly: passo 1, imagem 1 %32 Logitech G X56 HOTAS Joystick Trigger Spring Replacement, Logitech G X56 HOTAS Joystick Opening Joystick Disassembly: passo 1, imagem 2 %32
    • Turn the locking bezel counterclockwise, then remove the joystick from the joystick base.

  2. Logitech G X56 HOTAS Joystick Trigger Spring Replacement: passo 2, imagem 1 %32 Logitech G X56 HOTAS Joystick Trigger Spring Replacement: passo 2, imagem 2 %32 Logitech G X56 HOTAS Joystick Trigger Spring Replacement: passo 2, imagem 3 %32
    • Remove the five 11.7 mm-long Phillips #0 screws that secure the case.

  3. Logitech G X56 HOTAS Joystick Trigger Spring Replacement: passo 3, imagem 1 %32 Logitech G X56 HOTAS Joystick Trigger Spring Replacement: passo 3, imagem 2 %32
    • Pull the joystick casing apart to reveal the internal components.

    • The casing will need a little force to split open.

    • Take care not to damage or strain the connected cable.

  4. Logitech G X56 HOTAS Joystick Trigger Spring Replacement: passo 4, imagem 1 %32 Logitech G X56 HOTAS Joystick Trigger Spring Replacement: passo 4, imagem 2 %32
    • Grip and pull the white connector directly out of its socket.

    • The connector is fragile. If removed forcefully, it may affect the PCB performance.

  5. Logitech G X56 HOTAS Joystick Trigger Spring Replacement: passo 5, imagem 1 %32 Logitech G X56 HOTAS Joystick Trigger Spring Replacement: passo 5, imagem 2 %32
    • Refer to the left or right side for replacement guides of other parts (left, then right side in order).

  6. Logitech G X56 HOTAS Joystick Trigger Spring Replacement, Trigger Spring: passo 6, imagem 1 %32 Logitech G X56 HOTAS Joystick Trigger Spring Replacement, Trigger Spring: passo 6, imagem 2 %32
    • Locate the trigger button on the left dissembled side of the joystick.

  7. Logitech G X56 HOTAS Joystick Trigger Spring Replacement: passo 7, imagem 1 %32 Logitech G X56 HOTAS Joystick Trigger Spring Replacement: passo 7, imagem 2 %32
    • Use two fingers to grab the trigger and pull upwards slowly.

    • The spring attached to the trigger pops out if not done carefully.

  8. Logitech G X56 HOTAS Joystick Trigger Spring Replacement: passo 8, imagem 1 %32 Logitech G X56 HOTAS Joystick Trigger Spring Replacement: passo 8, imagem 2 %32
    • Detach the spring and replace it with a new one.

Conclusão

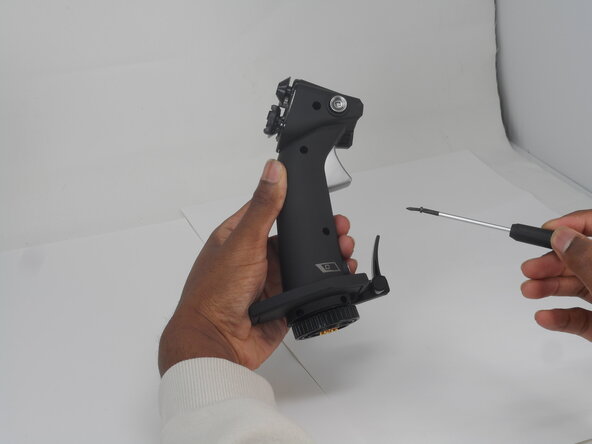
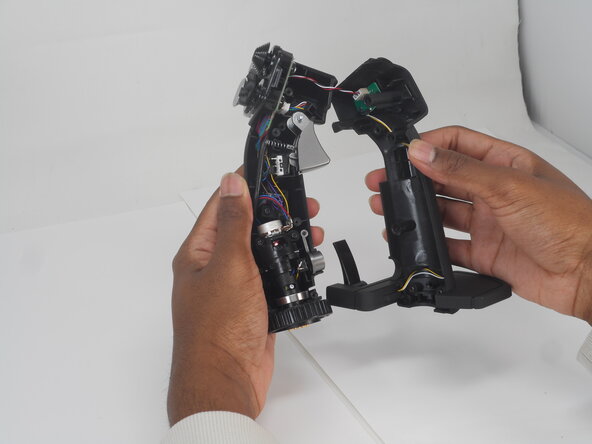
To reassemble your device, follow these instructions in reverse order.

0Comentários do guia

Comentar

Visualizações:

Últimas 24 horas: 0

Últimos 7 dias: 20

Últimos 30 dias: 28

Ao todo: 67