Ir para o conteúdo principal

LifePrint 2x3 Motor-Feeder Replacement

  1. LifePrint 2x3 Motor-Feeder Replacement, Motor-Feeder: passo 1, imagem 1 %32 LifePrint 2x3 Motor-Feeder Replacement, Motor-Feeder: passo 1, imagem 2 %32 LifePrint 2x3 Motor-Feeder Replacement, Motor-Feeder: passo 1, imagem 3 %32
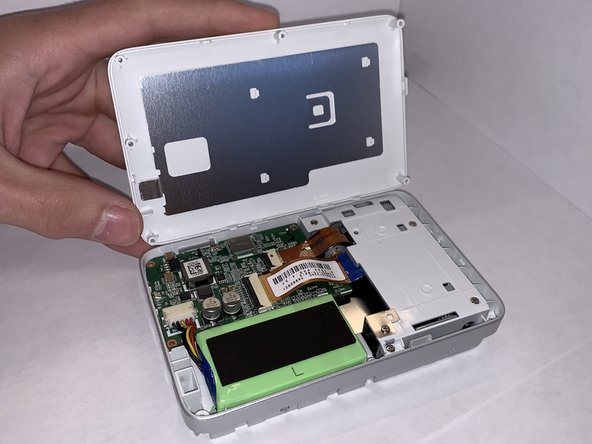
    • Make sure the top of the Lifeprint is facing upwards displaying the Lifeprint logo.

    • Slide open the top cover and remove the top lid.

  2. LifePrint 2x3 Motor-Feeder Replacement: passo 2, imagem 1 %32 LifePrint 2x3 Motor-Feeder Replacement: passo 2, imagem 2 %32 LifePrint 2x3 Motor-Feeder Replacement: passo 2, imagem 3 %32
    • Remove the six screws on the outer sides of the device with the Phillips #00 screwdriver.

    • The motor is highlighted in orange.

  3. LifePrint 2x3 Motor-Feeder Replacement: passo 3, imagem 1 %32 LifePrint 2x3 Motor-Feeder Replacement: passo 3, imagem 2 %32
    • After removing the six screws, gently flip the device over so the bottom cover is facing you.

    • Remove the bottom cover by using the opening pick.

  4. LifePrint 2x3 Motor-Feeder Replacement: passo 4, imagem 1 %32 LifePrint 2x3 Motor-Feeder Replacement: passo 4, imagem 2 %32 LifePrint 2x3 Motor-Feeder Replacement: passo 4, imagem 3 %32
    • Remove the four screws using the Phillips #00 screwdriver to access the motor and sensor (highlighted in orange).

  5. LifePrint 2x3 Motor-Feeder Replacement: passo 5, imagem 1 %32 LifePrint 2x3 Motor-Feeder Replacement: passo 5, imagem 2 %32 LifePrint 2x3 Motor-Feeder Replacement: passo 5, imagem 3 %32
    • Remove the component holding the motor and feeder.

    • Using a spudger remove the top piece of the component to get to the motor and feeder.

    • Remove the motor and feeder assembly from the device.

Conclusão

To reassemble your device, follow these instructions in reverse order.

0 comentários

Adicione um comentário

Exibir estatísticas:

Últimas 24 horas: 1

Últimos 7 dias: 6

Últimos 30 dias: 17

Duração total: 255