Introdução
This guide will help you through the process of replacing the storage media on your Lenovo ThinkPad X201. This guide can be helpful both when replacing a dead hard drive but also for upgrading an old spinning drive with a speedy SSD. Please note that all your files, including your Operating System (Such as Windows) will still be on the old drive so take a backup to external media BEFORE you take it out or connect it through an external SATA to USB adapter to copy files from it.
O que você precisa
-
-
Disconnect the power cord, flip the laptop over and disconnect the battery by unlocking the lock tab and pushing the battery towards the back side of the device.
-
Once both the battery and power cord have been disconnected, hold the power button for a few seconds to flush any remaining power from the capacitors.
-
-
-
Unscrew the single PH0 screw from the storage compartment door
-
-
-
Get a Phillips #0 screwdriver.
-
Stick the screwdriver in the screw.
-
Twist the screwdriver counter-clockwise in order to loosen it up.
-
-
-
-
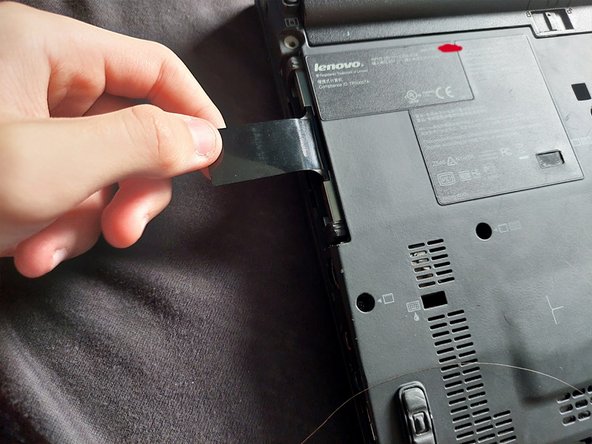
Pull out the hard drive compartment door
-
Cool. Now use your fingers to unfold the black plastic pull tab and pull the drive out.
-
-
-
Use your #0 Phillips screwdriver and remove the 4 screws from the hard drive bracket, two on each side.
-
Now, pull the hard drive out of the bracket with your fingers. Make sure not to stress the SATA connectors on the bottom side of the drive.
-
-
-
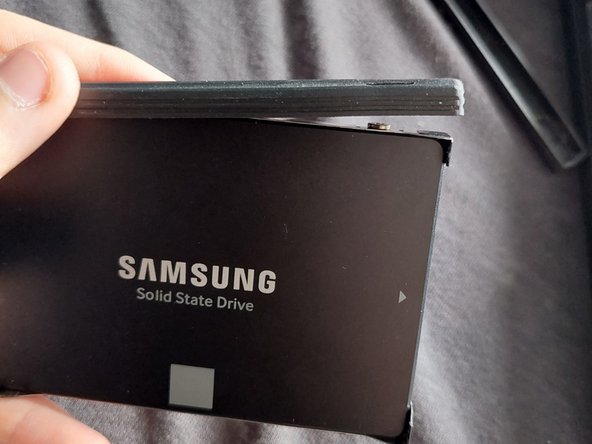
Get your new drive, and just put it in. Make sure the SATA ports face the end of the bracket that does not have the pull tab, and that the L-shaped connectors have their short side pointing down towards the metal plate.
-
Screw the four screws back in, and put the protective rubber back on the sides of the bracket.
-
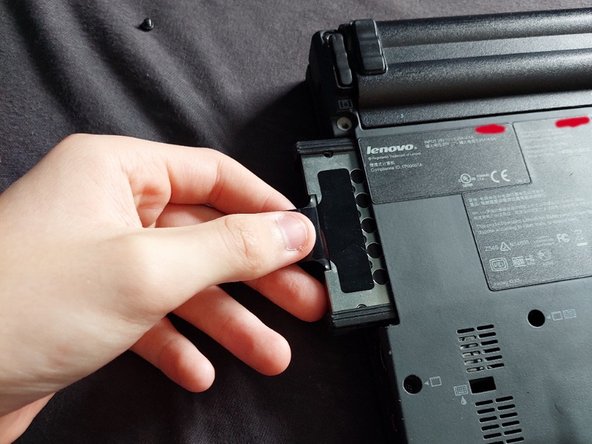
Flip the drive upside down, with the gold contacts facing towards you and gently put it back in the drive slot.
-
-
-
Neatly tuck the pull tab under the bracket, like in the picture.
-
Get the plastic hard drive bay door, and put it back into place.
-
Get the screw you used for the door, and screw it back in.
-
-
-
Turn the ThinkPad on.
-
When you see the ThinkPad logo, press the blue ThinkVantage button and go into the BIOS menu by pressing F1.
-
Go into "HDD diagnostic program", and press "Main hard disk drive".
-
Wait for it to finish benchmarking your drive. This could take a while, but it does tell you how to abort it.
-


I hope you had fun doing this.
You will now need to install your operating system and copy your files back. For Windows, follow these instructions. For linux-based or other OSes, follow the guide supplied by your distribution. (For this device, the boot selection menu can be entered by pressing F12 when the ThinkPad logo shows on startup)
