Introdução
Is your Lenovo ThinkPad E570 overheating, giving fan-related error codes, or simply not working? These all may be attributed to a faulty cooling fan. This guide will walk you step-by-step through how to replace the cooling fan located inside of your computer.
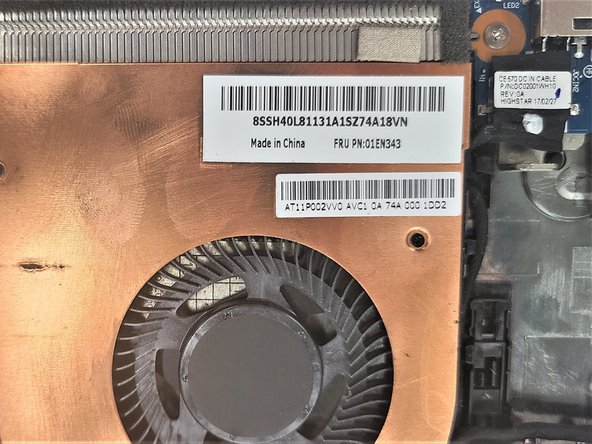
The fan within your Lenovo Thinkpad circulates cool air throughout the entire laptop, cooling all of its internal components, thus allowing the computer to work at maximum efficiency. If your fan is very dirty or broken, your computer will not work as it should.
Before using this guide, attempt to diagnose your issue to know if this guide will fix your problem. A few methods of fan-related problem diagnoses are:
- Listen for loud, whirring noises coming from your laptop
- Place your hand on the side of the computer where warm air is exhausted. If there is persistent, high-velocity hot air being exhausted, your fan may be faulty or need cleaning
- If NO noise or air is being exhausted, your cooling fan is not working and will need replacing.
If your diagnosis has led you to a faulty cooling fan, be sure to remove all cables (mouse, keyboard, any power source, etc.) connecting to your Lenovo Thinkpad before beginning with step one.
NOTE: If your fan happens to be fully intact, but dirty, obtain a can of compressed air and direct it on the fan to remove all dust and debris, then put the laptop back together by following the instructions in reverse order. If you are still having fan problems, follow this guide to replace the fan.
O que você precisa
-
-
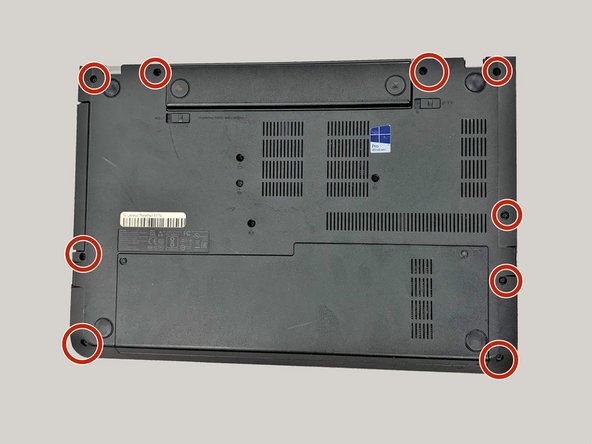
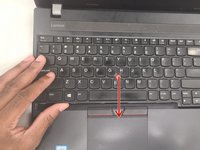
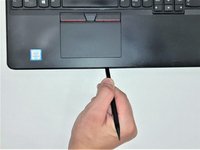
Turn the laptop over so that the bottom is facing upwards, with the battery facing away from you.
-
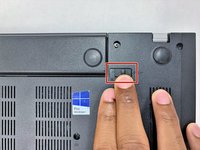
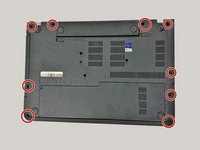
Loosen two captive 5 mm screws on the back panel of the laptop using a Phillips #0 screwdriver.
-
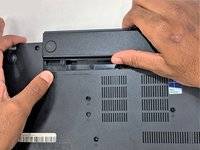
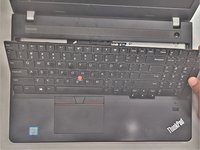
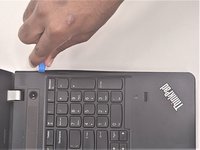
Slide the panel towards you, then gently lift up to remove.
-
-
-
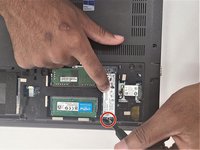
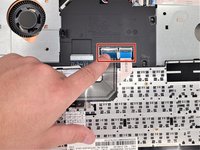
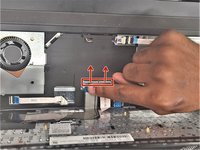
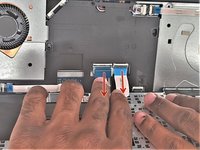
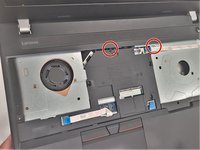
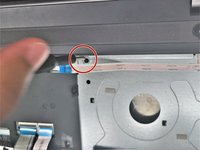
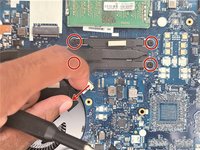
Remove the single 5 mm screw using a Phillips #00 screwdriver.
-
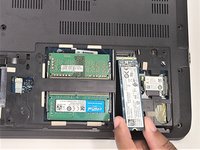
Remove the SSD from the laptop.
-
-


To reassemble your device, follow these instructions in reverse order.
To reassemble your device, follow these instructions in reverse order.
Equipe

IUPUI, Team 1-2, Harley Summer 2023 Membro de IUPUI, Team 1-2, Harley Summer 2023
IUPUI-HARLEY-SU23S1G2
Membros da 3
Autoria de 3 guias