Esta versão pode conter edições incorretas. Mude para o último instantâneo verificado.
O que você precisa
-
Este passo não foi traduzido. Ajude a traduzi-lo
-
Remove all ten 6.6 mm screws with a Phillips #00 screwdriver.
-
-
Este passo não foi traduzido. Ajude a traduzi-lo
-
Use the plastic opening tool to lift up and remove the casing.
-
-
-
Este passo não foi traduzido. Ajude a traduzi-lo
-
Use the reverse tweezers to carefully unplug the two wired connections.
-
-
Este passo não foi traduzido. Ajude a traduzi-lo
-
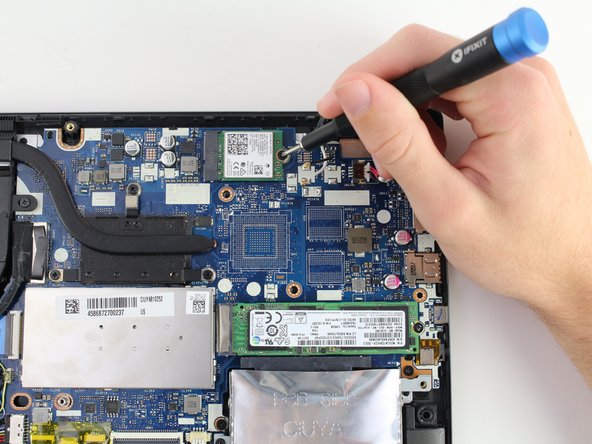
Using the Phillips #00 screwdriver, remove one 3.6 mm screw.
-


Cancelar: não concluí este guia.
Uma outra pessoa concluiu este guia.

Equipe

Cal Poly, Team S2-G5, White Winter 2020 Membro de Cal Poly, Team S2-G5, White Winter 2020
CPSU-WHITE-W20S2G5
Membros da 4
Autoria de 16 guias
Um comentário
Thank you!
My problem now is the replacement of the tiny male connectors which hooks onto the chip. They are shown in the last image above at the end of the white wire!
I do not know where to get them, given that mine were broken off.
I would deeply appreciate your help in identifying this type of connectors and locating a sources!
Apart from that, as usual, an excellent and up-to-the-point review.
Thank you again.
Dr. Khaled Bizri,
(650) 796 5864
Khaled.Bizri@GMail.com