Introdução
Use this guide to replace your NES Controller's Charging Rail, made for Nintendo Switch Lite consoles with an online membership only. The model numbers for the pair are 109045 / 09046A. When exposed to prolonged, yet normal, charging over many years, it may become damaged on the outside and/or halt the functioning of the onboard charger, making the controller unusable. We will show users how to restore their Nintendo Switch NES Controller to fully operating order.
O que você precisa
-
-
Use a Tri-point #Y00 screwdriver to remove the six 6.0 mm screws securing the back case.
-
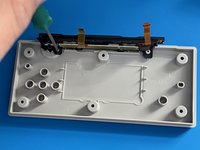
Remove the back case from the controller.
-
-
-
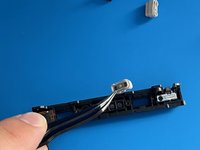
Use a Phillips #000 to remove three 3.0 mm screws holding the battery and it's housing.
-
Remove the battery housing with the battery from the main board and set it aside.
-
-
-
-
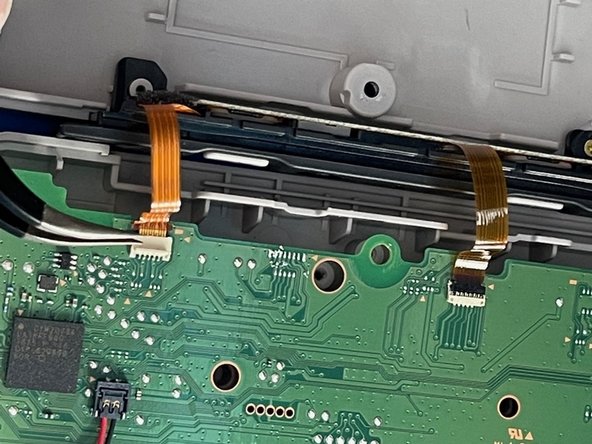
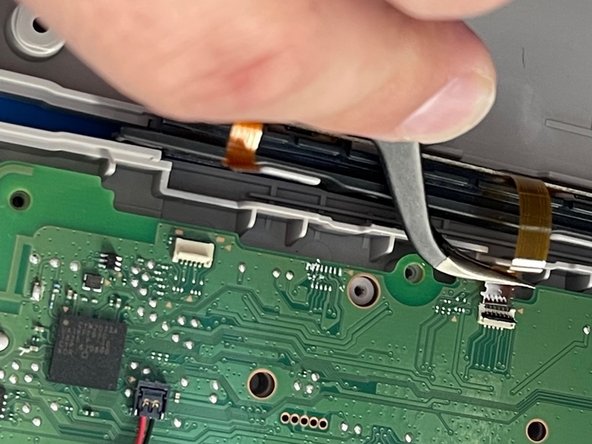
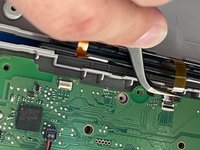
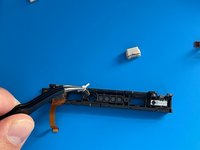
Use the tip of a spudger or your fingernail to flip up the small locking flaps on the two ZIF Connectors. Then, you can safely pull the cable out.
-
-
-
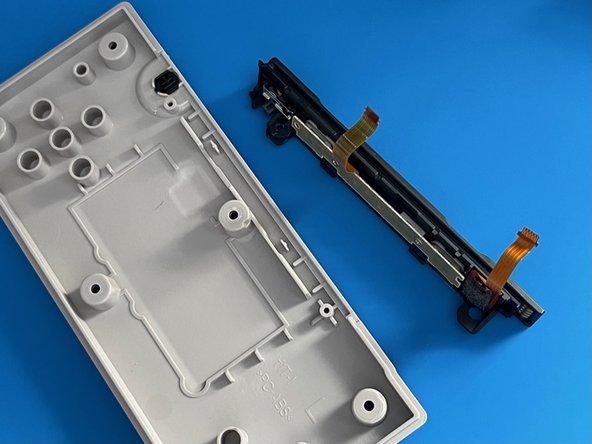
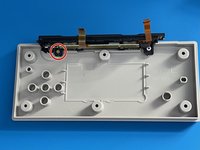
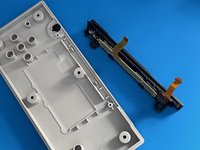
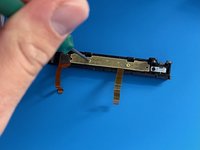
Use a Phillips #000 to remove the single 3.0 mm screw holding the charging rail to the back plate.
-
Remove the charging rail.
-
-
-
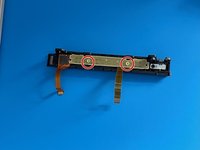
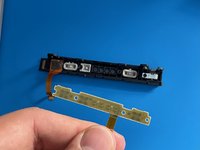
Use a Phillips #000 screwdriver to remove two 3.0mm screws from the rail PCB.
-
Remove the charging rail PCB.
-
-
Ferramenta utilizada neste passo:Tweezers$4.99
-
Using tweezers, remove the SL and SR buttons.
-
Do the same for the Sync button between them.
-


We hope you enjoy your new and improved Charging Rail for your Nintendo Switch NES Controller.
To put the device back together, follow this guide in reverse.
We hope you enjoy your new and improved Charging Rail for your Nintendo Switch NES Controller.
To put the device back together, follow this guide in reverse.
Cancelar: não concluí este guia.
4 outras pessoas executaram este guia.

Equipe

York University, Team M-26, Allen Winter 2023 Membro de York University, Team M-26, Allen Winter 2023
YORK-ALLEN-W23SMG26
1 Membro
Autoria de 4 guias