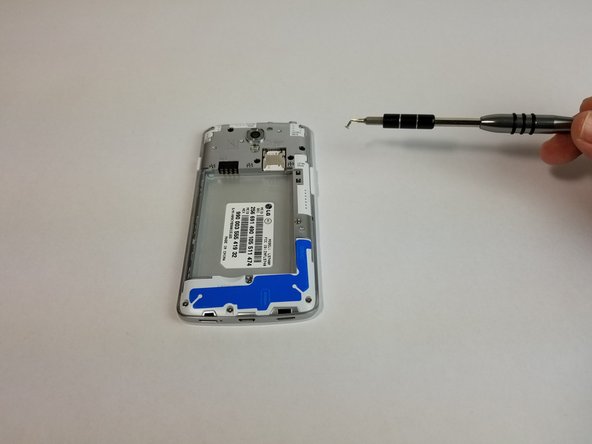
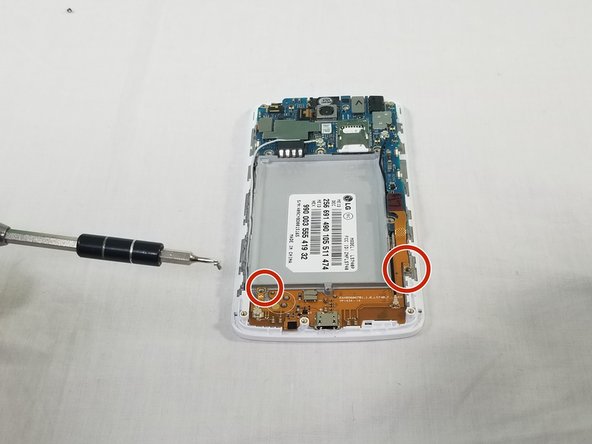
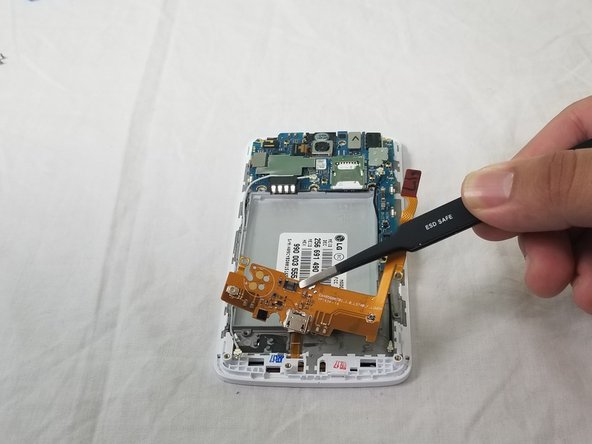
Ir para o conteúdo principal

LG Volt Charger Port Replacement

O que você precisa

  1. LG Volt Charger Port Replacement, Charger Port: passo 1, imagem 1 %32 LG Volt Charger Port Replacement, Charger Port: passo 1, imagem 2 %32 LG Volt Charger Port Replacement, Charger Port: passo 1, imagem 3 %32
    • Pry back cover with finger in the crease.

    • Remove back casing.

  2. LG Volt Charger Port Replacement: passo 2, imagem 1 %32 LG Volt Charger Port Replacement: passo 2, imagem 2 %32 LG Volt Charger Port Replacement: passo 2, imagem 3 %32
    • With your finger, pry the battery out through the crease made for removal.

  3. LG Volt Charger Port Replacement: passo 3, imagem 1 %32 LG Volt Charger Port Replacement: passo 3, imagem 2 %32 LG Volt Charger Port Replacement: passo 3, imagem 3 %32
    • Remove all 11 (4mm) screws with the JIS #000 screwdriver

    • There are three screws on top, three above the battery, one next to the battery, one under the battery and three at the bottom of the phone.

  4. LG Volt Charger Port Replacement: passo 4, imagem 1 %32 LG Volt Charger Port Replacement: passo 4, imagem 2 %32 LG Volt Charger Port Replacement: passo 4, imagem 3 %32
    • Use the plastic opening tool to remove the back housing from the frame of the phone.

  5. LG Volt Charger Port Replacement: passo 5, imagem 1 %32
    • Lift copper tab located on the right side of the device.

  6. LG Volt Charger Port Replacement: passo 6, imagem 1 %32 LG Volt Charger Port Replacement: passo 6, imagem 2 %32
    • Use a JIS #000 screwdriver to remove the 1 screw (4mm) on right side under copper tab.

    • Use a JIS #000 screwdriver to remove the screw (4mm) on bottom left under battery tray.

  7. LG Volt Charger Port Replacement: passo 7, imagem 1 %32 LG Volt Charger Port Replacement: passo 7, imagem 2 %32 LG Volt Charger Port Replacement: passo 7, imagem 3 %32
    • Disconnect the white and black cables as indicated.

    • Lift indicated flap as shown.

  8. LG Volt Charger Port Replacement: passo 8, imagem 1 %32 LG Volt Charger Port Replacement: passo 8, imagem 2 %32 LG Volt Charger Port Replacement: passo 8, imagem 3 %32
    • Use the plastic opening tool to carefully lift the charger assembly from the phone.

    • Start from the copper tab and continue in a clockwise direction.

    • Once it is loose remove the assembly from the phone.

  9. LG Volt Charger Port Replacement: passo 9, imagem 1 %32
    • Put a new charging port in place of old charging port.

    • Follow steps 8 through 1 in that order for reassembly.

Conclusão

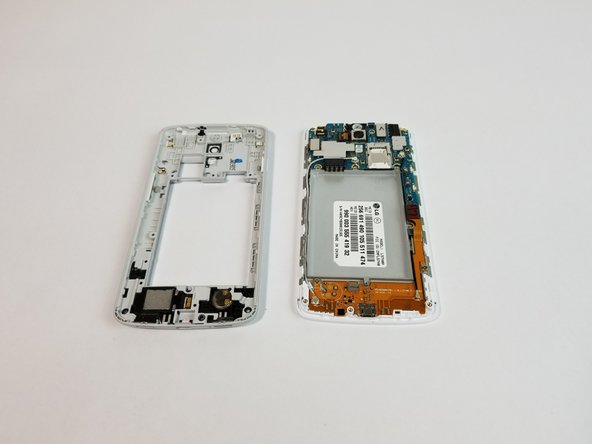
To reassemble your device, follow these instructions in reverse order.

Uma outra pessoa concluiu este guia.

Adrian Soldan

Membro desde: 09/25/17

464 Reputação

Autoria de 4 guias

Equipe

USF Tampa, Team S3-G3, Cannon Fall 2017 Membro de USF Tampa, Team S3-G3, Cannon Fall 2017

USFT-CANNON-F17S3G3

Membros da 3

Autoria de 8 guias

2 comentários

Great guide with excellent pictures

George Brooks - Responder

Hi, I replaced mine, but I don’t think it’s working - what voltages should be present on which pins (at the battery connection) when it’s plugged in?

scottlhertzoglion - Responder

Adicione um comentário

Exibir estatísticas:

Últimas 24 horas: 0

Últimos 7 dias: 2

Últimos 30 dias: 6

Duração total: 729