Ir para o conteúdo principal

Este guia tem alterações mais recentes. Mudar para a última versão não verificada.

LG VX8700 Keypad Replacement

O que você precisa

  1. LG VX8700 Keypad Replacement, Battery: passo 1, imagem 1 %32 LG VX8700 Keypad Replacement, Battery: passo 1, imagem 2 %32
    • Make sure the phone is completely off.

    • Remove the back cover by sliding the tab away from the phone using one finger.

  2. LG VX8700 Keypad Replacement: passo 2, imagem 1 %32 LG VX8700 Keypad Replacement: passo 2, imagem 2 %32
    • Lift one side of the battery using a plastic opening tool or your fingers.

    • Carefully remove the battery and set it aside.

    • When installing the new battery, make sure to align the metal pins with those of the phone.

  3. LG VX8700 Keypad Replacement, Keypad: passo 3, imagem 1 %32 LG VX8700 Keypad Replacement, Keypad: passo 3, imagem 2 %32
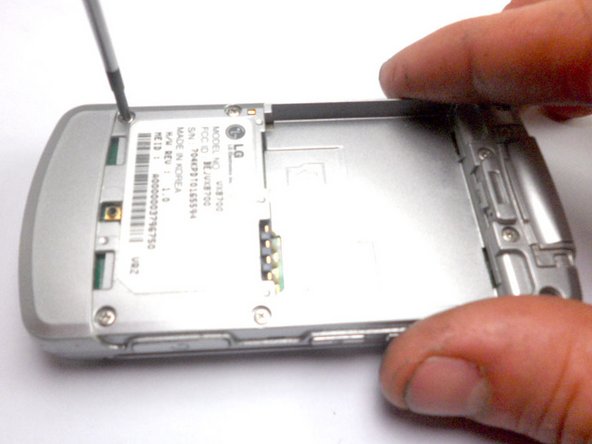
    • Use a Phillips #0 Screwdriver to remove the nine 4 mm screws from the back cover.

  4. LG VX8700 Keypad Replacement: passo 4, imagem 1 %32 LG VX8700 Keypad Replacement: passo 4, imagem 2 %32
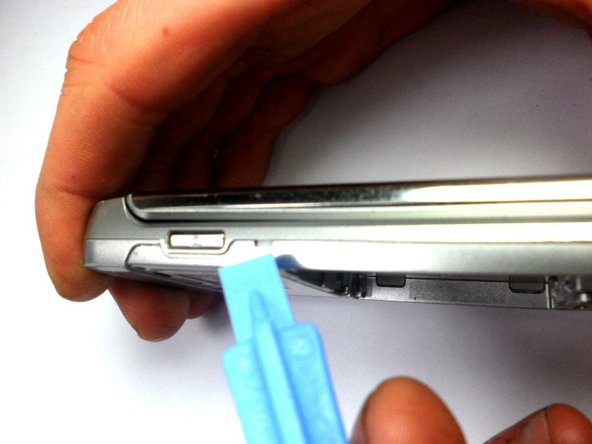
    • Insert the tip of the plastic opening tool into the small notch on the side of the case.

    • Slide the opening tool along the seam and around the edge of the phone to separate the case.

  5. LG VX8700 Keypad Replacement: passo 5, imagem 1 %32
    • Separate the two halves of the phone.

    • On the left is the back of the phone holding the logic board and key pad.

    • On the right is the plastic casing.

  6. LG VX8700 Keypad Replacement: passo 6, imagem 1 %32 LG VX8700 Keypad Replacement: passo 6, imagem 2 %32 LG VX8700 Keypad Replacement: passo 6, imagem 3 %32
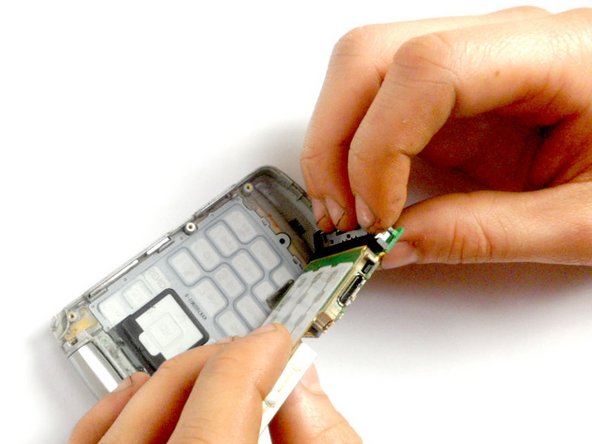
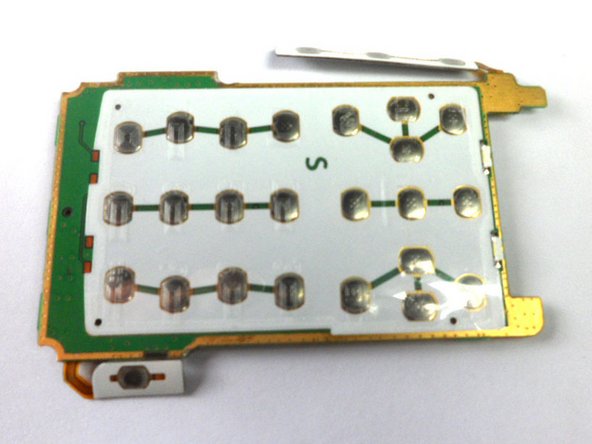
    • Holding the phone casing with one hand, and the key pad assembly with the other, separate the phone case from the keypad/logic board.

  7. LG VX8700 Keypad Replacement: passo 7, imagem 1 %32 LG VX8700 Keypad Replacement: passo 7, imagem 2 %32
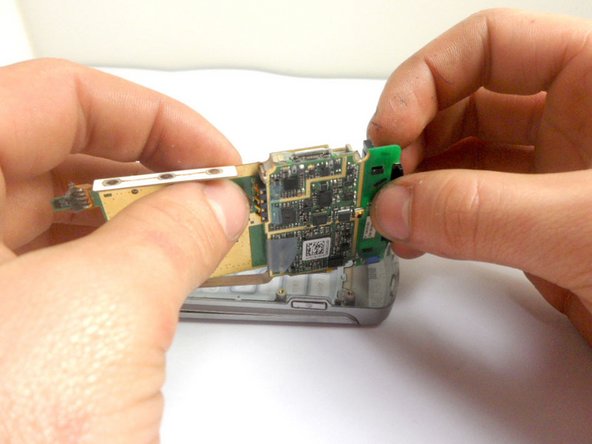
    • Remove the key pad from the logic board by pulling the two boards apart, separating this connection.

Conclusão

To reassemble your device, follow these instructions in reverse order.

tnscholz

Membro desde: 01/20/12

18 Reputação

Autoria de 1 guia

Equipe

Cal Poly, Team 8-16, Maness Winter 2012 Membro de Cal Poly, Team 8-16, Maness Winter 2012

CPSU-MANESS-W12S8G16

Membros da 4

Autoria de 14 guias

Um comentário

When I separated the two halves a small brass piece came out and your instructions do not show nor mention what this is or where it goes. Not even a caution about it coming out upon separation of the halves. It appears to belong on one of the screw posts and because it is brass I believe it is supposed to complete a circuit.

gfon - Responder

Adicione um comentário

Exibir estatísticas:

Últimas 24 horas: 1

Últimos 7 dias: 1

Últimos 30 dias: 1

Duração total: 724