Esta versão pode conter edições incorretas. Mude para o último instantâneo verificado.
O que você precisa
-
Este passo não foi traduzido. Ajude a traduzi-lo
-
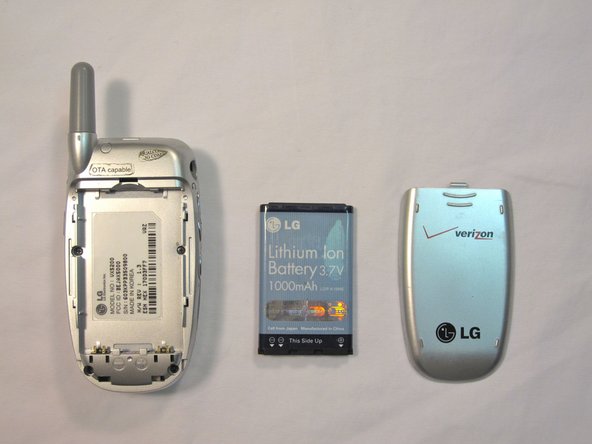
Orient the phone as shown.
-
Remove the battery cover by pushing upward with your thumb.
-
-
Este passo não foi traduzido. Ajude a traduzi-lo
-
Place your fingernail at the top of the battery and pry the battery out towards you.
-
-
Este passo não foi traduzido. Ajude a traduzi-lo
-
Orient the phone as shown with the battery already removed.
-
-
-
Este passo não foi traduzido. Ajude a traduzi-lo
-
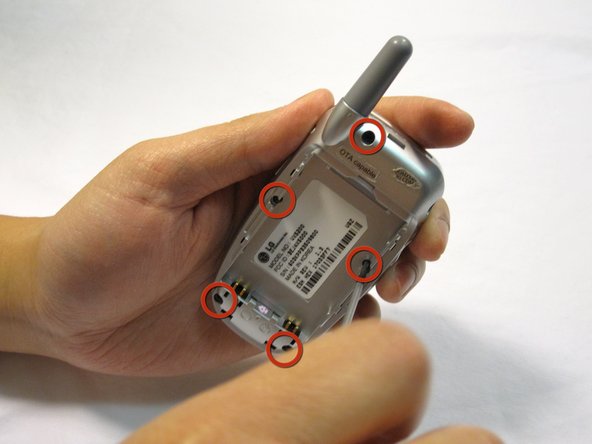
Remove the 2 plastic plugs located on the side and upper quadrant of the rear body panel by using the push-pin and lifting outwards.
-
Use a Phillips #00 screwdriver to remove the 5 screws as shown here.
-
-
Este passo não foi traduzido. Ajude a traduzi-lo
-
Place an iPod opener tool in the seam above the antenna.
-
Run the tool around the perimeter of the entire phone.
-
-
Este passo não foi traduzido. Ajude a traduzi-lo
-
Check to see that your device looks like the attached photo.
-
-
Este passo não foi traduzido. Ajude a traduzi-lo
-
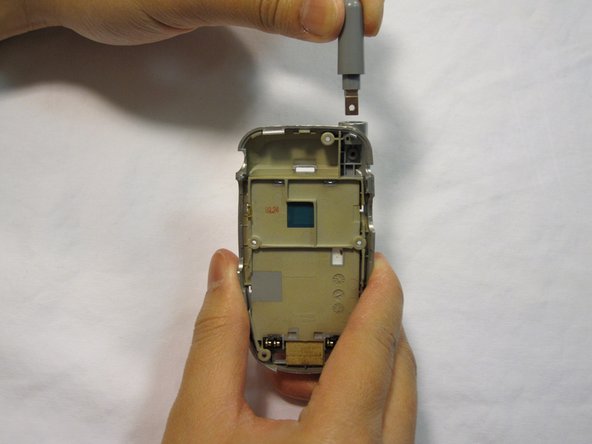
Locate the screw and copper fixture that hold the antenna in place.
-
Remove the screw from the device using a Philips #00 screwdriver.
-
-
Este passo não foi traduzido. Ajude a traduzi-lo
-
Remove the copper fixture after it has been unscrewed.
-
-
Este passo não foi traduzido. Ajude a traduzi-lo
-
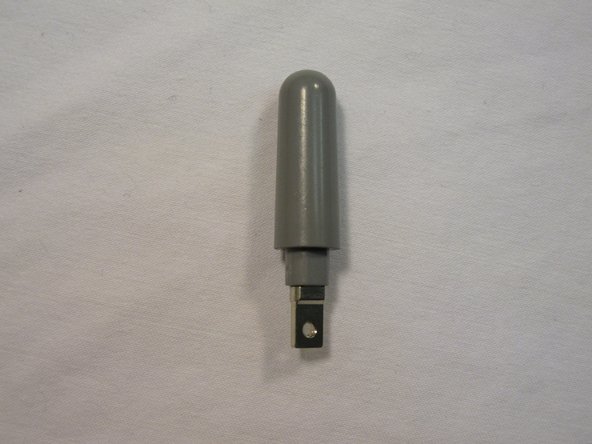
Check to see that your device looks like the attached photo.
-


Equipe

Cal Poly, Team 4-13, Forte Winter 2010 Membro de Cal Poly, Team 4-13, Forte Winter 2010
CPSU-FORTE-W10S4G13
Membros da 5
Autoria de 15 guias