Esta versão pode conter edições incorretas. Mude para o último instantâneo verificado.
O que você precisa
-
Este passo não foi traduzido. Ajude a traduzi-lo
-
Remove the four rubber stoppers around the main screen using the pointed end of the spudger.
-
-
Este passo não foi traduzido. Ajude a traduzi-lo
-
Use the Phillips #00 screwdriver to remove the four screws that were under the rubber stoppers.
-
-
-
Este passo não foi traduzido. Ajude a traduzi-lo
-
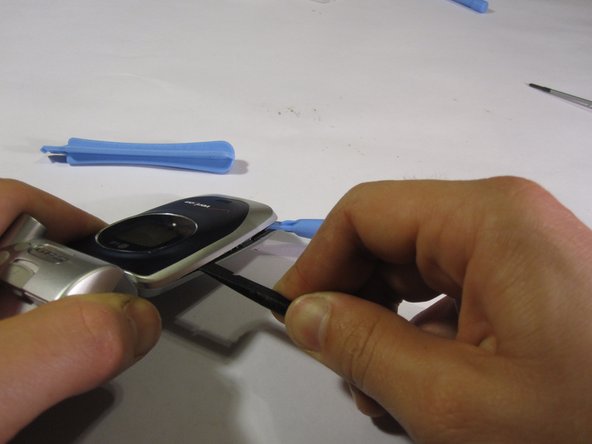
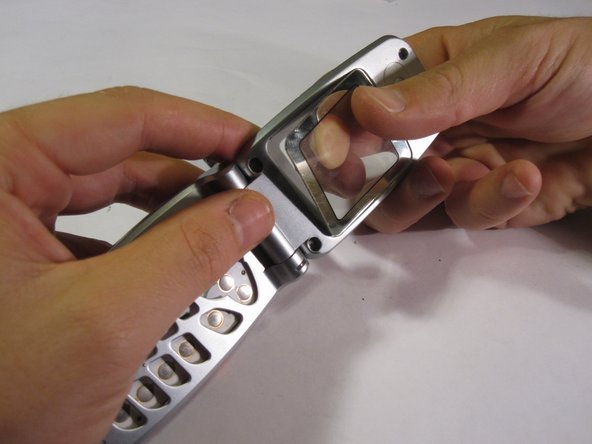
Use a plastic opening tool to pry the top end of the phone open.
-
Use a second plastic opening tool to slide down the gap and pry open the case while prying the top panel with the first plastic opening tool.
-
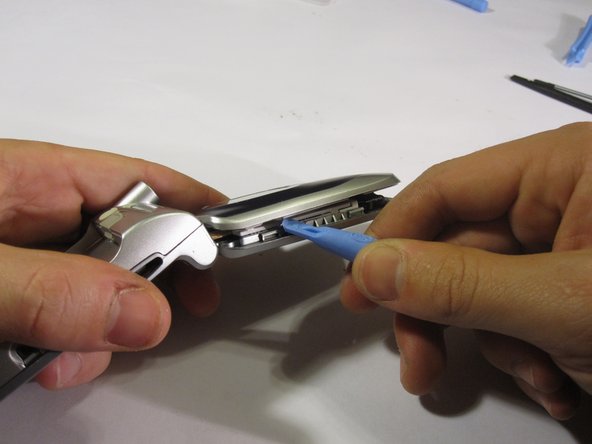
Use the same method on the opposite side of the phone.
-
-
Este passo não foi traduzido. Ajude a traduzi-lo
-
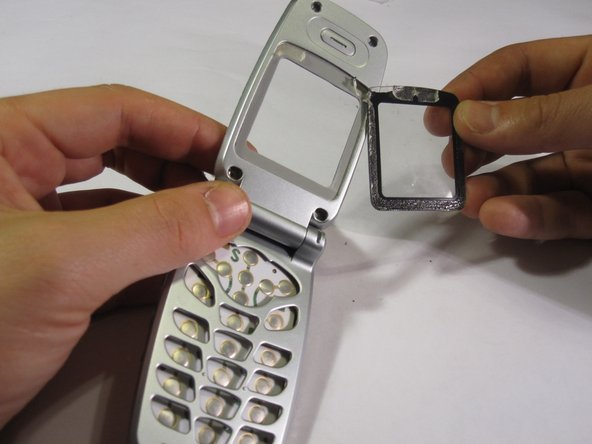
Remove plastic screen panel to reveal the internal components.
-
-
Este passo não foi traduzido. Ajude a traduzi-lo
-
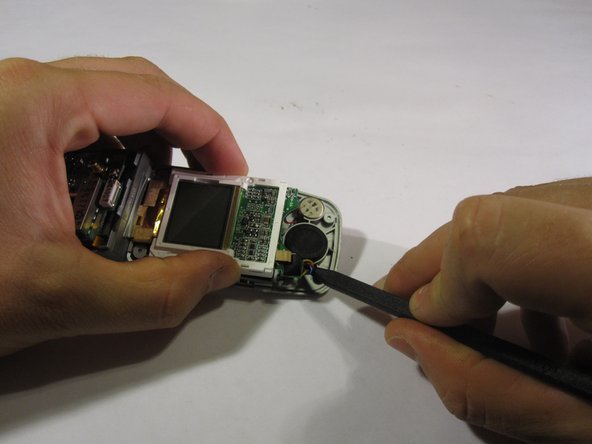
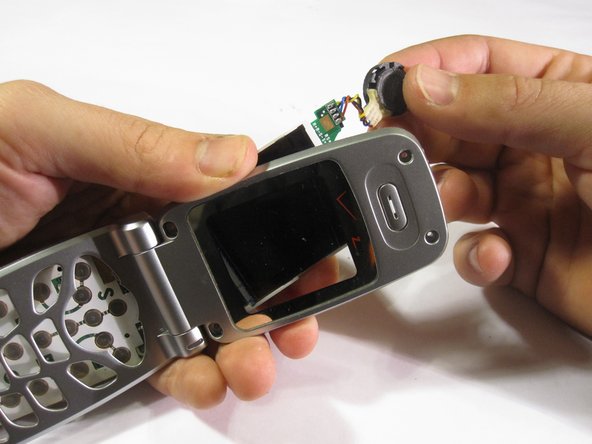
Remove the screen board by lifting it away from the phone.
-
Remove the speaker by prying with the spudger.
-


Equipe

Cal Poly, Team 8-47, Regan Winter 2010 Membro de Cal Poly, Team 8-47, Regan Winter 2010
CPSU-REGAN-W10S8G47
Membros da 5
Autoria de 8 guias