Esta versão pode conter edições incorretas. Mude para o último instantâneo verificado.
O que você precisa
-
Este passo não foi traduzido. Ajude a traduzi-lo
-
Use the plastic opening tool to pry off the back cover.
-
-
-
Este passo não foi traduzido. Ajude a traduzi-lo
-
Remove eight 4mm screws using a Phillips head 000 screwdriver (PH000).
-
-
Este passo não foi traduzido. Ajude a traduzi-lo
-
Use a plastic opening tool to loosen the tabs around the edge of the phone.
-
-
Este passo não foi traduzido. Ajude a traduzi-lo
-
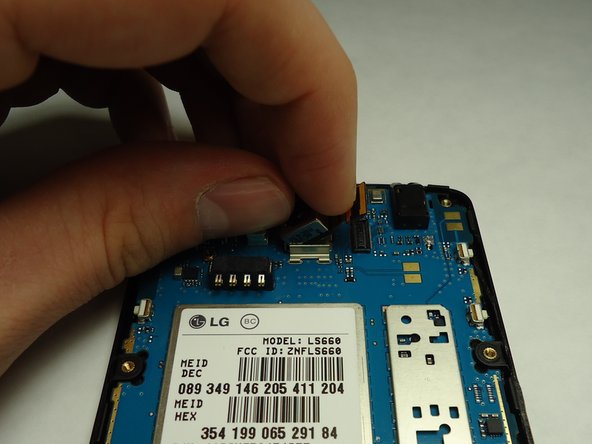
Disconnect the rear facing camera from the motherboard using a plastic opening tool.
-
Lift the rear facing camera out of its housing.
-


Cancelar: não concluí este guia.
2 outras pessoas executaram este guia.
Equipe

University of Wisconsin Stout, Team 1-1, Schneider-Bateman Spring 2016 Membro de University of Wisconsin Stout, Team 1-1, Schneider-Bateman Spring 2016
UWSTOUT-SCHNEIDER-BATEMAN-S16S1G1
Membros da 3
Autoria de 16 guias