Ir para o conteúdo principal

LG Risio Rear-Facing Camera Replacement

O que você precisa

  1. LG Risio Rear-Facing Camera Replacement, Back Panel: passo 1, imagem 1 %32 LG Risio Rear-Facing Camera Replacement, Back Panel: passo 1, imagem 2 %32
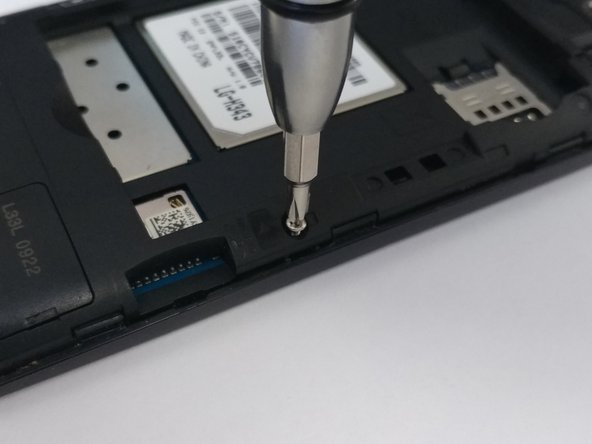
    • Use a plastic opening tool to seperate the back panel from the device.

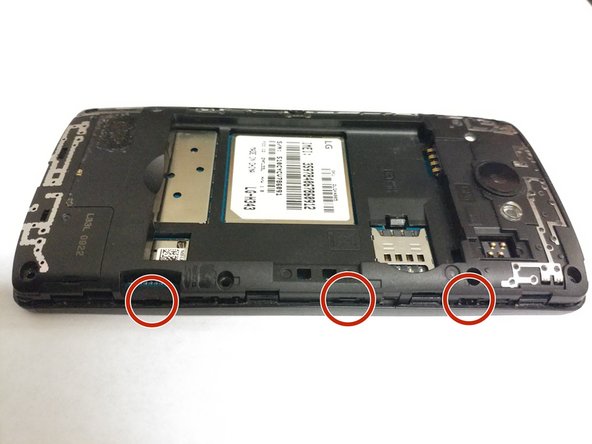
    • Remove the back panel.

  2. LG Risio Rear-Facing Camera Replacement, Battery: passo 2, imagem 1 %32
    • Place your thumb along the bottom of the battery and pry upwards to remove.

  3. LG Risio Rear-Facing Camera Replacement, Midframe: passo 3, imagem 1 %32
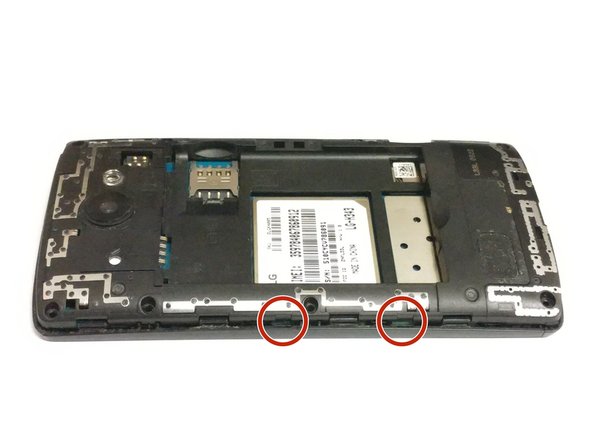
    • Press down on the SIM eject tab with a fingernail (or iFixit opening tool), and slide the SIM card out.

  4. LG Risio Rear-Facing Camera Replacement: passo 4, imagem 1 %32 LG Risio Rear-Facing Camera Replacement: passo 4, imagem 2 %32
    • Remove the eight Phillips #0 screws from the internal support frame.

  5. LG Risio Rear-Facing Camera Replacement: passo 5, imagem 1 %32 LG Risio Rear-Facing Camera Replacement: passo 5, imagem 2 %32 LG Risio Rear-Facing Camera Replacement: passo 5, imagem 3 %32
    • Use an opening tool on the marked locations to lift the edges up. There should be a small click when lifting these edges up.

  6. LG Risio Rear-Facing Camera Replacement: passo 6, imagem 1 %32
    • Using your hand, pick up the midframe to separate it from the phone.

Conclusão

To reassemble your device, follow these instructions in reverse order.

0 comentários

Adicione um comentário

Exibir estatísticas:

Últimas 24 horas: 0

Últimos 7 dias: 0

Últimos 30 dias: 0

Duração total: 115