Ir para o conteúdo principal

LG Optimus L90 Touch Screen Replacement

Guia arquivado
Este guia é mantido exclusivamente para fins históricos. Use a versão atualizada do guia para executar o reparo.

O que você precisa

  1. LG Optimus L90 Touch Screen Replacement, Battery: passo 1, imagem 1 %32 LG Optimus L90 Touch Screen Replacement, Battery: passo 1, imagem 2 %32 LG Optimus L90 Touch Screen Replacement, Battery: passo 1, imagem 3 %32
    • Carefully slide an opening pick between the the rear cover and the body of the phone.

    • Using the pick, separate the cover from the back of the phone.

    • Remove the rear cover.

  2. LG Optimus L90 Touch Screen Replacement: passo 2, imagem 1 %32 LG Optimus L90 Touch Screen Replacement: passo 2, imagem 2 %32
    • Insert a plastic opening tool int o the small recess at the bottom of the battery.

    • Use the plastic opening tool to lift up the bottom of the battery.

    • Remove the battery from the phone.

  3. LG Optimus L90 Touch Screen Replacement, Motherboard: passo 3, imagem 1 %32 LG Optimus L90 Touch Screen Replacement, Motherboard: passo 3, imagem 2 %32
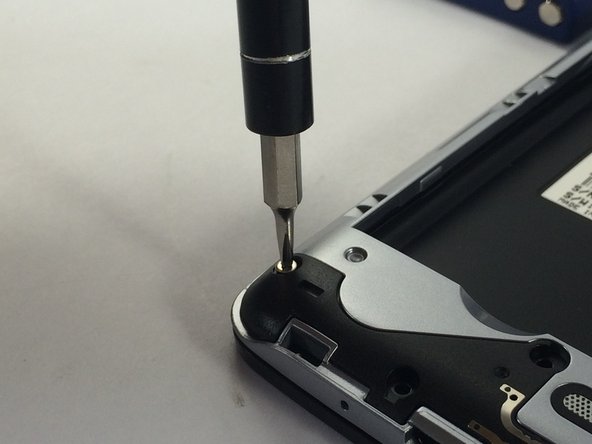
    • Remove the eleven JIS #000 screws securing the midframe to the phone.

  4. LG Optimus L90 Touch Screen Replacement: passo 4, imagem 1 %32 LG Optimus L90 Touch Screen Replacement: passo 4, imagem 2 %32 LG Optimus L90 Touch Screen Replacement: passo 4, imagem 3 %32
    • Using an opening pick, carefully separate the midframe from the motherboard.

  5. LG Optimus L90 Touch Screen Replacement: passo 5, imagem 1 %32 LG Optimus L90 Touch Screen Replacement: passo 5, imagem 2 %32 LG Optimus L90 Touch Screen Replacement: passo 5, imagem 3 %32
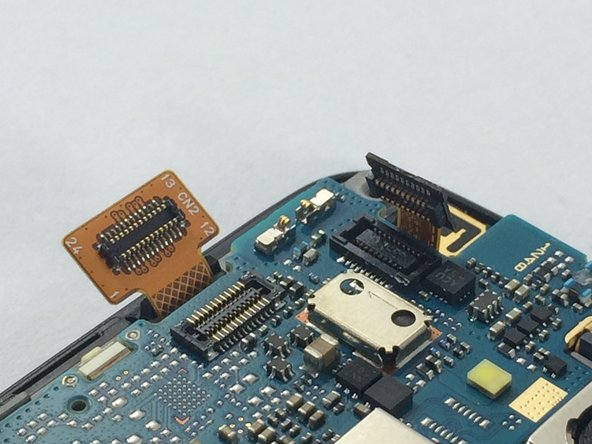
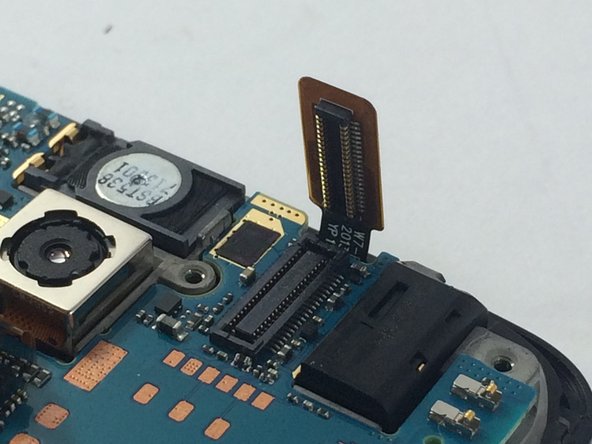
    • Disconnect the flex cables (gold tags with prongs) from the motherboard.

  6. LG Optimus L90 Touch Screen Replacement: passo 6, imagem 1 %32 LG Optimus L90 Touch Screen Replacement: passo 6, imagem 2 %32
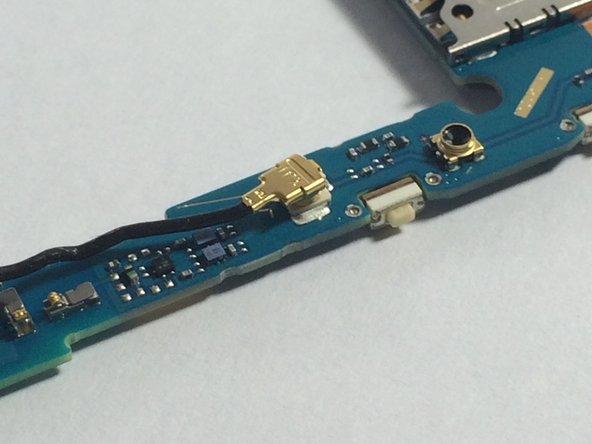
    • Disconnect the thin black cable in the bottom-right corner of the phone.

  7. LG Optimus L90 Touch Screen Replacement: passo 7, imagem 1 %32 LG Optimus L90 Touch Screen Replacement: passo 7, imagem 2 %32 LG Optimus L90 Touch Screen Replacement: passo 7, imagem 3 %32
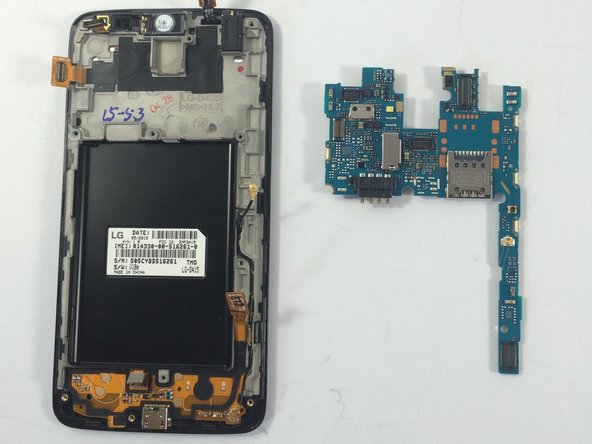
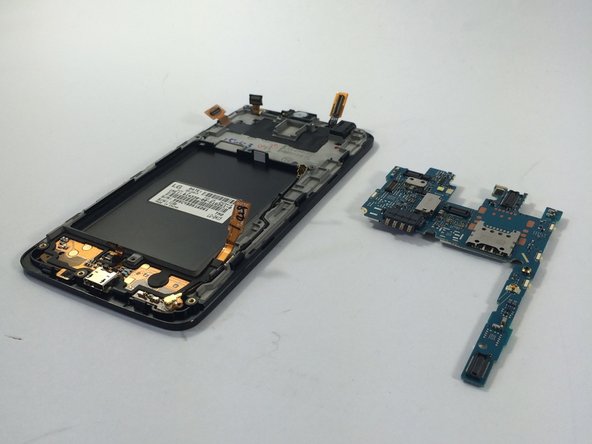
    • Gently pry the motherboard away from the phone.

  8. LG Optimus L90 Touch Screen Replacement, Touch Screen: passo 8, imagem 1 %32 LG Optimus L90 Touch Screen Replacement, Touch Screen: passo 8, imagem 2 %32
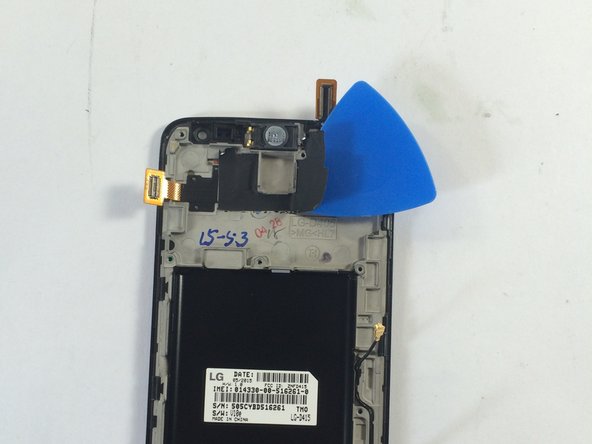
    • Once the motherboard is carefully removed, use your prying tool to remove the black tape that is located around the back camera. Place the tape off to the side when finished as you will need this later.

  9. LG Optimus L90 Touch Screen Replacement: passo 9, imagem 1 %32
    • Once the tape is removed, use your heat gun to heat up the screen of the phone for 1-2 minutes. This will soften the adhesive that binds the screen to the phone.

  10. LG Optimus L90 Touch Screen Replacement: passo 10, imagem 1 %32
    • Once the screen is up to a decent temperature, use your prying tool to separate the screen from the body of the phone. Once the damaged screen is removed the new one is ready to be inserted.

Conclusão

To reassemble your device, follow these instructions in reverse order.

4 outras pessoas executaram este guia.

Alex Arruda

Membro desde: 03/04/16

511 Reputação

Autoria de 5 guias

Equipe

UMass Dartmouth, Team 3-5, Bhusal Spring 2016 Membro de UMass Dartmouth, Team 3-5, Bhusal Spring 2016

UMASSD-BHUSAL-S16S3G5

Membros da 2

Autoria de 7 guias

0 comentários

Adicione um comentário

Exibir estatísticas:

Últimas 24 horas: 0

Últimos 7 dias: 0

Últimos 30 dias: 1

Duração total: 2,233