Ir para o conteúdo principal

LG Optimus F60 Motherboard Replacement

O que você precisa

  1. LG Optimus F60 Motherboard Replacement, Battery: passo 1, imagem 1 %32 LG Optimus F60 Motherboard Replacement, Battery: passo 1, imagem 2 %32 LG Optimus F60 Motherboard Replacement, Battery: passo 1, imagem 3 %32
    • Hold the phone in your hand and position the small plastic opening tool or your finger under the lip of the phone by the USB port.

    • Pry or lift up on the indent with the opening tool.

    • Remove the back panel.

  2. LG Optimus F60 Motherboard Replacement: passo 2, imagem 1 %32 LG Optimus F60 Motherboard Replacement: passo 2, imagem 2 %32 LG Optimus F60 Motherboard Replacement: passo 2, imagem 3 %32
    • Place the small plastic opening tool or your finger at the indentation at the base of the battery.

    • Pry upwards or lift with your finger and remove battery.

  3. LG Optimus F60 Motherboard Replacement, Motherboard: passo 3, imagem 1 %32 LG Optimus F60 Motherboard Replacement, Motherboard: passo 3, imagem 2 %32 LG Optimus F60 Motherboard Replacement, Motherboard: passo 3, imagem 3 %32
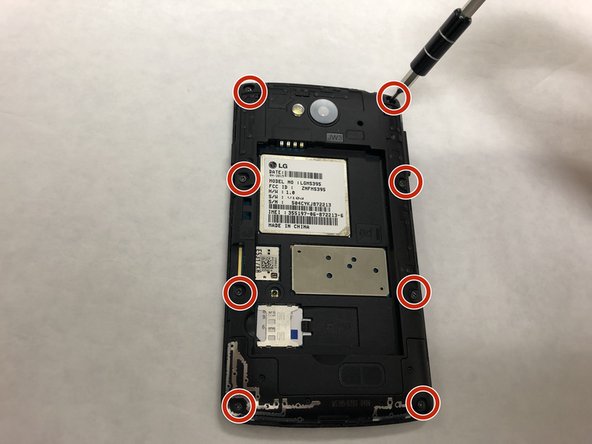
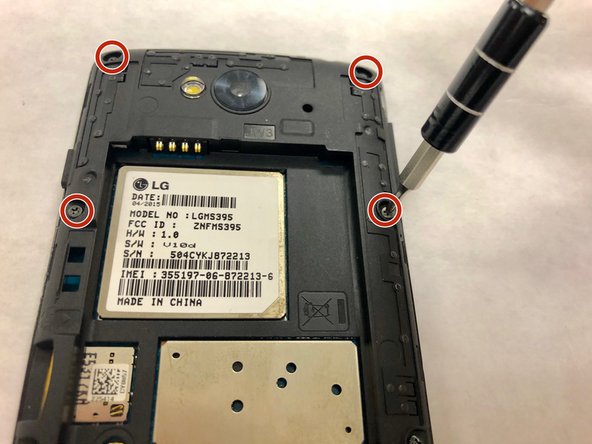
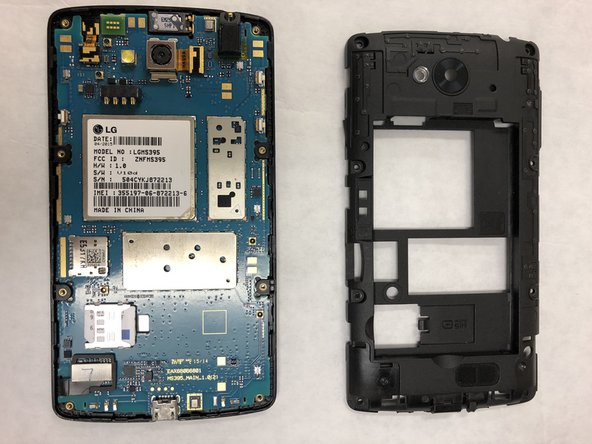
    • Use the Phillips #000 Screwdriver to remove the eight 4mm screws.

  4. LG Optimus F60 Motherboard Replacement: passo 4, imagem 1 %32 LG Optimus F60 Motherboard Replacement: passo 4, imagem 2 %32
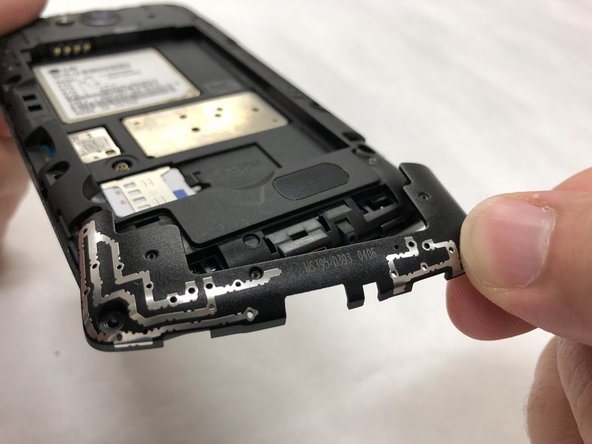
    • Insert the iFixit opening tool in the indentation.

    • Pry the plastic using the opening tool to remove the lower back panel.

    • Remove the lower back panel from the device.

  5. LG Optimus F60 Motherboard Replacement: passo 5, imagem 1 %32 LG Optimus F60 Motherboard Replacement: passo 5, imagem 2 %32 LG Optimus F60 Motherboard Replacement: passo 5, imagem 3 %32
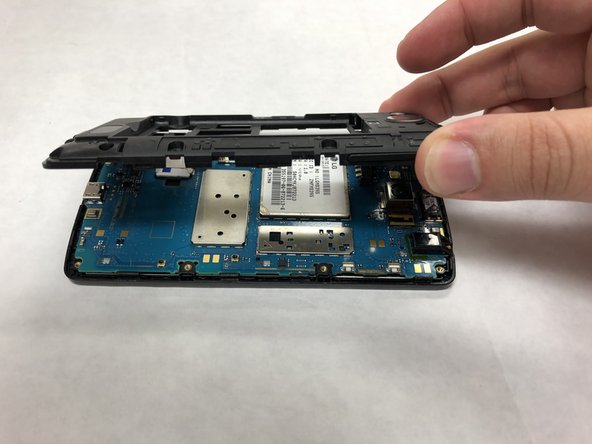
    • Insert the iFixit opening tool starting under the charging port.

    • Continue to pry at the edges until loose enough to remove.

    • Remove the back panel.

  6. LG Optimus F60 Motherboard Replacement: passo 6, imagem 1 %32 LG Optimus F60 Motherboard Replacement: passo 6, imagem 2 %32 LG Optimus F60 Motherboard Replacement: passo 6, imagem 3 %32
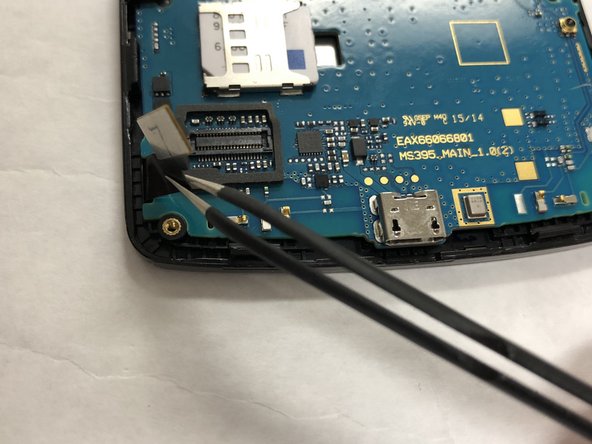
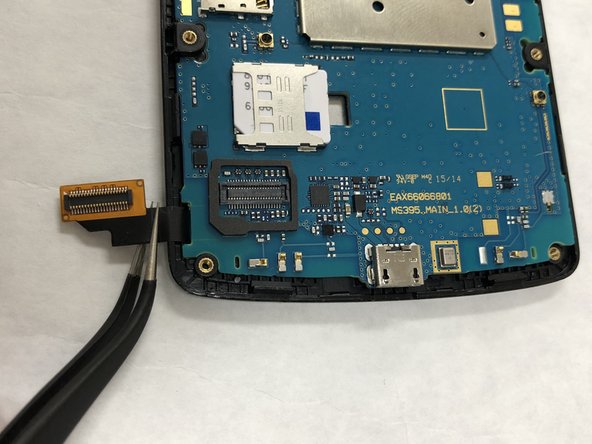
    • Find the digitizer connector in the lower left hand corner of the device.

    • Use the tweezers to gently lift up and remove the connector.

  7. LG Optimus F60 Motherboard Replacement: passo 7, imagem 1 %32 LG Optimus F60 Motherboard Replacement: passo 7, imagem 2 %32 LG Optimus F60 Motherboard Replacement: passo 7, imagem 3 %32
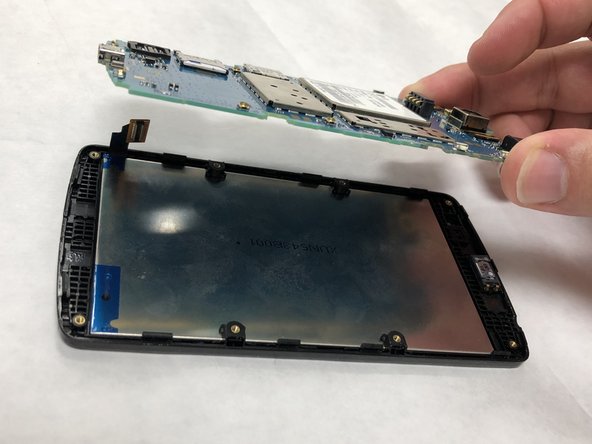
    • Gently pry the motherboard from the digitizer starting from under the charging port.

    • Remove and replace the motherboard.

Conclusão

To reassemble your device, follow these instructions in reverse order.

2 outras pessoas executaram este guia.

Mohammad Mohammad

Membro desde: 03/25/19

451 Reputação

Autoria de 3 guias

Equipe

IUPUI, Team S2-G5, Henning Spring 2019 Membro de IUPUI, Team S2-G5, Henning Spring 2019

IUPUI-HENNING-S19S2G5

Membros da 3

Autoria de 3 guias

0 comentários

Adicione um comentário

Exibir estatísticas:

Últimas 24 horas: 0

Últimos 7 dias: 1

Últimos 30 dias: 1

Duração total: 228