Introdução
This guide will show you how to remove the plastic cover between the battery and motherboard.
O que você precisa
-
-
First locate the button and the bottom of the cover where the arrow is. Press down on the button.
-
While pushing down on the button, slide the cover up towards the hinge until the cover comes off.
-
The battery will be visible after removing the back cover.
 Pergunte ao FixBot
-
-
-
Simultaneously push the battery forward and pull up from the bottom.
-
-
-
-
Once the battery is loose it can be easily removed. The phone's ID tag will be visible once the battery is removed.
-
-
-
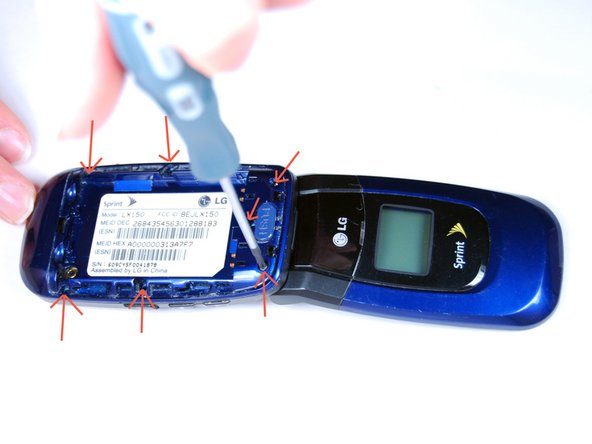
Remove the 7 phillips screws indicated by the red arrows using the phillips #0 screwdriver.
-
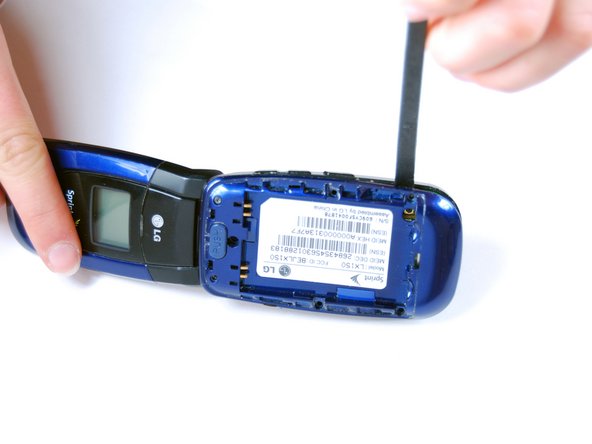
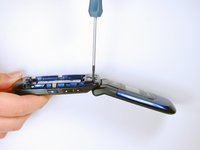
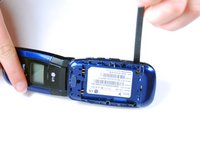
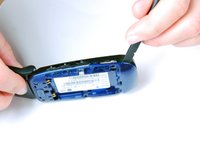
Insert the flat end of the spudger in-between the black and blue phone casing on the side of the phone and split the the blue and black apart. Work your way around the perimeter of the cover, loosening all corners.
-
-
-
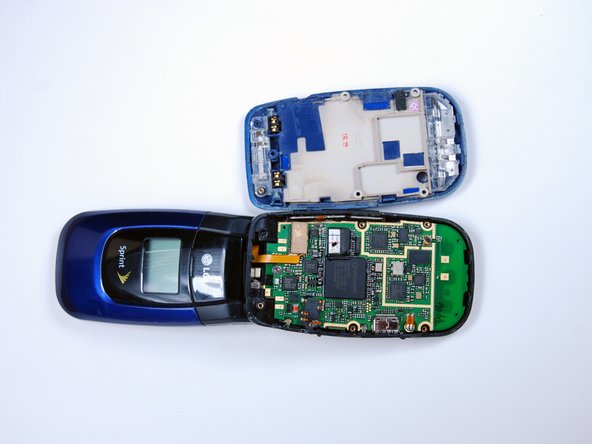
Remove the internal back cover after loosening all the corners.
-
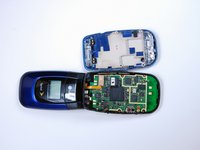
The second picture below is what you will see after removing the internal back cover.
-



To reassemble your device, follow these instructions in reverse order.
Cancelar: não concluí este guia.
Uma outra pessoa concluiu este guia.

Equipe

Cal Poly, Team 10-44, Garner Spring 2010 Membro de Cal Poly, Team 10-44, Garner Spring 2010
CPSU-GARNER-S10S10G44
4 Membros
Autoria de 18 guias
