Introdução
If your LG G Pad F 8.0 isn’t powering on and can not be charged, use this guide to replace the battery.
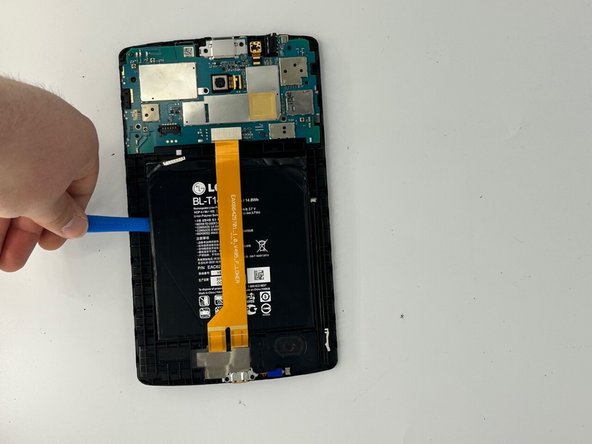
The battery powers on the tablet. A faulty battery will not keep charge and stay dead until the battery is replaced.
Before using this guide, inspect the charging cable. Typically, a faulty charging cable can prevent the tablet to be charged.
Before beginning, make sure to power off your phone completely and disconnect from any external power source.
O que você precisa
-
-
Place the tablet with the screen facing down.
-
Open the SIM port on the top right corner of the tablet.
-
Press the SIM card to pop it out.
-
Remove the SIM card from the tablet.
-
-


To reassemble your device, follow these instructions in reverse order.
To reassemble your device, follow these instructions in reverse order.
Equipe

University of North Texas, Team 2-2, Saru Jimmy Spring 2023 Membro de University of North Texas, Team 2-2, Saru Jimmy Spring 2023
UNT-SARU JIMMY-S23S2G2
Membros da 4
Autoria de 5 guias