Este guia tem alterações mais recentes. Mudar para a última versão não verificada.
Introdução
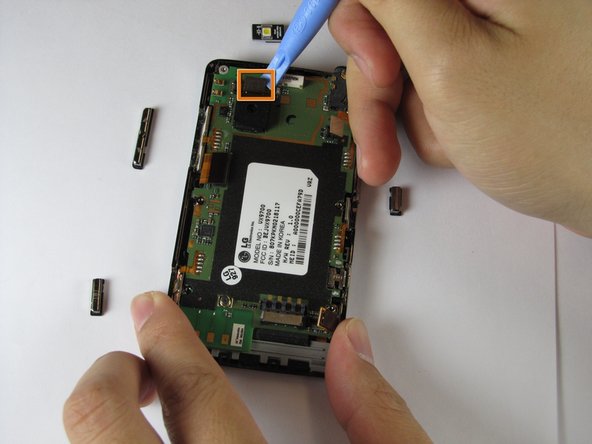
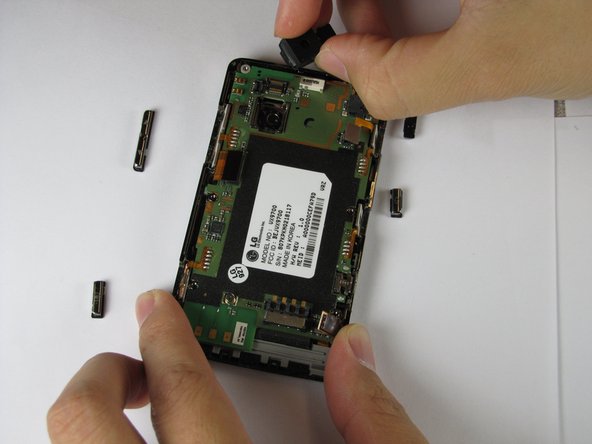
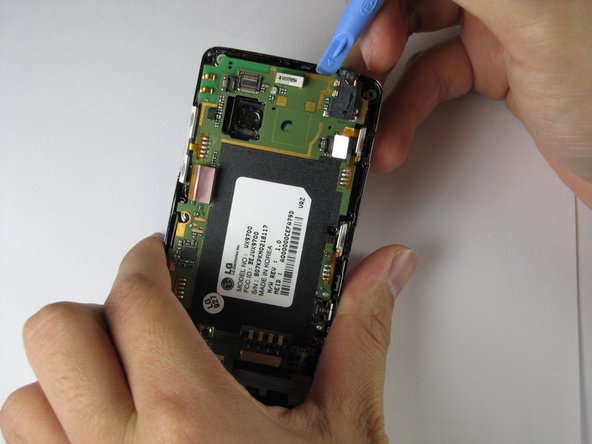
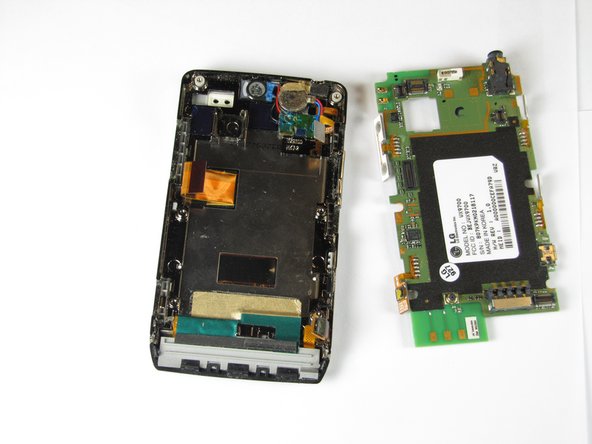
Use this guide to install a new logic board in your LG Dare.
O que você precisa
-
-
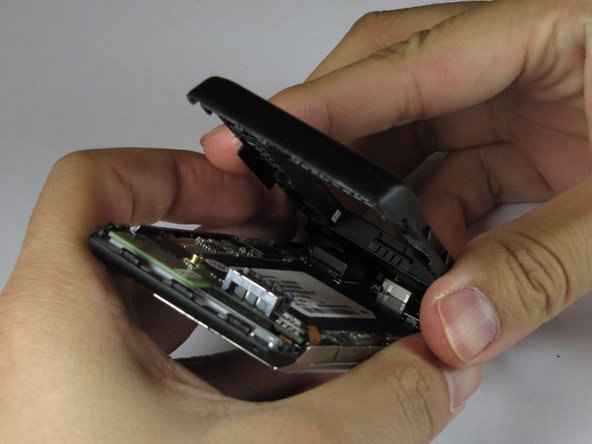
Remove the back cover by firmly pressing against the raised lip on the back panel. Slide the cover towards the top of the phone.
-
-
-
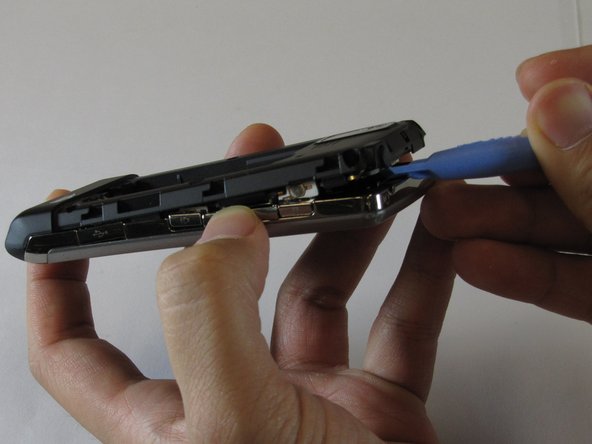
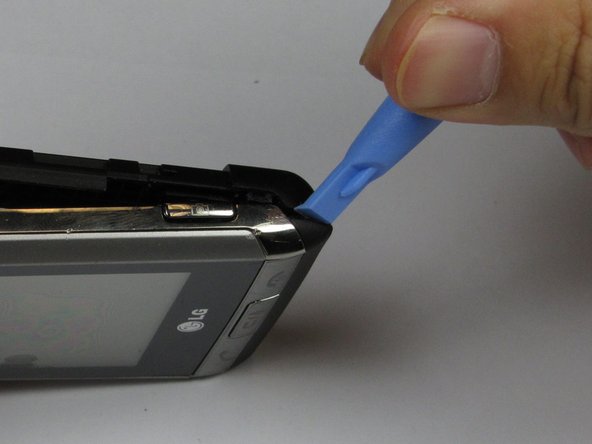
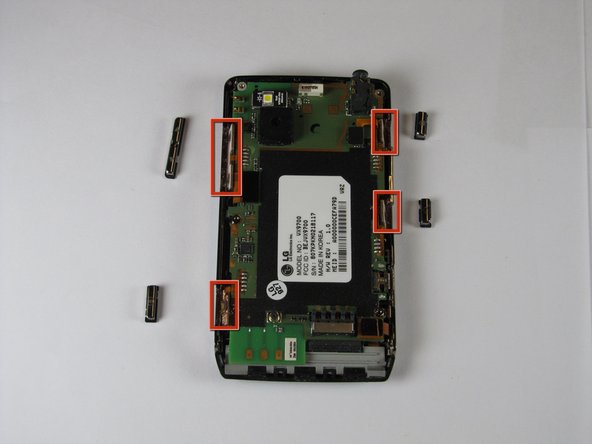
Use the #00 screwdriver to remove the six 4mm phillips screws located around the edges of the phone.
-
-


To re-assemble your device, follow these instructions in reverse order.
To re-assemble your device, follow these instructions in reverse order.
Cancelar: não concluí este guia.
2 outras pessoas executaram este guia.
Equipe

Cal Poly, Team 9-4, Regan Winter 2012 Membro de Cal Poly, Team 9-4, Regan Winter 2012
CPSU-REGAN-W12S9G4
Membros da 5
Autoria de 10 guias