Esta versão pode conter edições incorretas. Mude para o último instantâneo verificado.
O que você precisa
-
Este passo não foi traduzido. Ajude a traduzi-lo
-
Separate the top half of the clamshell from the bottom half by first locating the two hinges.
-
Carefully pull to one side and immediately up. The top part should pop out of the hinge. Next slide the opposite direction to pull out of the other hinge.
-
-
Este passo não foi traduzido. Ajude a traduzi-lo
-
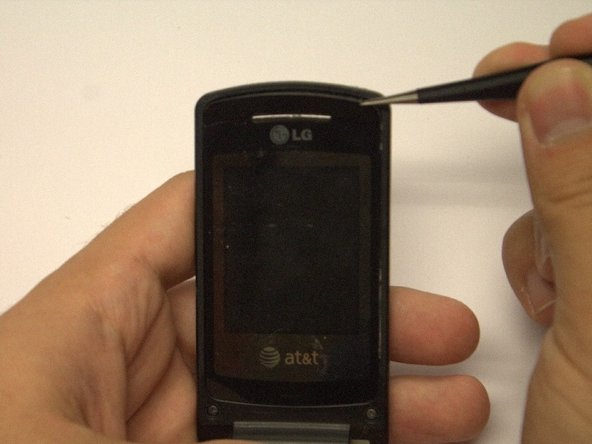
Locate the two small circles located at the bottom left and right corners of the main screen.
-
Remove the two small rubber dots covering the screw heads using the tweezers.
-
-
Este passo não foi traduzido. Ajude a traduzi-lo
-
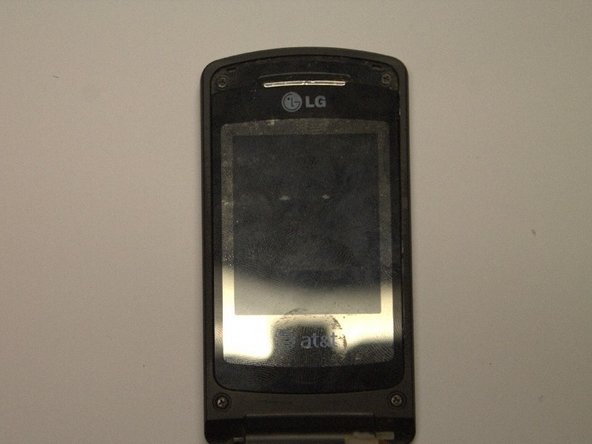
Locate the rubber strip found above the main screen. Use the pry bar to remove the rubber strip. This exposes the screws in the upper left and right hand corner.
-
-
-
Este passo não foi traduzido. Ajude a traduzi-lo
-
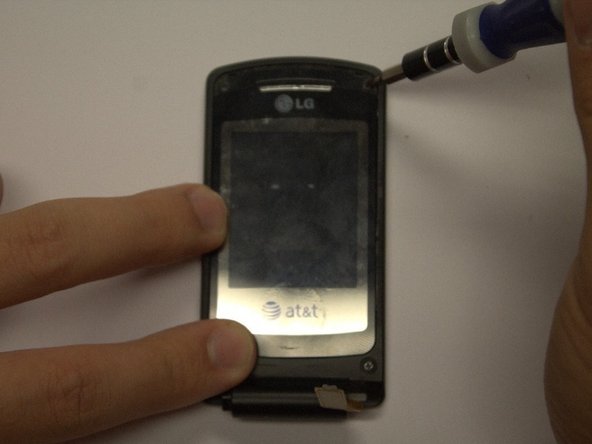
Use the small Phillips-head screwdriver to remove four 3mm screws exposed during steps 1 and 2.
-
-
Este passo não foi traduzido. Ajude a traduzi-lo
-
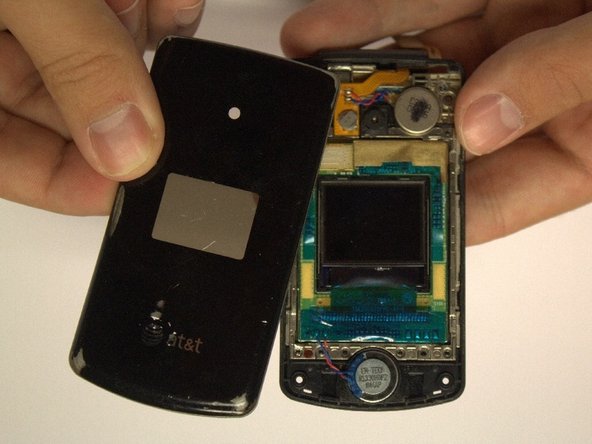
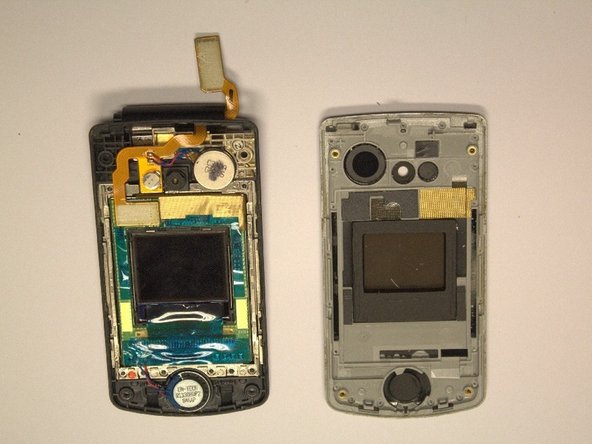
Using the pry bar, remove the front cover of the phone.
-
Once loose, the front cover should easily be pulled away from the phone, as shown in the second picture.
-
-
Este passo não foi traduzido. Ajude a traduzi-lo
-
Carefully pry around the crevice of the entire plastic screen covering using a pry bar or some other type of sharp tool.
-
Once you have pried all the way around, using tweezers to pull the plastic screen completely off.
-
-
Este passo não foi traduzido. Ajude a traduzi-lo
-
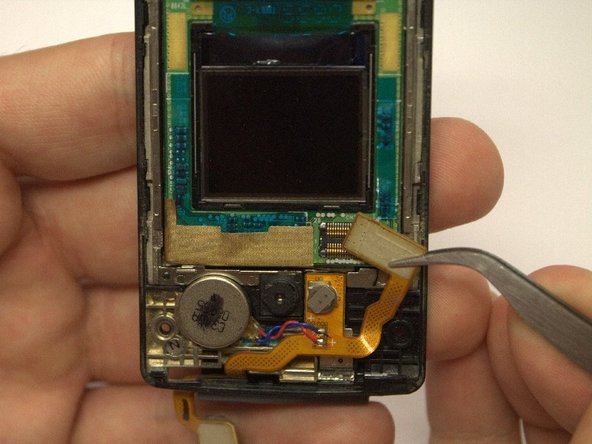
Locate the ribbon cable connection that attaches to the screen's circuit board.
-
Using the tweezers, carefully grab the corner of the rectangle and unplug the cable.
-
-
Este passo não foi traduzido. Ajude a traduzi-lo
-
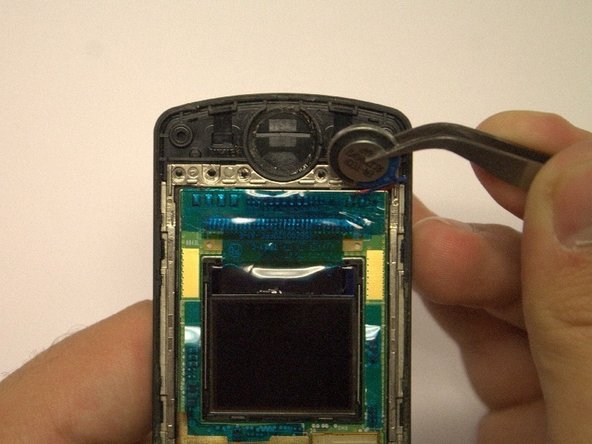
Locate the circular earpiece located above the circuit board.
-
Use the tweezers to grab and remove the earpiece.
-
-
Este passo não foi traduzido. Ajude a traduzi-lo
-
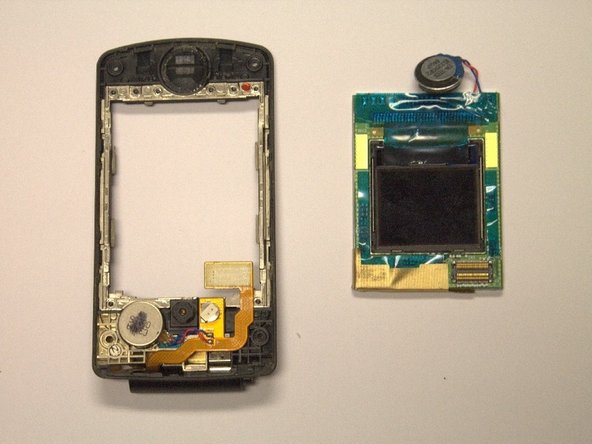
The circuit board containing the outside and inside LCD screen should now easily remove from the phone's casing using your fingers.
-