Ir para o conteúdo principal
LCD Screen  Replacement

LCD Screen Replacement

Colton Lancsarics

Colton Lancsarics e 2 outros colaboradores

Última atualização em April 27, 2020

45 minutos
Moderado

Introdução

Ir para o passo 1

In this guide, you will be taught how to successfully replace the LCD screen on your camera.

O que você precisa

Ferramentas

  1. LCD Screen  Replacement, Battery Door: passo 1, imagem 1 %32
    • Remove the M3 x 4mm screws from the bottom of your device as indicated by the picture. using the Philips Head J0 Screw Driver Bit .

  2. LCD Screen  Replacement: passo 2, imagem 1 %32
    • Use your Philips Head Screwdriver to remove the M3 x 4mm screws from the left side of the device as indicated by the pictures.

  3. LCD Screen  Replacement: passo 3, imagem 1 %32
    • Use your Philips Head Screwdriver to remove the M3 x 4mm screws from the right side of the device as indicated by the pictures.

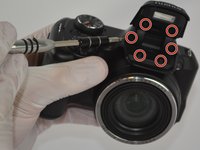
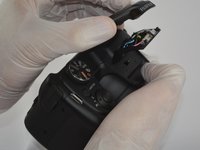
  4. LCD Screen  Replacement: passo 4, imagem 1 %32 LCD Screen  Replacement: passo 4, imagem 2 %32
    • Use your Philips Head Screwdriver to remove the M3 x 4mm screws from the camera flash lid as indicated by the picture.

    • Remove the plastic cover from the flash lid by gentle pulling them apart or using the plastic opening tool.

  5. LCD Screen  Replacement: passo 5, imagem 1 %32
    • Fold the lid down in order to access and remove the final M3 x 4mm screw using your Philips Head Screwdriver.

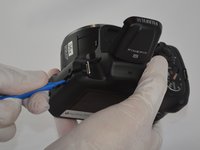
  6. LCD Screen  Replacement: passo 6, imagem 1 %32 LCD Screen  Replacement: passo 6, imagem 2 %32 LCD Screen  Replacement: passo 6, imagem 3 %32
    • Use the plastic opening tool to pry the back and front casings of the camera apart.

    • Once pried apart use your hands to pull off the back plate of the camera.

    • You will need to apply a little bit of force to remove the back plate.

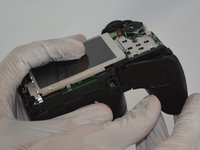
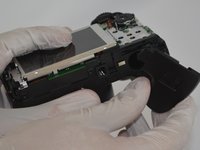
  7. LCD Screen  Replacement: passo 7, imagem 1 %32 LCD Screen  Replacement: passo 7, imagem 2 %32 LCD Screen  Replacement: passo 7, imagem 3 %32
    • Once the back plate is removed twist the battery cover clockwise and it should easily dislodge.

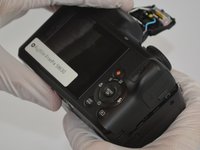
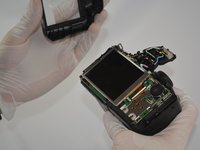
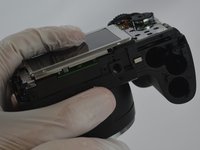
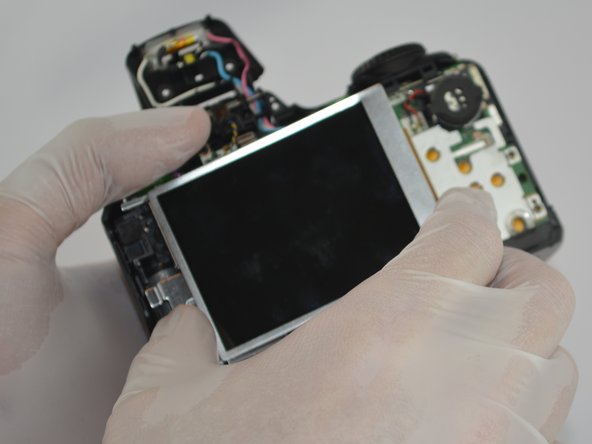
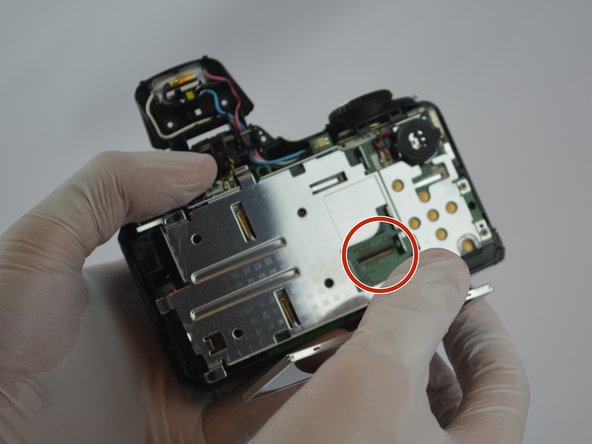
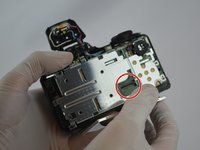
  8. LCD Screen  Replacement, LCD Screen: passo 8, imagem 1 %32 LCD Screen  Replacement, LCD Screen: passo 8, imagem 2 %32 LCD Screen  Replacement, LCD Screen: passo 8, imagem 3 %32
    • Gently pull the tab out of the motherboard and then the LCD screen should easily be removed.

Conclusão

To reassemble your device, follow these instructions in reverse order.

Uma outra pessoa concluiu este guia.

Equipe

USF Tampa, Team 3-2, Sullivan Spring 2016 Membro de USF Tampa, Team 3-2, Sullivan Spring 2016

USFT-SULLIVAN-S16S3G2

4 Membros

Autoria de 12 guias

0Comentários do guia

Comentar

Visualizações:

Últimas 24 horas: 1

Últimos 7 dias: 4

Últimos 30 dias: 30

Ao todo: 630