Introdução
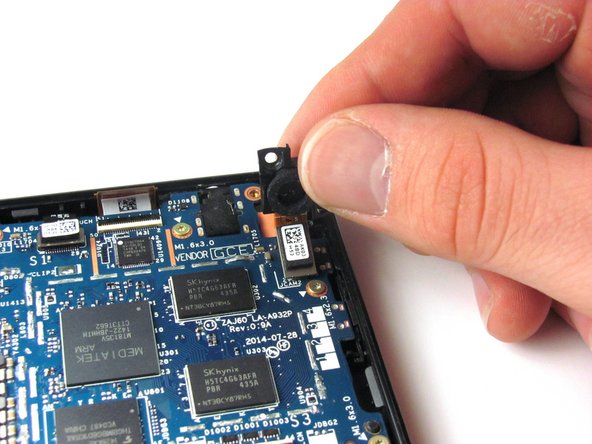
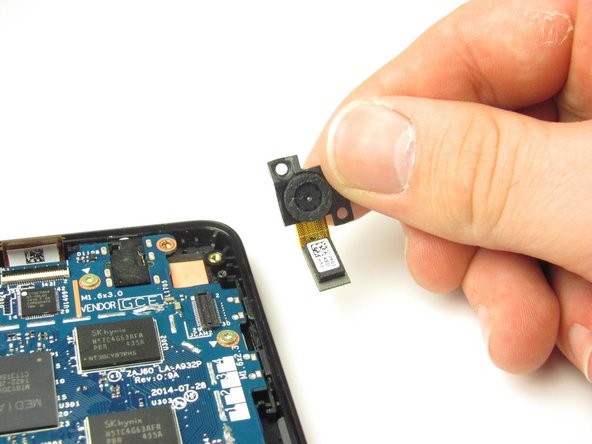
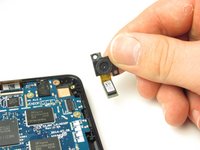
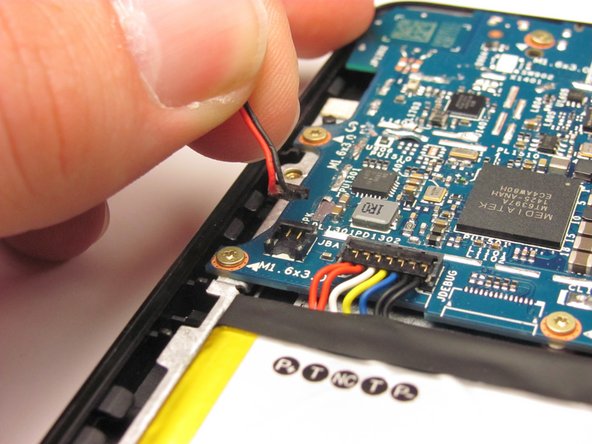
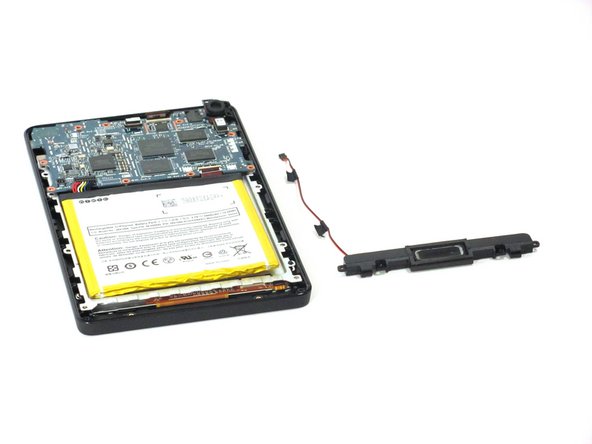
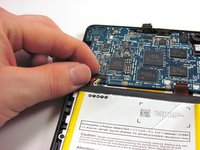
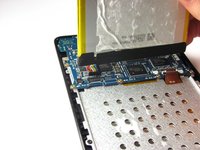
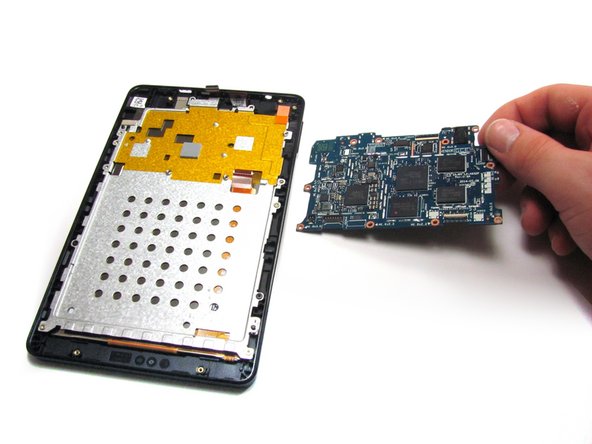
This guide explains how to remove the motherboard from the Kindle Fire HD 6. This guide has a lot of steps, so make sure to give yourself enough time to complete all of them.
Note that some of the connectors in this guide are delicate and require special removal, so make sure to read the steps completely before attempting them.
O que você precisa
-
-
Place the device face down on a clean cloth or another smooth surface.
-
Insert the plastic opening tool between the device’s front and back panels. You might need to wiggle the tool up and down to wedge it in the gap.
-
Maneuver the tool around the device until the back unclips from the front panel.
-
-
-
Ferramenta utilizada neste passo:iOpener$12.99
-
Gently pry the battery free from the adhesive holding it in place.
-
If you're having trouble working the battery free, warm it up with an iOpener or hair dryer to soften the adhesive, and then slide a credit card behind the battery to break up the adhesive.
-
-
-
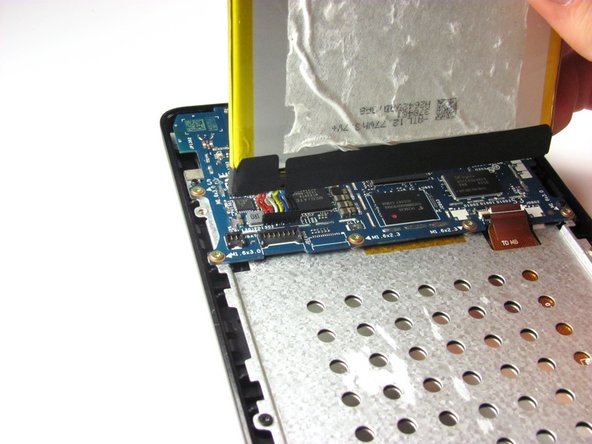
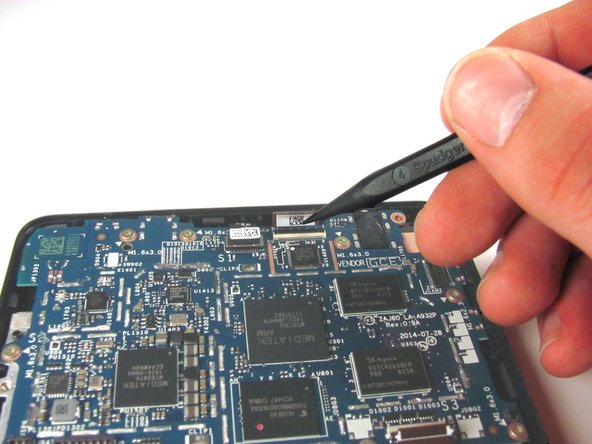
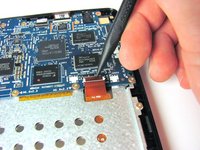
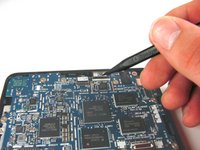
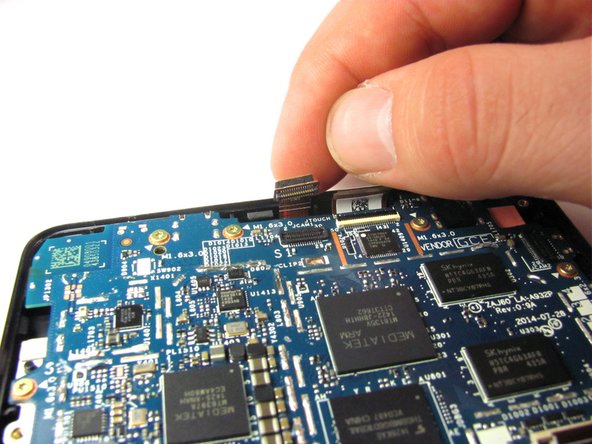
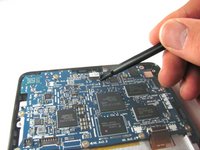
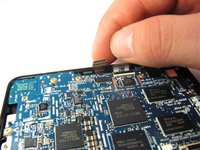
Use the tip of the spudger to disconnect the two zero insertion force connectors on the bottom and top of the motherboard.
-
The first connector is attached to an orange tape, and is located in the bottom-right corner of the motherboard. Remove this connector.
-
The second connector is long and thin, and is located at the top of the motherboard, a bit to the right of center. Remove this connector.
-
To reassemble your device, follow these instructions in reverse order.
To reassemble your device, follow these instructions in reverse order.
Cancelar: não concluí este guia.
3 outras pessoas executaram este guia.


