Ir para o conteúdo principal

Kano Computer Kit Complete Display Board Replacement

O que você precisa

  1. Kano Computer Kit Complete Display Board Replacement, Display Board: passo 1, imagem 1 %32 Kano Computer Kit Complete Display Board Replacement, Display Board: passo 1, imagem 2 %32
    • Take off the clear backing of the computer and set it aside.

    • The Display board is located in the top right corner of the case.

  2. Kano Computer Kit Complete Display Board Replacement: passo 2, imagem 1 %32 Kano Computer Kit Complete Display Board Replacement: passo 2, imagem 2 %32
    • Always disconnect the battery before performing repairs.

    • Remove the power cable (Circled in red) from the board.

  3. Kano Computer Kit Complete Display Board Replacement: passo 3, imagem 1 %32 Kano Computer Kit Complete Display Board Replacement: passo 3, imagem 2 %32 Kano Computer Kit Complete Display Board Replacement: passo 3, imagem 3 %32
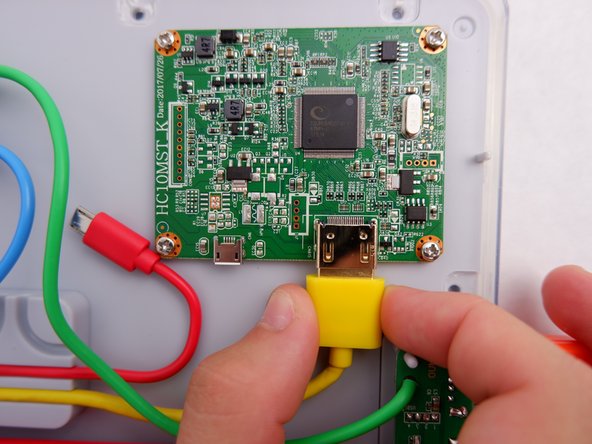
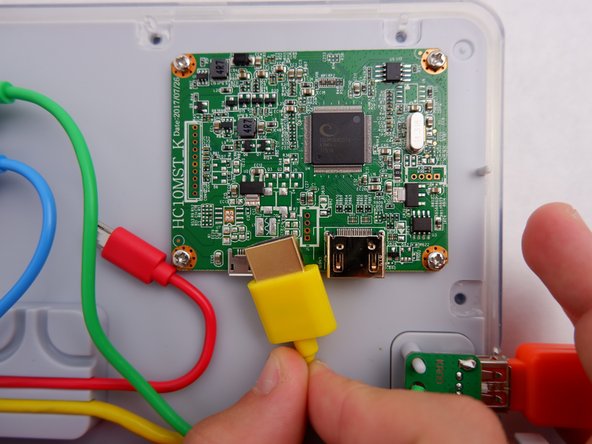
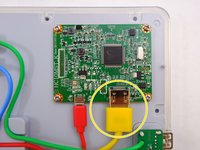
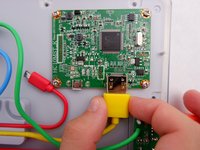
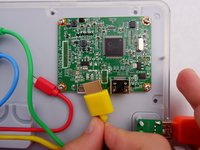
    • Unplug the HDMI cable (Circled in Yellow) from the board

  4. Kano Computer Kit Complete Display Board Replacement: passo 4, imagem 1 %32
    • Unscrew the four 8.5mm screws with your Phillips #1 Screwdriver.

  5. Kano Computer Kit Complete Display Board Replacement: passo 5, imagem 1 %32 Kano Computer Kit Complete Display Board Replacement: passo 5, imagem 2 %32
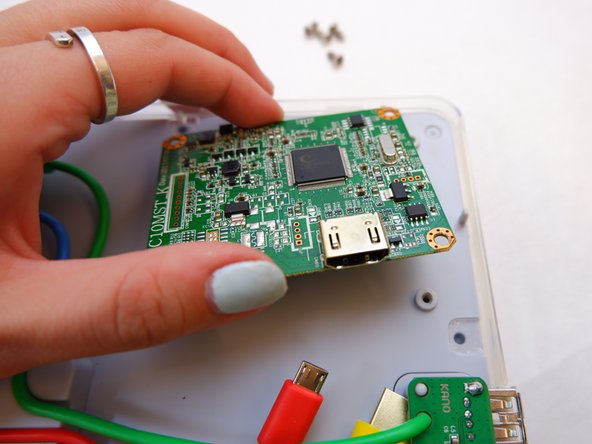
    • Lift the board off the back of the screen.

    • Be gentle as there is a ribbon cable on the underside that will prevent the board from being removed completely.

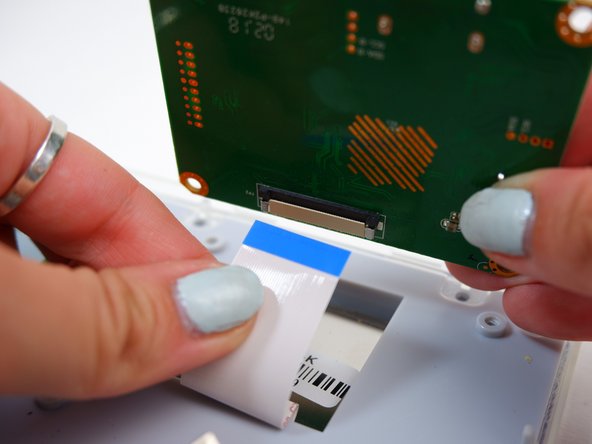
  6. Kano Computer Kit Complete Display Board Replacement: passo 6, imagem 1 %32 Kano Computer Kit Complete Display Board Replacement: passo 6, imagem 2 %32
    • Disconnect the white ribbon cable that you find underneath the board.

    • Be careful; it will take some force.

Conclusão

To reassemble your device, follow these instructions in reverse order.

Uma outra pessoa concluiu este guia.

0 comentários

Adicione um comentário

Exibir estatísticas:

Últimas 24 horas: 1

Últimos 7 dias: 8

Últimos 30 dias: 29

Duração total: 1,236