Esta versão pode conter edições incorretas. Mude para o último instantâneo verificado.
O que você precisa
-
Este passo não foi traduzido. Ajude a traduzi-lo
-
Turn the phone over to expose the battery cover.
-
Apply pressure to the back of the battery cover to slide it down.
-
The battery cover is now separate from the phone.
-
-
Este passo não foi traduzido. Ajude a traduzi-lo
-
Remove the battery by pushing it up and out from the bottom.
-
The battery, cover, and phone should now be separated.
-
-
Este passo não foi traduzido. Ajude a traduzi-lo
-
Pry, with a metal probe, the black covers that are located by the pivoting joints of the phone.
-
Beneath the covers are screws.
-
-
-
Este passo não foi traduzido. Ajude a traduzi-lo
-
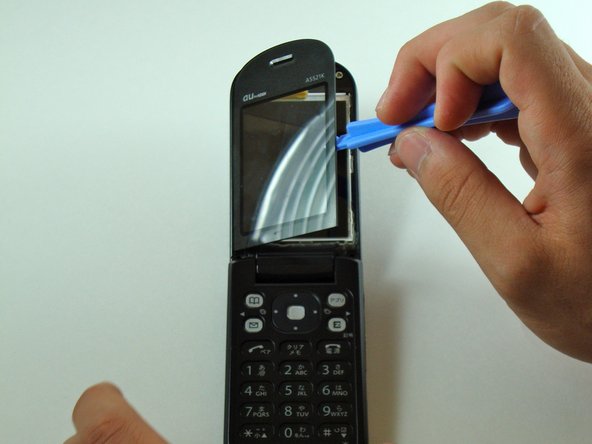
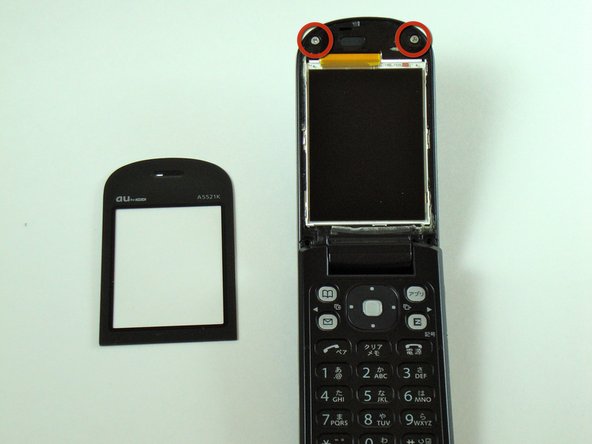
Use the iPod pry tool to remove the outer screen.
-
Two screws are now visible.
-
-
Este passo não foi traduzido. Ajude a traduzi-lo
-
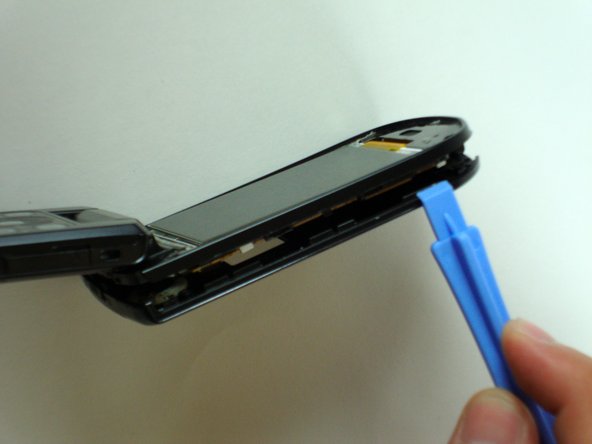
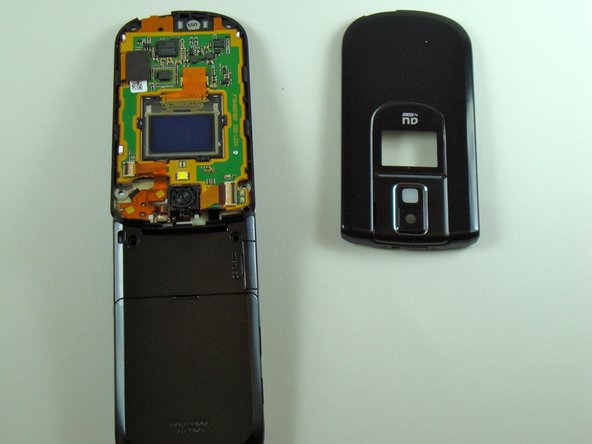
Use the iPod pry tool to loosen the faceplate from the phone.
-
-
Este passo não foi traduzido. Ajude a traduzi-lo
-
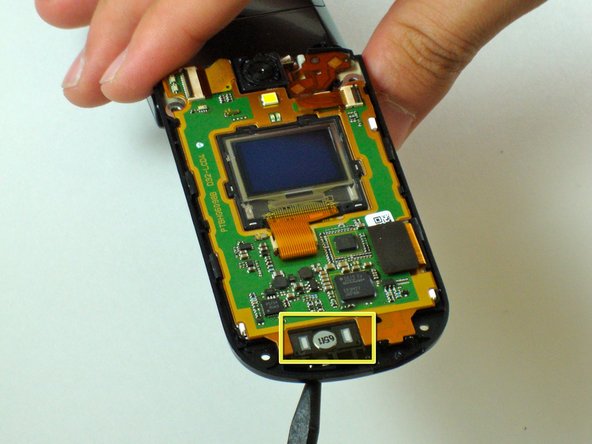
Turn the phone over.
-
Place a spudger in the oval shaped speaker opening of the phone (indicated by the red rectangle).
-
Turn the phone so the exposed circuit board faces upward.
-
-
Este passo não foi traduzido. Ajude a traduzi-lo
-
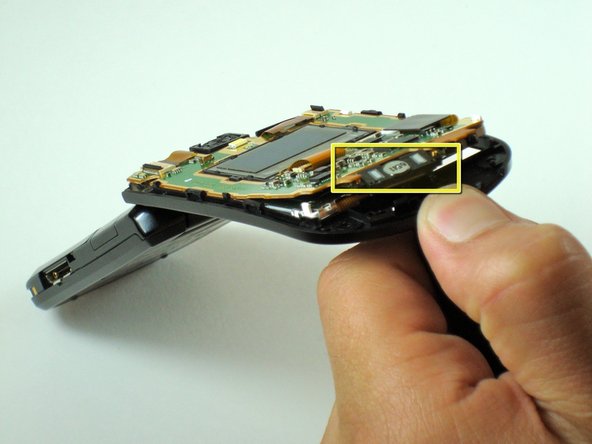
Push the spudger through the speaker opening to separate the speaker (indicated by the yellow rectangle).
-
-
Este passo não foi traduzido. Ajude a traduzi-lo
-
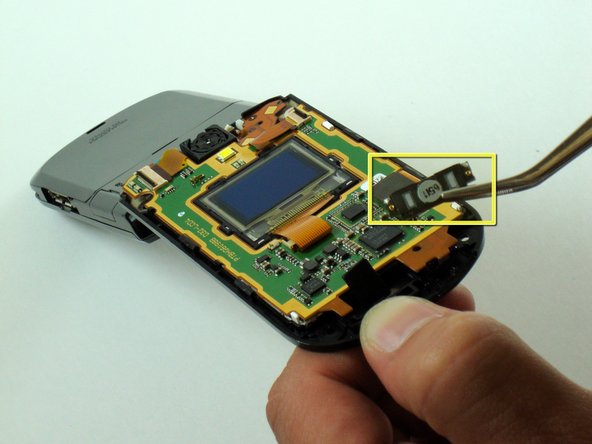
Grasp the speaker (indicated by the yellow rectangle) with tweezers, or with your fingers if you can manage a firm grip.
-
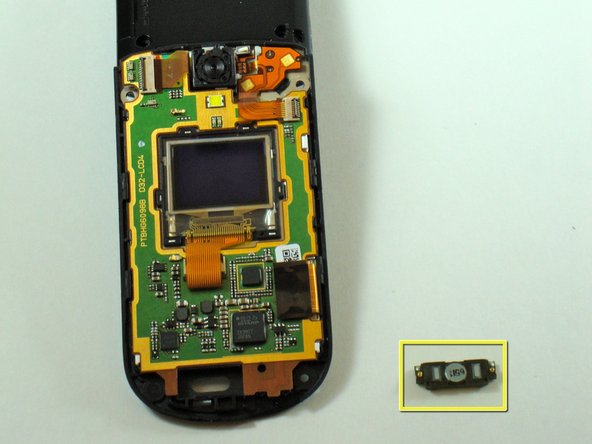
Firmly remove the speaker.
-


Cancelar: não concluí este guia.
Uma outra pessoa concluiu este guia.
Equipe

Cal Poly, Team 28-25, Regan Spring 2010 Membro de Cal Poly, Team 28-25, Regan Spring 2010
CPSU-REGAN-S10S28G25
Membros da 4
Autoria de 20 guias