Este guia tem alterações mais recentes. Mudar para a última versão não verificada.
Introdução
Warning only attempt this as a last resort if you need to.
Thank you to all those that commented / contributed to this and the other Jura guides
O que você precisa
-
-
To remove everything prior to the Brewgroup follow this tear down.
-
This guide begins after tear down step 15
-
CAREFUL as you remove the brewgroup as it is still connected via the hose till you do step 3.
-
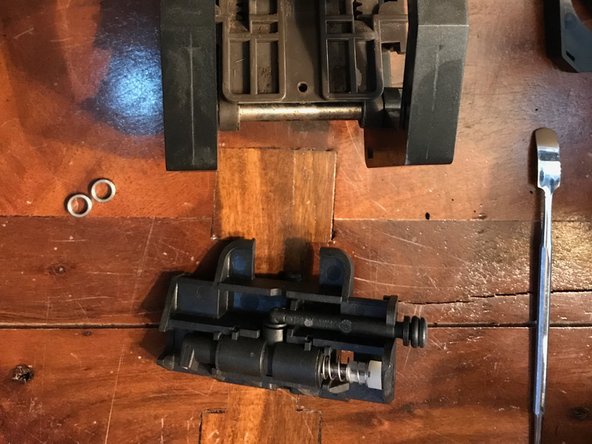
In the tear down I referred to this as the tamper assembly but another great contributor wrote a guide on this specifically and referred to it as "Brewgroup" so...
-
My J5 is different enough from the one in the other brewgroup guide so I made this guide.
-
-
-
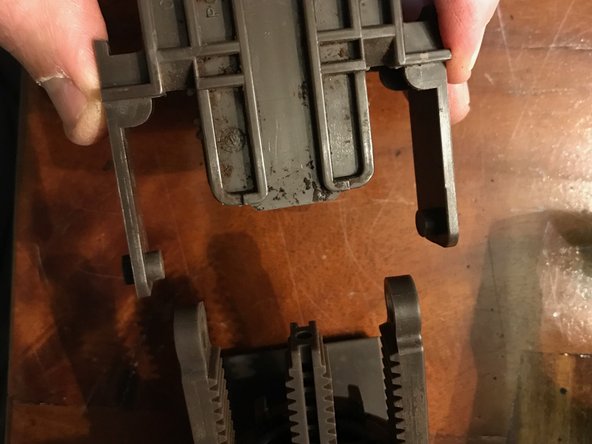
CAREFUL as you remove the brewgroup as it is still connected via the hose till you do step 3.
-
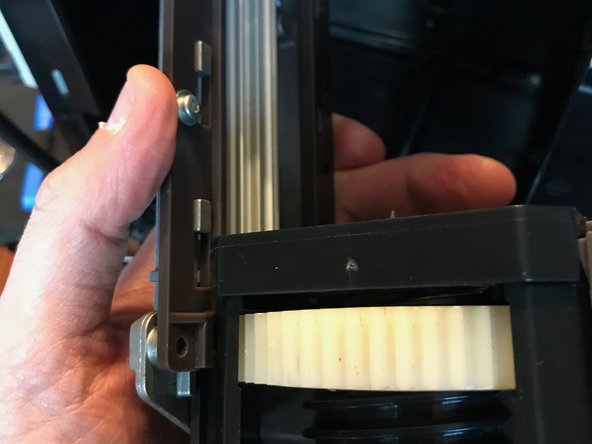
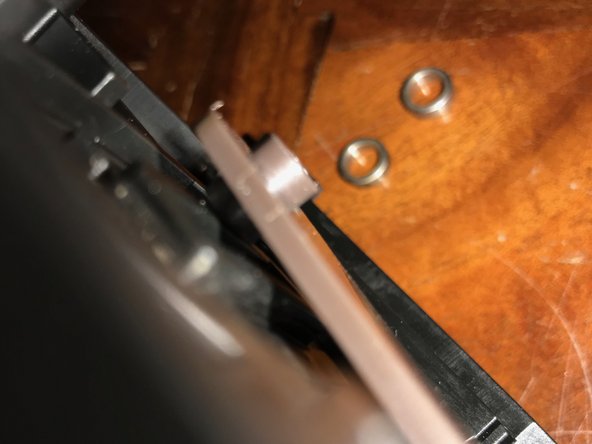
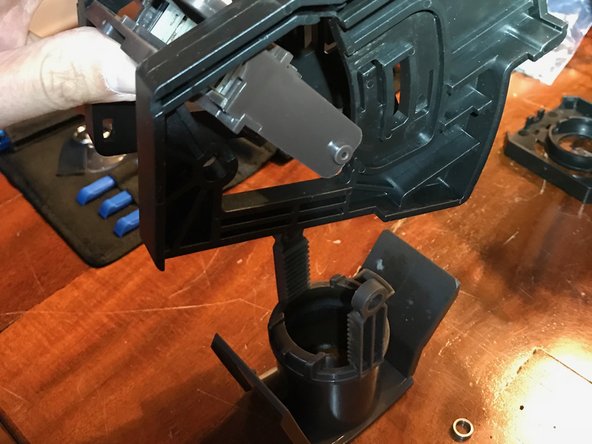
this step is mostly for reassembly. You need to align the brewgroup so that the knob circled in BLUE slips into the RED circle before you put the screws in.
-
-
-
2 clips near the top shown in second photo, circled in RED
-
CAREFUL as you remove the brewgroup as it is still connected via the hose till you do the this step.
-
The brewgroup is removed from the left of the machine as you face the front, hence the steps labeled left, Front and right.
-
-
-
you might notice in some of the photos the fist time I put it back together I forgot this piece luckily I remembered after I had the brew group back in:)
-
3 upper clips snap onto piece above the large white horizontal gear and two clips below as well.
-
-
-
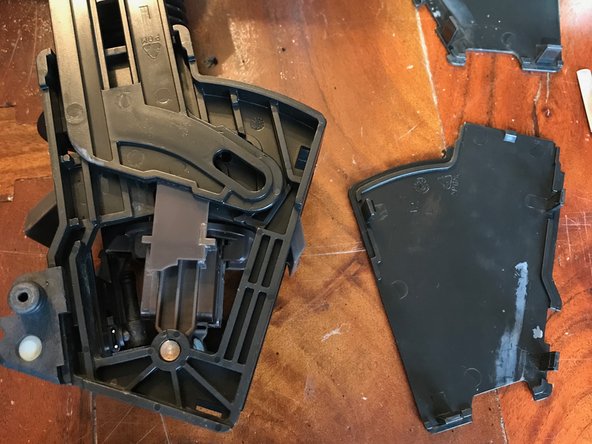
removing the plate shown behind the metal poker
-
there are four tabs circled in RED on the already removed plates
-
Next step shows where to release them
-
-
-
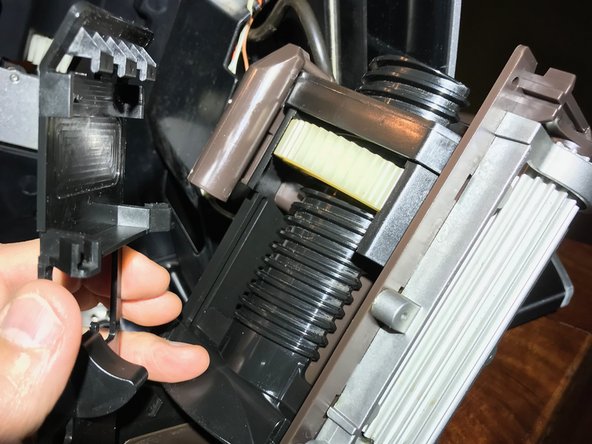
Two are easy to see and get to with your finger
-
the other two a little more hidden but not too bad
-
Refer to the previous step showing the plate already removed to get an idea of where they are too.
-
I try to point to them in the pictures with the metal poker.
-
-
-
-
Just lifts off, if memory serves me?
-
the part shown under the green rectangle
-
-
-
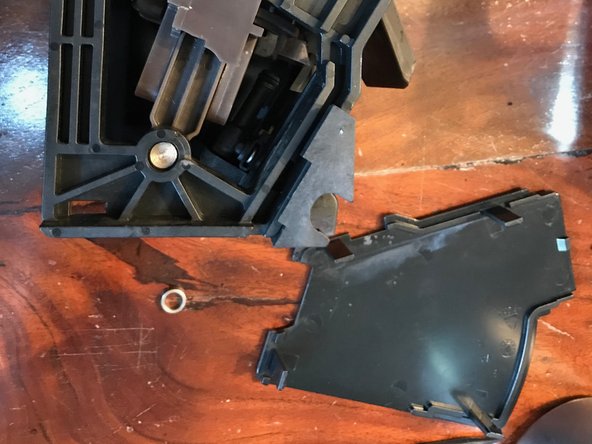
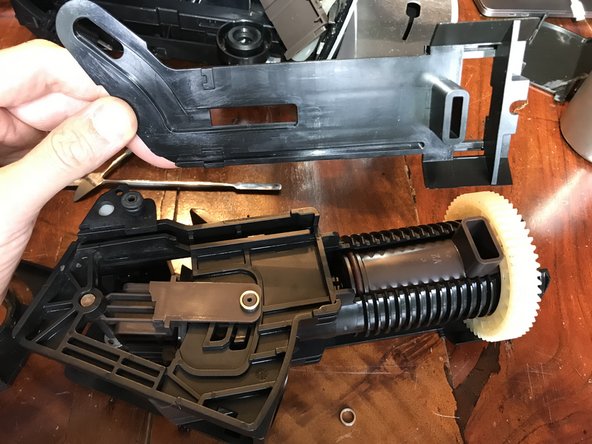
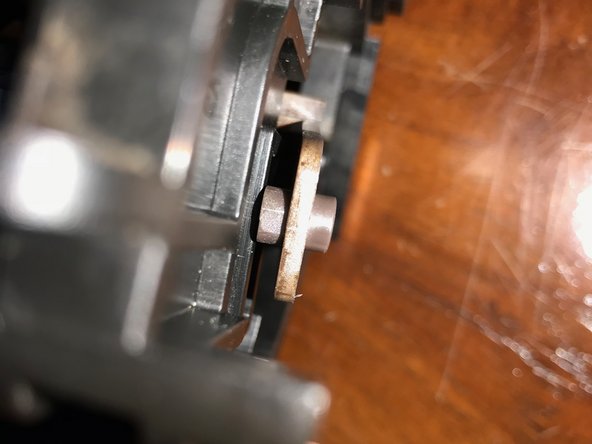
Bearing makes an L shaped path on these left and right plates
-
lift the hose out of the way before you remove the plate
-
they just come off no clips
-
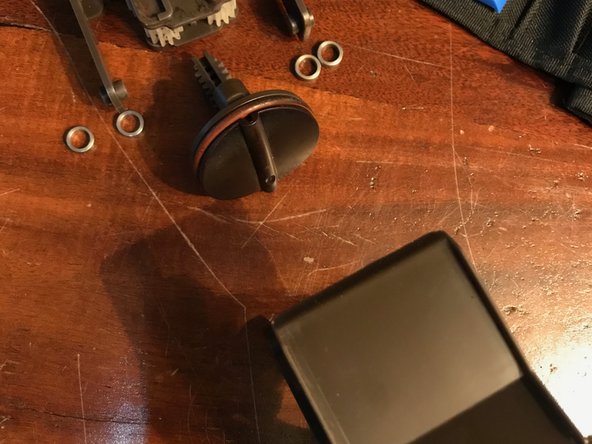
CAREFUL there are four small metal bearing parts that can just fall off
-
I clarify where they go in the next step
-
-
-
These can fall out at any point during assembly / disassembly, so good luck.
-
-
-
The 3rd photo shows the orientation of the upper hose in relation to the lower alignment knob mentioned in step 2
-
-
-
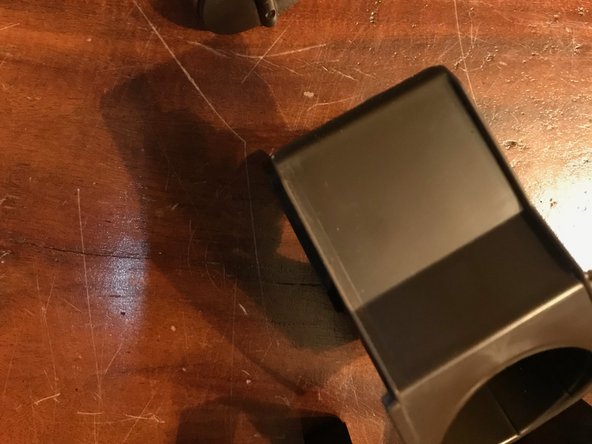
Just slides off
-
I think this is similar to the Drainage valve referred to in this other guide
-
except that this appears to be a different model?
-
-
-
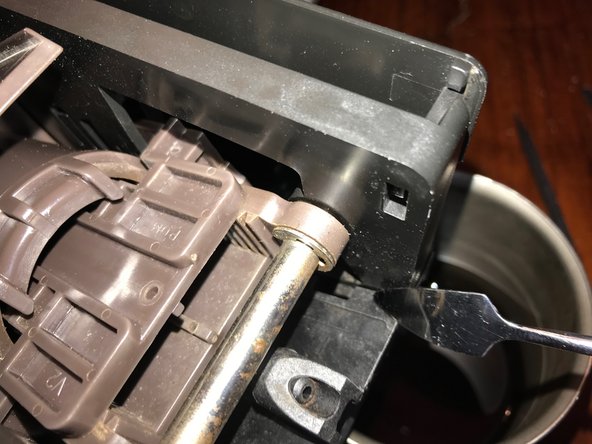
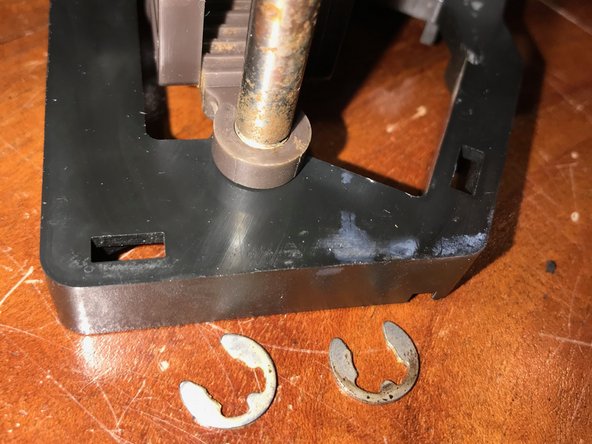
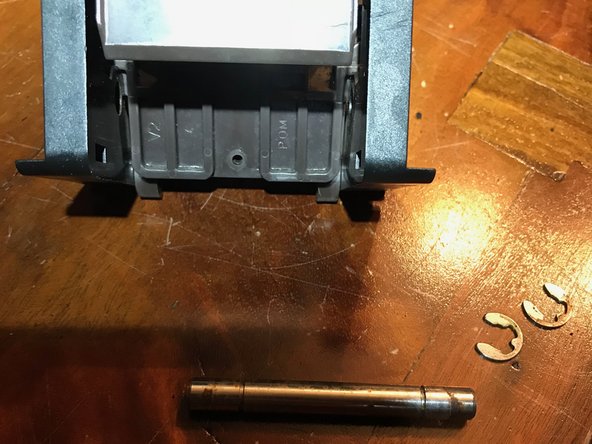
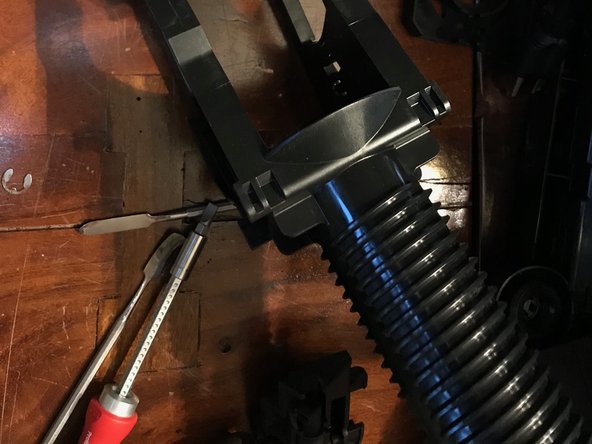
remove with a small flat screw driver reattach with needle nose pliers
-
-
-
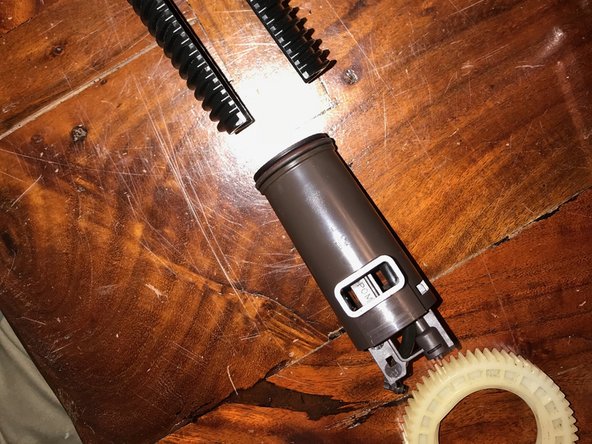
CRUCIAL STEP: I messed this up the first time I reassembled this nearly broke the gearing and generated an error 8
-
Error 8: I think is failure of the brewgroup to home.
-
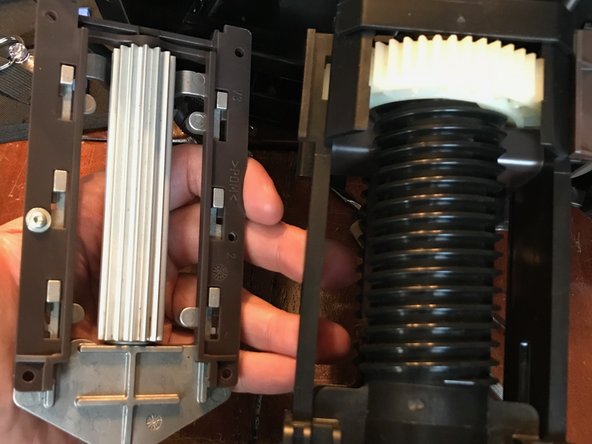
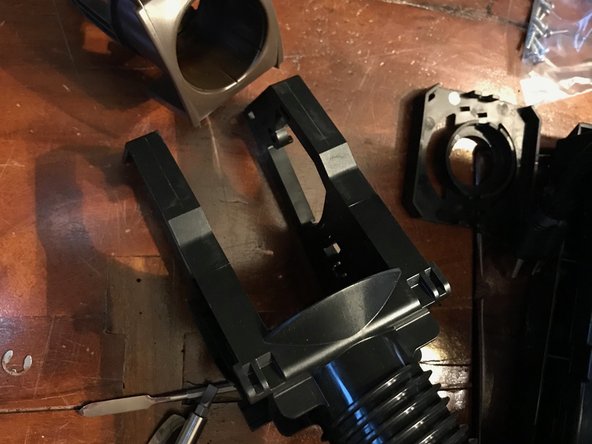
Place lower portion with the white gears at the top of motion inside the cylinder
-
then slide in upper portion with the red o-ring then slide both together to the bottom
-
I put a little vegetable oil with my finger on the inner cylinder wall other wise it was super dry and hard to move.
-
-
-
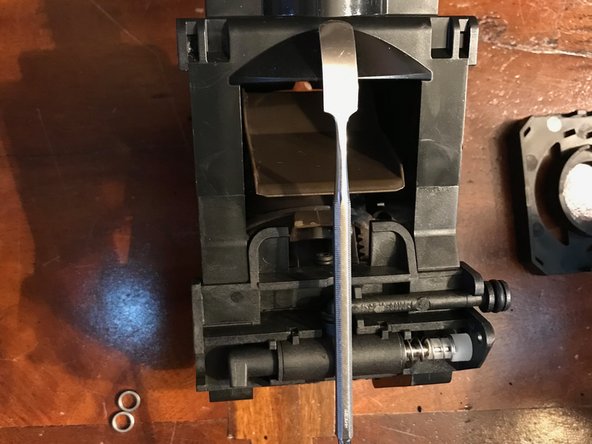
So you can test it is working before putting it all back together
-
As shown in the photo just lay the top back in place
-
Water container partially full and in place
-
CAREFUL keep anything away from bean grinder!! Block coffee bean full sensor with something.
-


To reassemble your device, follow these instructions in reverse order.
To reassemble your device, follow these instructions in reverse order.
Cancelar: não concluí este guia.
Uma outra pessoa concluiu este guia.

Equipe

Repair is War on Entropy Membro de Repair is War on Entropy
Community
Membros da 24
Autoria de 1.097 guias
7 comentários
I noticed there are some extra connection points on this model brew group of Jura. For example, the one in the center shown in your first picture. Since there is nothing connected to it, I am afraid water/coffee will come out from there and create leak. Did you notice anything like this? Thanks!
There ist the lower connection to the drainage valve for the incoming hot water. There is also the upper connection that leads to the hose for the finished coffee. All possible other connections remain u, maybe they are used in other models.
VauWeh -
Yes, I saw the one in the center on top before. Some models use it to connect to the coffee spout. This is the reason I think it will leak coffee from there. Also I’ve never seen this “side coffee box” on top before in any other models. There are two ports on it, J5 only use one. The other one is also open for leak. I refurbished the same model and wondered about these two open ports when I do it. Now I found leaking coffee from bottom of the machine. I will open it up to run it. Then I will know exactly where the coffee comes from…
Great post. I am repairing a E8 type 735 and it also has this brown side box with a coffee tube. Seems that it will just leak? Does anyone know the function of this system? Something to do with the PEP technology?