Introdução
If your JYX-S55 speaker isn't producing sound, or if the sound appears highly distorted or muffled, use this guide to replace the woofer (the sound mechanism inside the speaker).
The woofer allows the device to produce quality sound.
Before using this guide, inspect the charging cable of the device and attempt to charge the device using other charging cables that fit into the USB-C charging port located on the top panel of the device. This will confirm whether or not the woofer is faulty within the device, as low charge can impact the sound quality of the device.
To reduce risk while completing the replacement, make sure the battery is completely discharged by leaving the device on until it turns off. This will signal the battery is not carrying any charge, and it is safer to replace any component of the device. Keep the device off and unplugged from all external power sources at all times while replacing any component.
O que você precisa
-
-
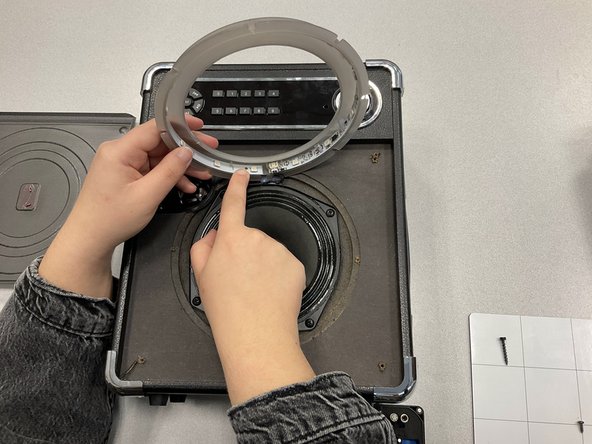
Remove the four screws from the top panel of the device using a 2.5 hex screwdriver.
-
Remove the top panel.
-
-


To reassemble your device, follow these instructions in reverse order.
To reassemble your device, follow these instructions in reverse order.
Cancelar: não concluí este guia.
Uma outra pessoa concluiu este guia.

Equipe

Marist, Team 1-5, Chaterdon Spring 2023 Membro de Marist, Team 1-5, Chaterdon Spring 2023
MARS-CHATERDON-S23S1G5
Membros da 3
Autoria de 4 guias