Ir para o conteúdo principal

JBL On Stage II 30-Pin Connector Replacement

O que você precisa

  1. JBL On Stage II 30-Pin Connector Replacement, Cracking the Case: passo 1, imagem 1 %32
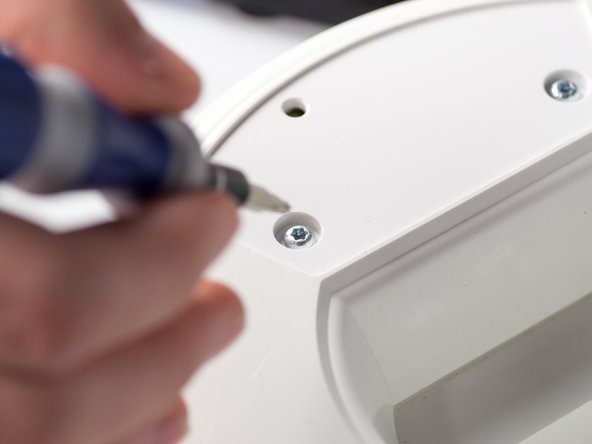
    • Turn the device upside down so that the three rubber pads are facing up.

  2. JBL On Stage II 30-Pin Connector Replacement: passo 2, imagem 1 %32
    • Use a heat gun (set to low) to apply heat to one of the rubber pads until you can easily remove the pad. This step takes around 5-7 minutes.

  3. JBL On Stage II 30-Pin Connector Replacement: passo 3, imagem 1 %32
    • Remove the heated rubber pad with a plastic opening tool.

    • Repeat steps 2 and 3 for the two remaining rubber pads.

  4. JBL On Stage II 30-Pin Connector Replacement: passo 4, imagem 1 %32 JBL On Stage II 30-Pin Connector Replacement: passo 4, imagem 2 %32
    • Remove the six 1cm T-10 torx screws on the bottom of the device (found under the rubber pads) using a T-10 Torx screwdriver.

  5. JBL On Stage II 30-Pin Connector Replacement: passo 5, imagem 1 %32 JBL On Stage II 30-Pin Connector Replacement: passo 5, imagem 2 %32 JBL On Stage II 30-Pin Connector Replacement: passo 5, imagem 3 %32
    • Open the device along its seam.

    • Be careful when separating the device because there are wires connecting the two seperate halves.

  6. JBL On Stage II 30-Pin Connector Replacement: passo 6, imagem 1 %32
    • Disconnect the ribbon cable connector from the top half of the device by pulling outward and parallel to the connecting pins.

  7. JBL On Stage II 30-Pin Connector Replacement: passo 7, imagem 1 %32 JBL On Stage II 30-Pin Connector Replacement: passo 7, imagem 2 %32
    • Locate and disconnect the two molex connectors found on either side of the ribbon cable connector on the bottom half of the device.

    Where do I find these speakers

    HighChief - Responder

  8. JBL On Stage II 30-Pin Connector Replacement, 30-Pin Connector Replacement: passo 8, imagem 1 %32
    • Apply heat with a heatgun on a low setting to the area around the 30-pin connector until you can easily pry it out by the seam surrounding it (about 10 minutes).

  9. JBL On Stage II 30-Pin Connector Replacement: passo 9, imagem 1 %32
    • Use a metal spudger to pry out the plastic surrounding the 30-pin connector.

  10. JBL On Stage II 30-Pin Connector Replacement: passo 10, imagem 1 %32
    • Use a pair of tweezers to wiggle out the 30-pin connector.

Conclusão

To reassemble your device, follow these instructions in reverse order.

Uma outra pessoa concluiu este guia.

Equipe

Cal Poly, Team 9-28, Maness Winter 2014 Membro de Cal Poly, Team 9-28, Maness Winter 2014

CPSU-MANESS-W14S9G28

Membros da 4

Autoria de 7 guias

2 comentários

and how you get a new one of the 30 pin connector?

bini barazany - Responder

Yes, where can we buy a new one of the 30 pin connector?

Jimbo - Responder

Adicione um comentário

Exibir estatísticas:

Últimas 24 horas: 0

Últimos 7 dias: 1

Últimos 30 dias: 9

Duração total: 4,426