Introdução
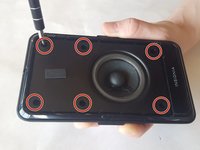
This guide will show you how to disassemble the Insignia NS-PLTPSP13 speaker. Using this guide, you should be able to access any components you need to repair or replace.
O que você precisa
-
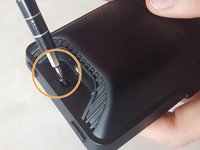
Ferramenta utilizada neste passo:Tweezers$4.99
-
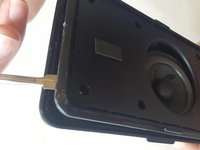
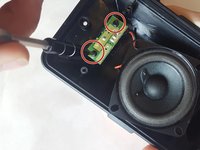
Use the tweezers to lift the corner of the mesh until a gap is created.
-
-


Conclusão
To reassemble your device, follow these instructions in reverse order.
Equipe

UMass Dartmouth, Team S4-G2, Julie Spring 2017 Membro de UMass Dartmouth, Team S4-G2, Julie Spring 2017
UMASSD-JULIE-S17S4G2
5 Membros
Autoria de 4 guias