Ir para o conteúdo principal

Este guia tem alterações mais recentes. Mudar para a última versão não verificada.

IBM ThinkPad 560z Keyboard Replacement

O que você precisa

  1. IBM ThinkPad 560z Keyboard Replacement, Upper Case: passo 1, imagem 1 %32
    • Remove the 7 mm Phillips #0 screws.

    • Remove the 10 mm Phillips #0 screws.

    • Remove the 14 mm Phillips #0 screw.

  2. IBM ThinkPad 560z Keyboard Replacement: passo 2, imagem 1 %32 IBM ThinkPad 560z Keyboard Replacement: passo 2, imagem 2 %32
    • Open the flap on the left hand side.

  3. IBM ThinkPad 560z Keyboard Replacement: passo 3, imagem 1 %32 IBM ThinkPad 560z Keyboard Replacement: passo 3, imagem 2 %32
    • Insert the plastic opening tools between the right and left sides of the latch.

    • Pry the right side of the latch, and then pry the left side to detach the laptop's cover.

  4. IBM ThinkPad 560z Keyboard Replacement: passo 4, imagem 1 %32 IBM ThinkPad 560z Keyboard Replacement: passo 4, imagem 2 %32
    • Open the flap on the right side.

  5. IBM ThinkPad 560z Keyboard Replacement: passo 5, imagem 1 %32
    • Insert the plastic opening tools towards the right side of the latch.

    • Gently pry the right side out to release the top cover.

  6. IBM ThinkPad 560z Keyboard Replacement: passo 6, imagem 1 %32 IBM ThinkPad 560z Keyboard Replacement: passo 6, imagem 2 %32
    • Lift the keyboard slowly.

    • A cable connects the keyboard to the motherboard. If you are not careful, you will damage the cable.

  7. IBM ThinkPad 560z Keyboard Replacement: passo 7, imagem 1 %32
    • Use your fingers or a spudger to detach the connector.

  8. IBM ThinkPad 560z Keyboard Replacement: passo 8, imagem 1 %32 IBM ThinkPad 560z Keyboard Replacement: passo 8, imagem 2 %32
    • Carefully lift and remove the keyboard.

  9. IBM ThinkPad 560z Keyboard Replacement, Keyboard Removal: passo 9, imagem 1 %32 IBM ThinkPad 560z Keyboard Replacement, Keyboard Removal: passo 9, imagem 2 %32
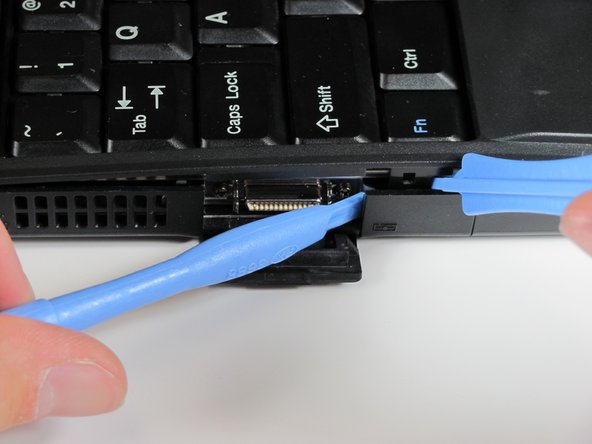
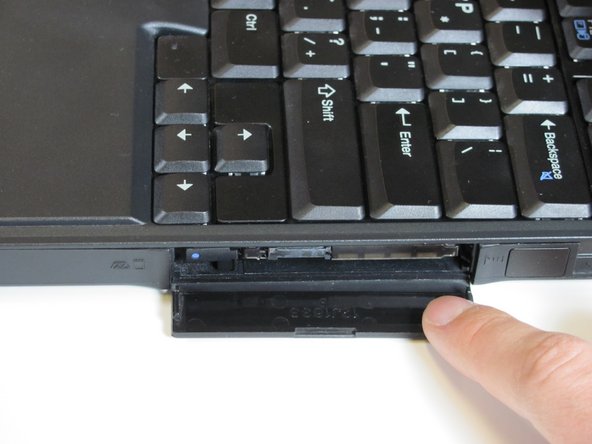
    • Remove the five Phillips screws from the underside of the keyboard, then gently lift it up.

Conclusão

To reassemble your device, follow these instructions in reverse order.

Derek Driscoll

Membro desde: 04/15/10

119 Reputação

Autoria de 8 guias

Equipe

Cal Poly, Team 26-27, Regan Spring 2010 Membro de Cal Poly, Team 26-27, Regan Spring 2010

CPSU-REGAN-S10S26G27

Membros da 3

Autoria de 18 guias

0 comentários

Adicione um comentário

Exibir estatísticas:

Últimas 24 horas: 0

Últimos 7 dias: 2

Últimos 30 dias: 4

Duração total: 2,417