Ir para o conteúdo principal

Huawei Y7 2018 (LDN-L21) Display Assembly with Frame Replacement

O que você precisa

Vídeo de Apresentação

  1. Huawei Y7 2018 (LDN-L21) Display Assembly with Frame Replacement, Switch off the device: passo 1, imagem 1 %32 Huawei Y7 2018 (LDN-L21) Display Assembly with Frame Replacement, Switch off the device: passo 1, imagem 2 %32 Huawei Y7 2018 (LDN-L21) Display Assembly with Frame Replacement, Switch off the device: passo 1, imagem 3 %32
    • Turn off the device

    • Remove the sim tray

  2. Huawei Y7 2018 (LDN-L21) Display Assembly with Frame Replacement, Back Cover: passo 2, imagem 1 %32 Huawei Y7 2018 (LDN-L21) Display Assembly with Frame Replacement, Back Cover: passo 2, imagem 2 %32 Huawei Y7 2018 (LDN-L21) Display Assembly with Frame Replacement, Back Cover: passo 2, imagem 3 %32
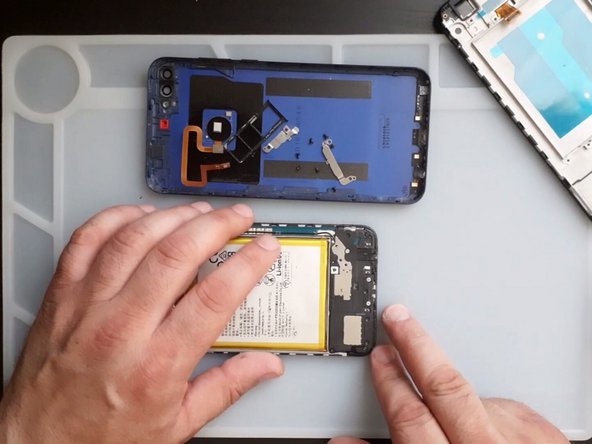
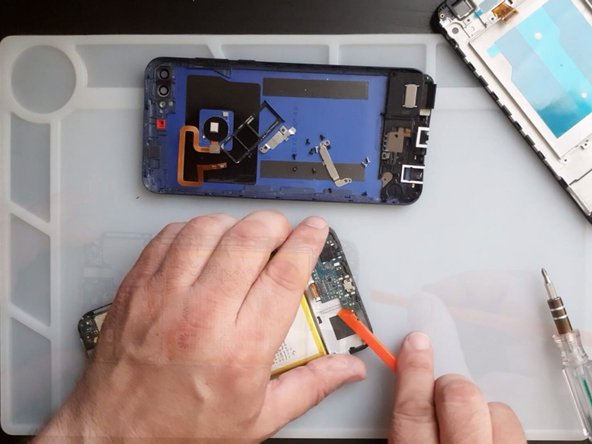
    • Use Plastic tool to separate the back cover

    • With a Phillips screwdriver remove two black screws and the battery flex connector shield

    • Disconnect the battery and the finger print sensor flex cable

  3. Huawei Y7 2018 (LDN-L21) Display Assembly with Frame Replacement, Logic Board Removal Part 1: passo 3, imagem 1 %32 Huawei Y7 2018 (LDN-L21) Display Assembly with Frame Replacement, Logic Board Removal Part 1: passo 3, imagem 2 %32 Huawei Y7 2018 (LDN-L21) Display Assembly with Frame Replacement, Logic Board Removal Part 1: passo 3, imagem 3 %32
    • Remove all screws from the top of the logic board

    • Remove the shield covering the camera connectors

    • Remove the screws and the plastic cover at the bottom of the device

    • Be careful! Different colored screws have different size

  4. Huawei Y7 2018 (LDN-L21) Display Assembly with Frame Replacement, Logic Board Removal - Part 2: passo 4, imagem 1 %32 Huawei Y7 2018 (LDN-L21) Display Assembly with Frame Replacement, Logic Board Removal - Part 2: passo 4, imagem 2 %32 Huawei Y7 2018 (LDN-L21) Display Assembly with Frame Replacement, Logic Board Removal - Part 2: passo 4, imagem 3 %32
    • Disconnect the Screen Flex cable

    • Remove the logic board

    • Note that at the bottom side of board is attached to the display with double-sided tape

  5. Huawei Y7 2018 (LDN-L21) Display Assembly with Frame Replacement: passo 5, imagem 1 %32 Huawei Y7 2018 (LDN-L21) Display Assembly with Frame Replacement: passo 5, imagem 2 %32 Huawei Y7 2018 (LDN-L21) Display Assembly with Frame Replacement: passo 5, imagem 3 %32
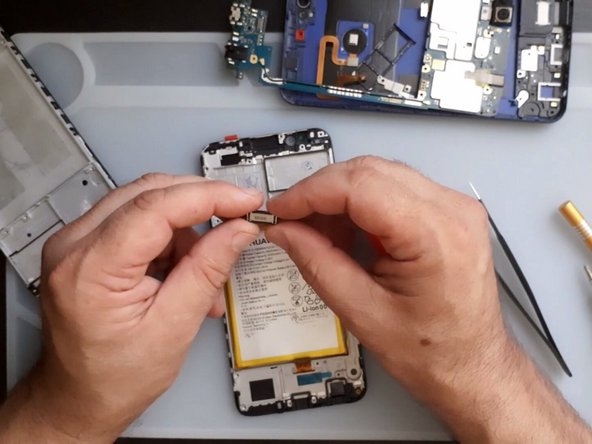
    • Now you have to transfer:

    • Receiver

    • Proximity sensor

    • Volume buttons flex

    • Vibration

    • Battery

Conclusão

To reassemble your device, follow these instructions in reverse order.

11 outras pessoas executaram este guia.

ZFix

Membro desde: 12/09/13

191.497 Reputação

Autoria de 330 guias

Equipe

Master Techs Membro de Master Techs

Community

Membros da 321

Autoria de 1.485 guias

Um comentário

Can i get video guide

filmon - Responder

Adicione um comentário

Exibir estatísticas:

Últimas 24 horas: 2

Últimos 7 dias: 21

Últimos 30 dias: 84

Duração total: 6,657