Ir para o conteúdo principal
How to repair hem/cuff binding

How to repair hem/cuff binding

Ben Blischke

Ben Blischke e 2 outros colaboradores

Última atualização em October 18, 2024

10 minutos
Fácil
Guia colaborativo

Binding hems can break if they get stretched too much, and can easily become more and more frayed. This simple fix can repair the hem quickly and easily.
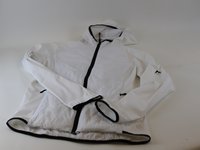
O que você precisa

A iFixit ganha comissão quando você compra por estes links.
  1. How to repair hem/cuff binding, Identify the defect: passo 1, imagem 1 %32 How to repair hem/cuff binding, Identify the defect: passo 1, imagem 2 %32 How to repair hem/cuff binding, Identify the defect: passo 1, imagem 3 %32
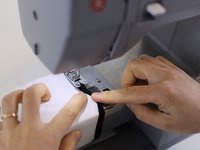
    • Here, you can see the hole in the binding hem, where the stitching has broken.

    • If the binding is undamaged, you can easily repair this defective hem.

  2. How to repair hem/cuff binding, Tidy up the area: passo 2, imagem 1 %32 How to repair hem/cuff binding, Tidy up the area: passo 2, imagem 2 %32 How to repair hem/cuff binding, Tidy up the area: passo 2, imagem 3 %32
    • Cut away any broken threads, to clean the binding area.

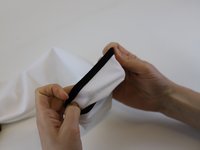
    • Then, position the binding properly again along the sleeve hem.

  3. How to repair hem/cuff binding, Position the hem on the sewing machine: passo 3, imagem 1 %32 How to repair hem/cuff binding, Position the hem on the sewing machine: passo 3, imagem 2 %32 How to repair hem/cuff binding, Position the hem on the sewing machine: passo 3, imagem 3 %32
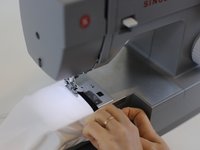
    • Remove the wide casing of the sewing machine, and slide the sleeve over the narrow part remaining.

    • Carefully line up the hem with the needle, and reposition the binding into the correct place.

  4. How to repair hem/cuff binding, Sew carefully: passo 4, imagem 1 %32 How to repair hem/cuff binding, Sew carefully: passo 4, imagem 2 %32 How to repair hem/cuff binding, Sew carefully: passo 4, imagem 3 %32
    • Start sewing with a smooth tension to ensure the elasticity remains afterwards. Avoid bunching or over stretching the fabric.

    • Continue carefully until the end of the defective zone, and finish with a locking stitch.

    • Remove the item and check if the repair is holding, and whether the elasticity still stretches correctly.

  5. How to repair hem/cuff binding, Finished and ready!: passo 5, imagem 1 %32 How to repair hem/cuff binding, Finished and ready!: passo 5, imagem 2 %32
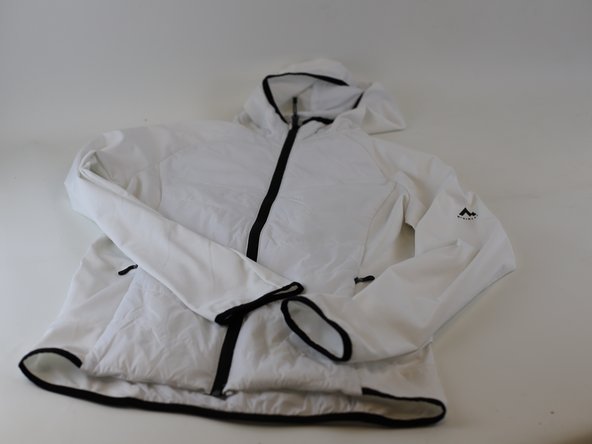
    • 🛠️🏆👏 Congratulations! The repair is complete, and you're ready to go!

Conclusão

In need of another repair? Don't worry! Check out our other guides to find quick solutions for your favourite clothing, footwear and equipment!

Ben Blischke

Membro desde: 07/19/23

9.298 Reputação

Autoria de 62 guias

Equipe

INTERSPORT Membro de INTERSPORT

Community

Membros da 22

Autoria de 161 guias

0 comentários

Adicione um comentário

Exibir estatísticas:

Últimas 24 horas: 2

Últimos 7 dias: 14

Últimos 30 dias: 55

Duração total: 402