Introdução
After a couple of summers use, the plastic strap on simple flipflops can often become loose and pull out from the foam sole. Whether you're on holiday in the hotel, or back home with some glue - there are options to keep your flipflop going!
This guide has two parts:
1️⃣ A simple fix to keep you walking in an emergency
2️⃣ An extra fix once you're back home, to keep your flipflop going into the future
O que você precisa
-
-
Here we can clearly see the defect: the strap hole is worn-out, so the strap is not fixed anymore and can pull through the sole.
-
From the bottom side, we can see that the foam hole has become too large to keep the strap "stopper" in place.
-
Preparation: We're going to create a plastic washer to keep the strap in place, and for this it's useful to have a guide to trace around. We're using a bottle lid, but a coin or anything larger than the hole will work too.
-
-
-
In this guide we're using an old yoghurt put to create the washer, because the plastic is thin, strong, flexible, and waterproof. But any similar plastic items can be used.
-
Place the bottle cap onto the yoghurt put lid and draw a line around it with the marker.
-
Carefully punch a hole into the middle of the circle with the scissors.
-
Cut out the circle along the line.
-
-
-
Cut a straight line into the washer from the edge to the center hole. This will allow it to slide onto the strap.
-
Re-insert the strap through the sole, as it should be for normal wearing. Then, pull the strap a bit further through from the bottom to give space for installing the washer.
-
Slide the washer between the outsole and the strap ending.
-
Pull the strap upwards to secure the washer.
-
-
-
🛠️🏆👏 Congratulations! The repair is complete, and you're ready to go!
-
... except ....
-
... This was just the first quick fix which can be done at any beach bar or hotel - but it leaves the strap "stopper" protruding underneath, which will not be a comfortable long-term fix.
-
Grab a craft knife and some glue, and continue to the next steps to finish it properly!
-
-
-
Preparation: For the second part of this repair, we're going to carefully cut the bottom layer of foam away, and insert the washer into the hole. Then we will glue the foam piece back on top.
-
First, remove the plastic washer, and tidy up the edges if needed.
-
Then trace around the washer with a pen or pencil, directly onto the sole of the flipflop.
-
-
-
-
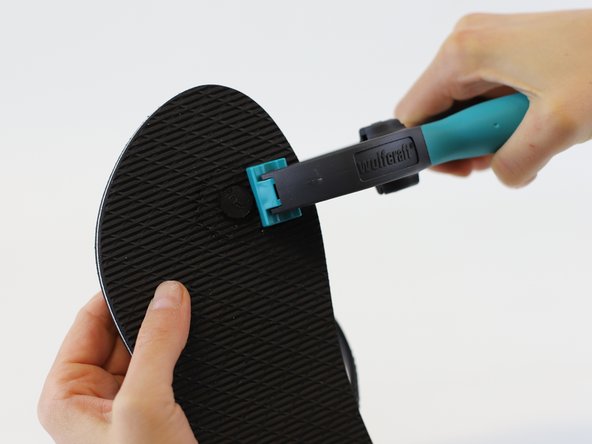
Next, we're going to carefully cut through the top layer of foam and remove the resulting disc
-
Use a craft knife to carefully cut along the circular line, to a depth of 2-3mm. (red arrows)
-
Take care! The objective is to only cut through the first 1/4 of the foam thickness. cutting too far will weaken the strength of the flipflop.
-
Next, very carefully, insert the craft knife into the middle of the hole, and cut horizontally through from the hole until you connect to the circular cut made already. (green arrow)
-
Use a circular cutting motion to slice the knife blade through the foam, using the hole as the central location. (yellow arrows)
-
-
-
Now, if the red-arrow and yellow-arrow cuts have all joined up, the foam disc should pop out
-
Tip: some extra small cutting and pulling might be needed to finally break it loose.
-
-
-
To make space for the plastic washer, we need to cut away some of the thickness from the disc
-
Cut away approximately 1mm of foam from the backside (inside) of the foam.
-
Tip: Through the process of removing the foam, keep placing the washer into the hole in the flipflop, and cover with the disc. Keep removing material from the disc until it is flush with the bottom of the flipflop when the plastic washer is installed too.
-
-
-
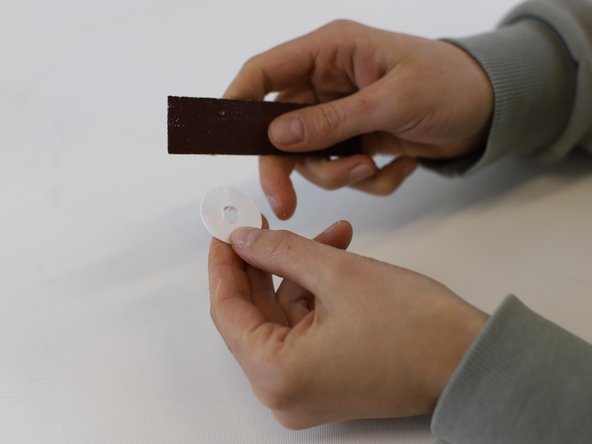
To secure the disk and washer together, we will use glue. But glue will not adhere to a glossy surface, so the washer needs to be roughed up
-
Use sandpaper to roughen the surface, either with a small piece by hand, or a large piece flat on the table.
-
-
-
Important: choose a general-purpose glue which is fast setting, and suitable for plastic and foam.
-
Apply a thin layer of glue around the inside of the hole in the bottom of the flipflop
-
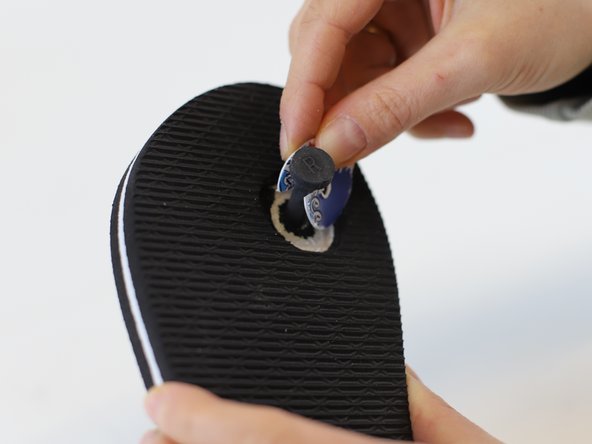
Bend the plastic washer to clip around the strap
-
Push the plastic washer down onto the glue with medium pressure.
-
-
-
Repeat the process for the foam disc:
-
Add glue on top of the plastic washer, including around the corners
-
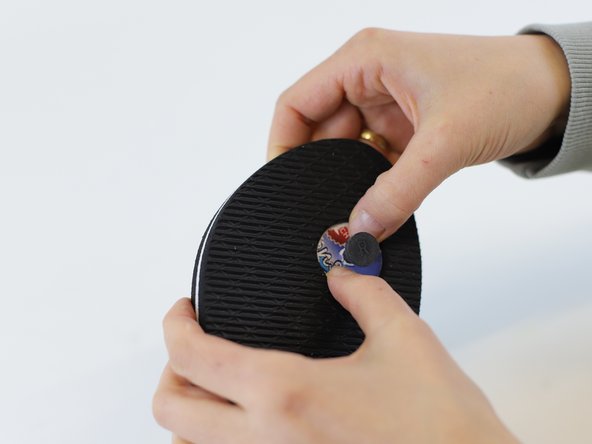
Carefully stretch the foam disc over the strap "stopper"
-
Slide the foam disc into place, and apply medium pressure to press down
-
Tip: check that the grip pattern of the foam matches between the disc and the sole, and spin the disc to re-align if needed
-
-
-
The glue now needs to dry. First, pull the strap in the direction of the red arrow, to make sure the disc and washer are pulled tightly in place.
-
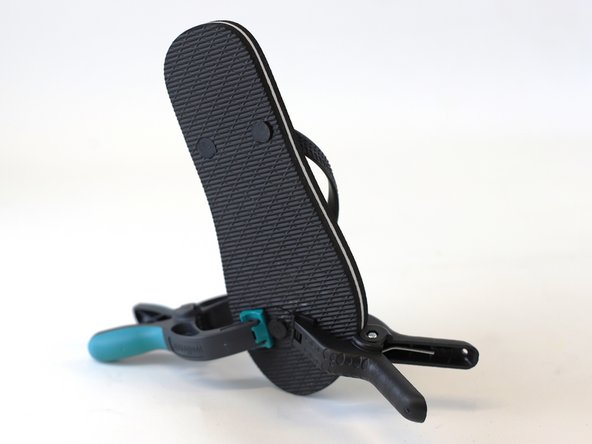
Next, we suggest using some simple craft clips to hold the repair in place while it dries
-
Leave for the time shown on the glue packet before removing the clips
-
-
-
🛠️🏆👏 Congratulations! The repair is complete, and you're ready to go!
-


To reassemble your device, follow these instructions in reverse order.
To reassemble your device, follow these instructions in reverse order.

Equipe
