Introdução
After a long time of use, the buckles or buckle loops can show sign of damage. These are often very simple to replace and repair, and in this guide we will demonstrate a common example from ski trousers. (but it is appropriate for many other products types too)
O que você precisa
-
-
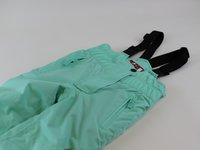
The buckle stitching is broken, and the buckle has fallen off.
-
Note: if your buckle has actually broken or snapped, use a "seam ripper" tool, or small pair of scissors to carefully cut the threads holding the seam together. Then remove the defective buckle and obtain a replacement.
-
-
-
-
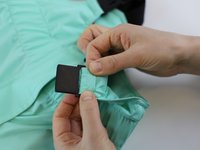
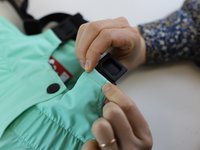
Insert the buckle in the fabric loop.
-
Check that the position is correct, and that the other half of the buckle will clip on correctly.
-
Note: It is easy to sew the clip in back-to-front - so one extra check before stitching is worthwhile!
-
-
-
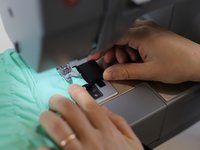
Fix the buckle in place, by sewing along the seam with the sewing machine.
-
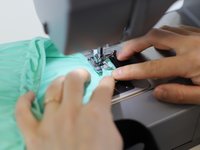
Place the assembly under the sewing machine, depress the foot, and made a straight stitch from one end to the other.
-
Repeat the process 1-2 times for extra durability; and add a lock stitch on both ends.
-
-
-
🛠️🏆👏 Congratulations! The repair is complete, and you're ready to go!
-


In need of another repair? Don't worry! Check out our other guides to find quick solutions for your favourite clothing, footwear and equipment!
In need of another repair? Don't worry! Check out our other guides to find quick solutions for your favourite clothing, footwear and equipment!

Equipe
