Introdução
Small tags on gloves, hats, and other accessories are easy to snap off by mistake - especially on kids items. But they're simple to fix back on, with the help of a sewing machine.
O que você precisa
-
-
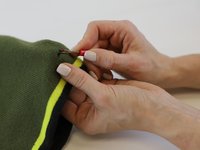
Often the cause of the breakage, is that the sewing thread tore through the tag, leaving frayed ends
-
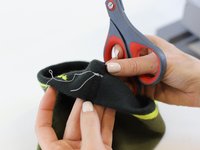
Trim away any damaged or frayed ends of the tag
-
Use a "seam ripper" tool, or small scissors, to carefully remove the old thread from the item
-
-
-
-
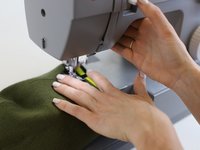
Prepare your sewing machine in a clean location, and position the item underneath the needle. Depress the foot to secure the item in place.
-
Tip: for setting up a sewing machine, use the resource Thread a Sewing Machine
-
Make a short lock stitch, and then a straight line stitch from one side of the label to the other. Make a second stitch using the reverse lever, and one final stitch in the original direction. Finish with a locking stitch
-
Remove the item from the machine.
-
-
-
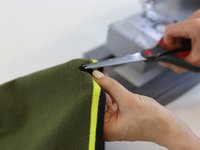
Carefully trim the thread on the outside...
-
... and on the inside
-
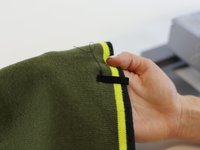
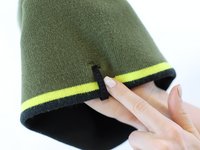
Check the repair and pull the label gently to test the durability
-
-
-
🛠️🏆👏 Congratulations! The repair is complete, and you're ready to go!
-


In need of another repair? Don't worry! Check out our other guides to find quick solutions for your favourite clothing, footwear and equipment!
In need of another repair? Don't worry! Check out our other guides to find quick solutions for your favourite clothing, footwear and equipment!

Equipe
