
How to clean Microtek ScanMaker 5900 glass

Última atualização em 19 de jul de 2021
Visualizações: 3,1 mil
Visualizar Estatísticas:
- Últimas 24 horas:
- 2
- Últimos 7 dias:
- 7
- Últimos 30 dias:
- 25
- Ao todo:
- 3.138
Comentários: 0
Ninguém deixou comentários sobre este guia. Você será o primeiro?
Go to guide commentsConcluído: 0 1
Ninguém marcou este guia como "concluído". Será você o primeiro?
1 pessoa marcou este guia como "concluído". Você — ótimo trabalho!
Favorites: 1 2
1 pessoa favoritou (e se inscreveu) neste guia. Você será o próximo?
2 pessoas marcaram como favorito (e assinaram) este guia - incluindo você!
Precisa de melhores imagens
Melhores fotos vão melhorar este guia. Ajude tirando, editando ou enviando novas delas!
Melhor Introdução
Melhore este guia, completando ou revendo a sua introdução.
Introdução
Ir para o passo 1 ↓This guide will show the user how to open the top half of the scanner and clean the interior side of the surface glass.
O que você precisa
Ferramentas


-
-
-
Loosen the screws on the serial port by turning them counter clockwise by hand.
-
After loosening the screws, pull the serial port out.
 Pergunte ao FixBot
-
-
-
Lift lid to its vertical position.
-
Pull lid straight up to remove it from the scanner.
-
-
-
-
-
-
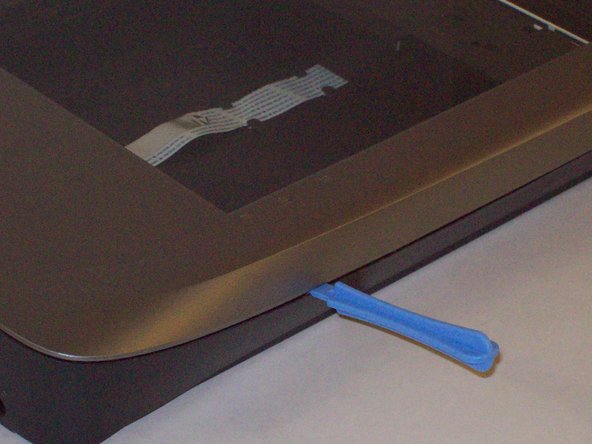
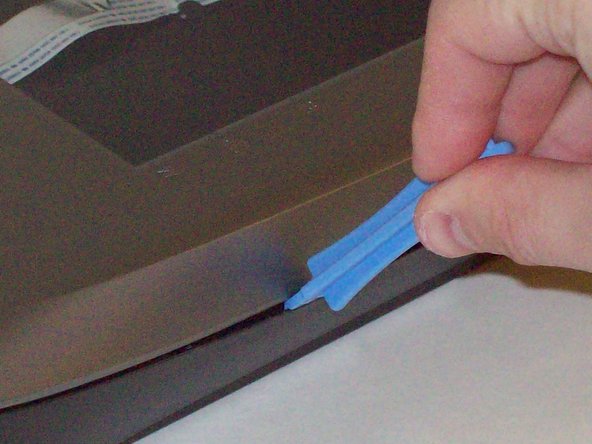
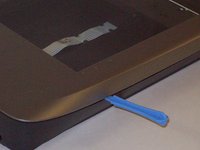
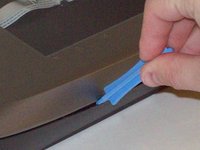
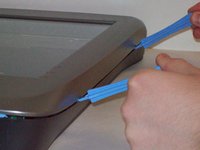
Push the plastic opening tools into the crack between the top and the bottom of the chassis.
-
-
-
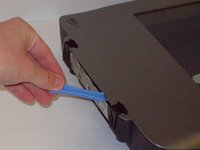
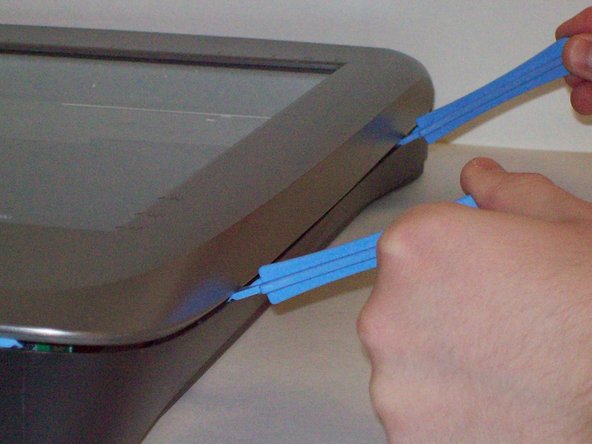
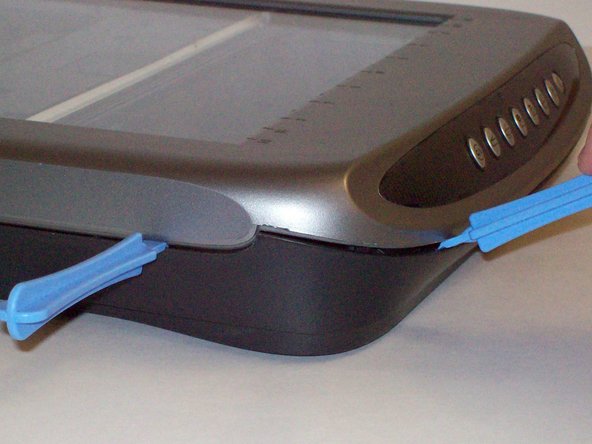
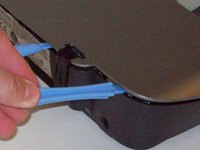
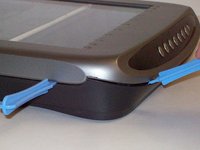
After placing one plastic opening tool into the slit, slide other plastic opening tools along the slit to detach the top from the bottom of the chassis.
-
Go all the way along the chassis until you can lift the upper lid.
-
-
-
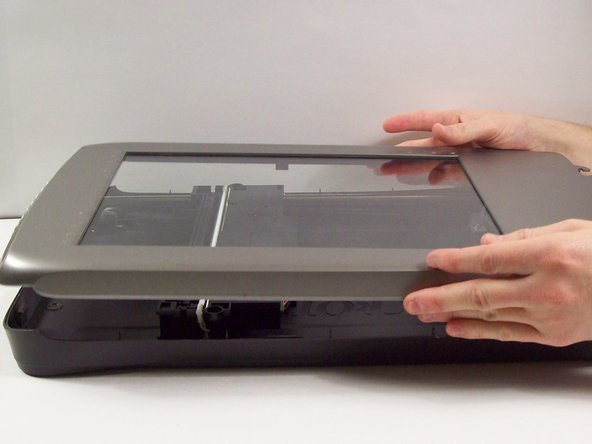
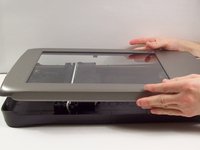
Do this by grabbing the upper lid from the sides and rotating it ninety degrees so it is perpendicular to the bottom lid.
-
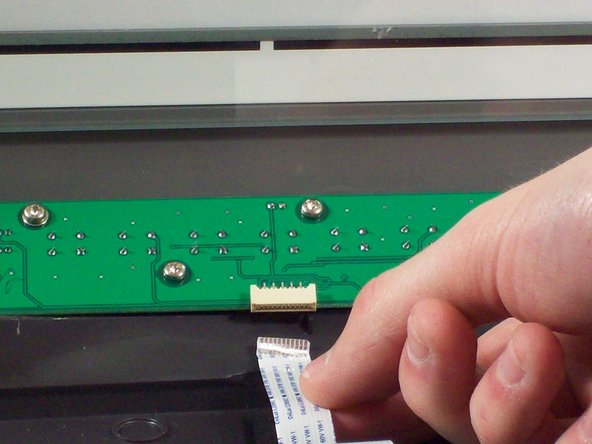
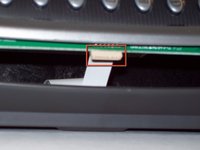
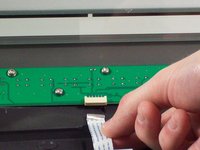
Grab the ribbon cable and gently pull it out of its slot with your fingers.
-
The upper lid can now safely be removed from the bottom lid.
-
-
-
-
-
Using a soft lint-free cloth clean the surface glass of dust, finger prints and other debris.
-
-





To reassemble your device, follow these instructions in reverse order.

Equipe

Cal Poly, Team 6-9, Regan Fall 2011 Membro de Cal Poly, Team 6-9, Regan Fall 2011
CPSU-REGAN-F11S6G9
2 Membros
Autoria de 132 guias
