O que você precisa
-
-
Using your finger, apply light pressure to the grooves at the top right corner of the camera to slide the door to the battery compartment open.
-
-
-
Using your finger, press the red switch backwards, away from the lens to release the battery.
-
-
-
-
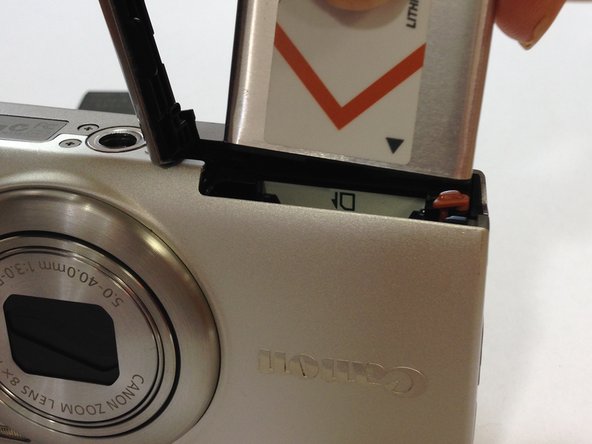
Use the Battery Removal guide to remove your camera battery. Once the battery is removed, insert it into the charger that came with your PowerShot A4000 camera.
-
Maker sure the arrows on the charger and camera match up or the battery will not charge properly.
-
Once the battery is inserted into the charger, it is ready to be plugged into an outlet.
-
A yellow light will come on once the battery begins charging. The light will turn green when the battery is fully charged.
-
-
-
Once the battery is fully charged, use the guide on removing your camera battery found here: Battery Removal, in reverse, to reinsert your battery.
-
Make sure to line up the battery with the arrow side facing toward the lens side of the camera. When you press the battery down, the red switch should click back into place automatically, holding the battery in place.
-


To reassemble your device, follow these instructions in reverse order.
To reassemble your device, follow these instructions in reverse order.
Equipe

Clemson, Team 1-3, Benson Fall 2014 Membro de Clemson, Team 1-3, Benson Fall 2014
CLEM-BENSON-F14S1G3
Membros da 3
Autoria de 17 guias