Introdução
The elastic cords inside the tent poles can over extend due to constant use. It is important to replace them to make sure the tent structure remains sturdy. With a few simple tools and some patience, we will show you how to fix it and have your tent ready for your next outdoor excursion!
➡️Before you get started, please check the safety disclaimer at the bottom of the page.
O que você precisa
-
-
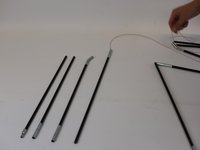
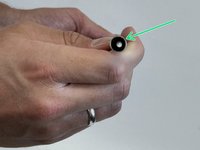
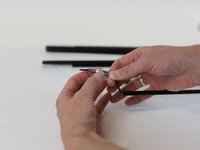
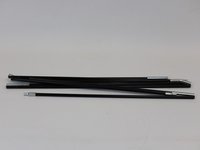
Identify the repair area. In this example, the elastic needs to be replaced as it has over extended.
-
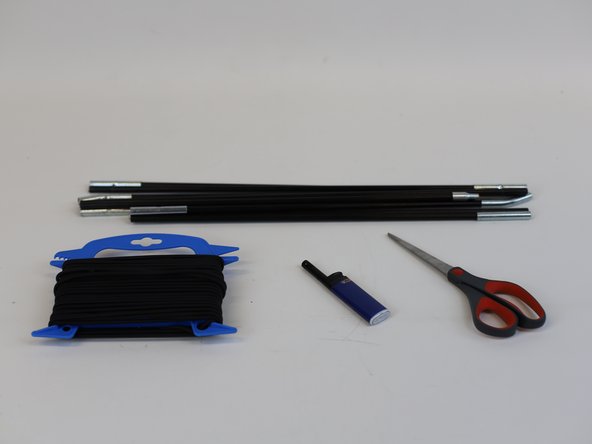
Prepare all the tools needed for the repair.
-
-
-
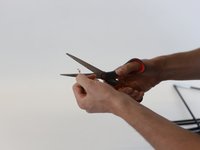
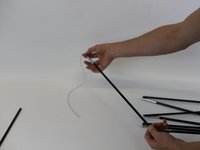
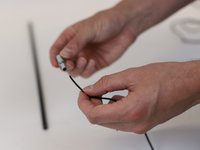
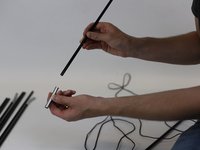
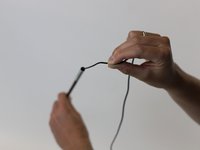
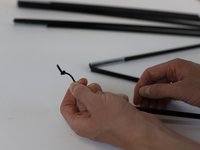
Locate the start of the cord and cut the tip with a pair of scissors.
-
Note: remember that although the cord is over extended, there still might be some tension between the poles. For this reason, keep holding the end of the cord, even after cutting the tip.
-
-
-
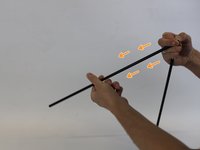
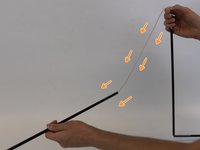
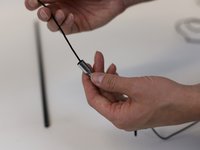
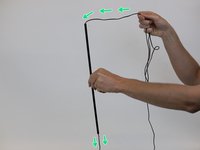
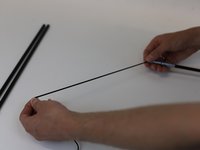
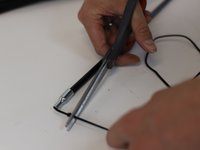
Follow the direction of the orange arrows to gently slide the poles out of the cord.
-
-
-
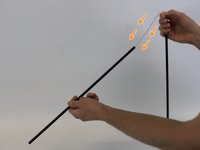
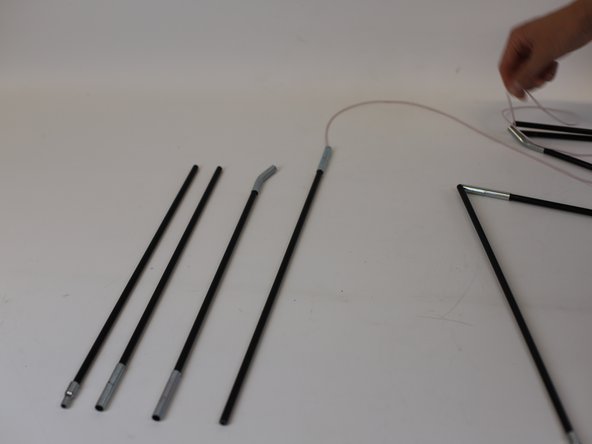
Continue to remove the cord.
-
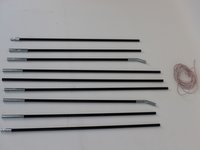
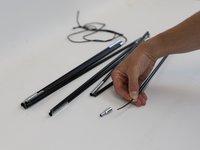
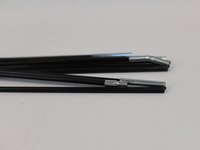
Each time you take a new pole, place it orderly next to the previous pole.
-
Tip: we recommend to place them aside on the same order they were before. This will make the reassembling part easier.
-
-
-
Once you have all the poles placed in an ordered set, prepare the new cord.
-
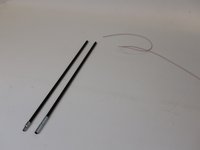
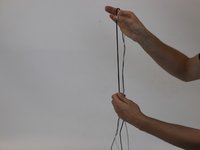
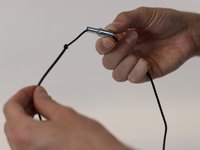
Place the old cord and the new cord side by side in order to compare the lengths.
-
Make sure the new cord is the same length as the previous one.
-
-
-
-
Once you have found the ideal length for the new cord, use a chalk to mark it.
-
-
-
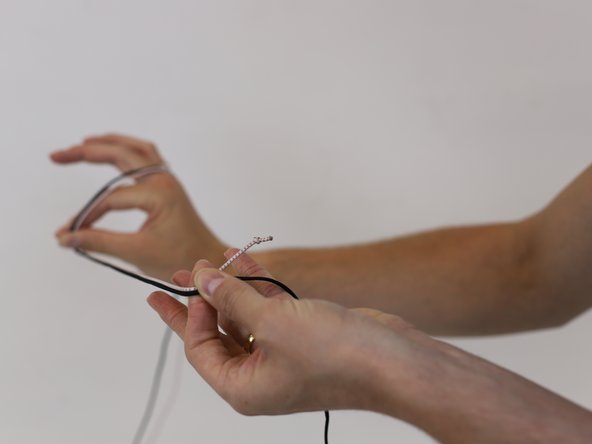
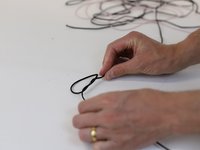
Tie a knot around the mark to set the start of the new cord.
-
-
-
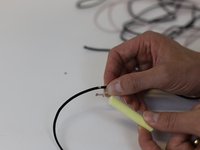
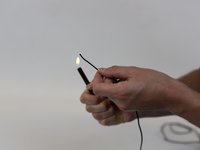
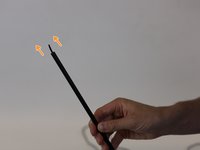
Pick the other end of the cord to "round" the tip.
-
Use a lighter to slightly melt it.
-
Tip: The flame does not need to touch the cord directly, only to melt the fibres through indirect heat.
-
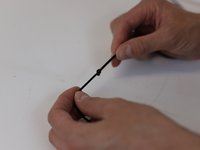
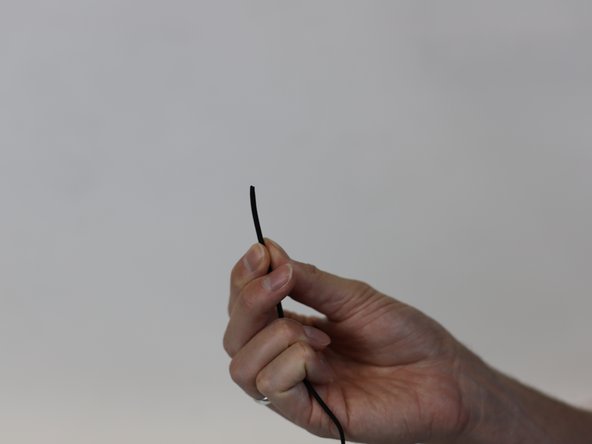
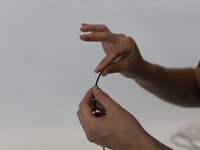
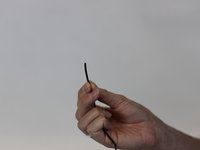
While the tip is still semi-melted, press it together with your fingers while twisting gently to create a thin, rounded ending.
-
-
-
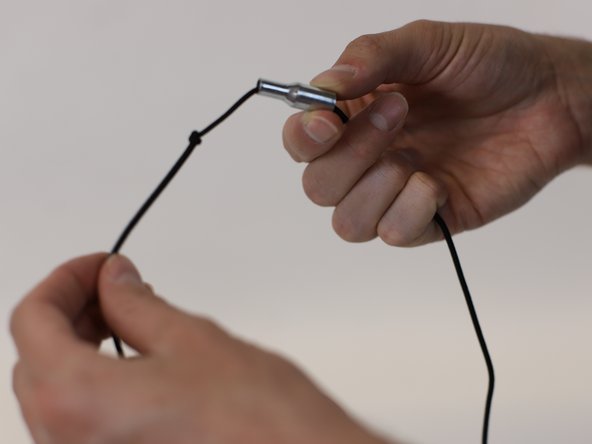
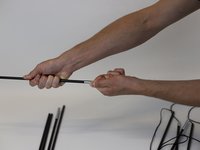
Begin to reassemble the tent pole by inserting the first metal tip and sliding it all the way back to the knot.
-
-
-
Once you have inserted the first metal tip, you should insert the pole that follows.
-
Note: remember to insert the poles and the metal tips, separately.
-
Remove the metal tip first and then insert the cord through the pole hole.
-
-
-
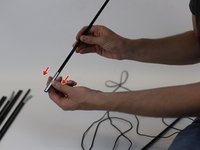
Follow the direction of the green and orange arrows to keep adding the pole pieces.
-
Note: remember to gently slide piece by piece, some poles may take longer than others.
-
-
-
Some metal tips might be stuck and you won't be able to remove them.
-
If this is the case, you must insert the cord directly into the hole of the metal tip (green arrow).
-
To make it easier, the tip of the cord must be in a straight horizontal line (orange circle).
-
-
-
Insert all the poles until you reach the knot made at the end of the cord.
-
Hold it with one hand and proceed to the next step.
-
-
-
Finish the repair by inserting the last metal tip.
-
Use a pair of scissors to cut the loose cord that is left after the knot.
-
-
-
🛠️🏆👏 Congratulations! The repair is complete, and you're ready to go!
-


In need of another repair? Don't worry! Check out our other guides to find quick solutions for your favourite clothing, footwear and equipment!
----------------------------------------
🚨🛠️🩹 IMPORTANT SAFETY NOTICE:
The repair guides provided on this site are intended to help you repair products on your own. While we have put a lot of care into them, all repair work carries some risk:
- Safety Precautions: When repairing your product, take all necessary precautions to ensure your safety. Use appropriate tools and follow the instructions carefully.
- Product Condition: Once your product has been repaired, it may not meet original compliance guidelines anymore and could potentially have issues.
- Liability: We are not responsible for any damage or injury that may occur during the repair process or as a result of using a repaired product. You, as the repairer, assume all risks and responsibilities associated with the repair.
By using these repair guides, you fully acknowledge and accept the potential risks and responsibilities involved.
Cancelar: não concluí este guia.
Uma outra pessoa concluiu este guia.

Equipe
